Introdução
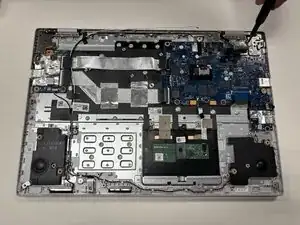
If your Asus Chromebook CX1500CKA-AS84F fails to power on, frequently overheats, or experiences hardware failures that cannot be resolved through simpler repairs, the motherboard may need to be replaced. The motherboard is the main circuit board that connects and powers all major components of the Chromebook.
Before using this guide, confirm that the issue is not caused by other components such as the battery, charging port, or RAM.
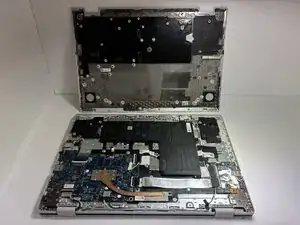
This repair requires removing several parts, including the back cover, battery, and speakers, before you can disconnect and remove the motherboard. From there, you will install a replacement board and carefully reconnect the necessary components.
Before beginning, make sure to completely power off your Chromebook and disconnect it from any external power source.
-
-
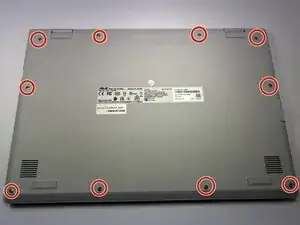
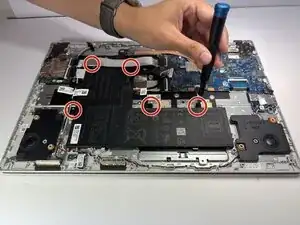
Remove the ten 7 mm JIS #00 screws from the bottom edge of the Chromebook.
-
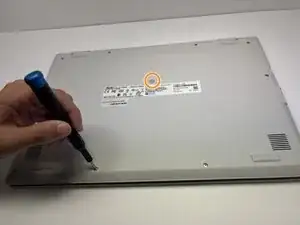
Remove the one 7 mm JIS #00 screw in the middle, above the tag.
-
-
-
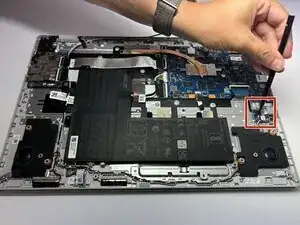
To disconnect the cable, use a spudger or your fingernail to lift the locking tab.
-
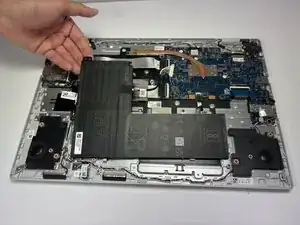
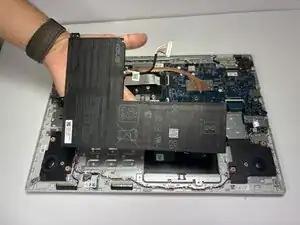
Use your hand to carefully unplug the battery cable from the motherboard.
-
-
-
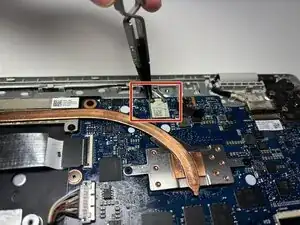
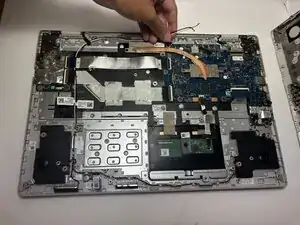
Use tweezers to carefully disconnect the black and white antenna wires from the wireless card, then lift them away.
-
-
-
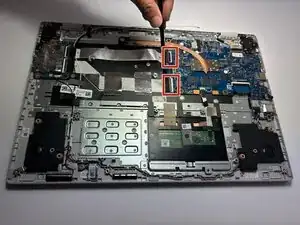
Using a spudger, gently push the two side-by-side ribbon cables to the left to disconnect them.
-
-
-
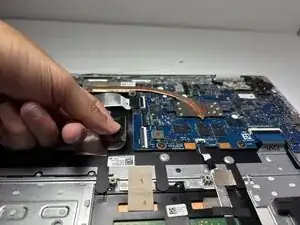
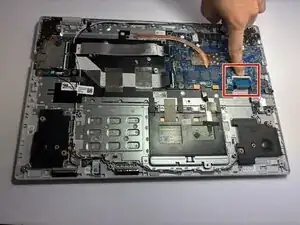
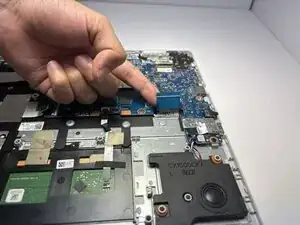
Pull the thick blue ribbon cable straight out of its connector to disconnect it from the motherboard.
-
-
-
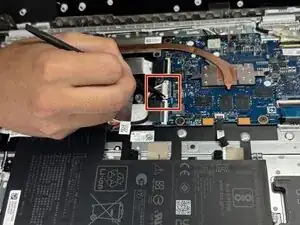
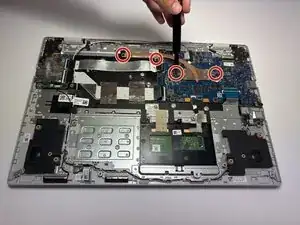
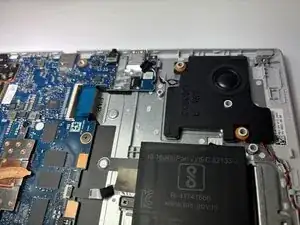
Remove the four 2mm JIS #0 screws from the heat sink in the center of the motherboard.
-
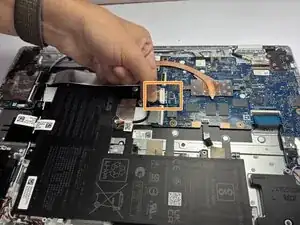
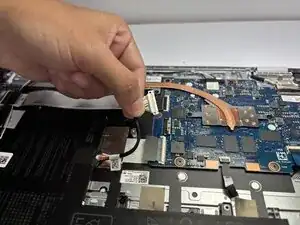
Lift and remove the heat sink.
-
-
-
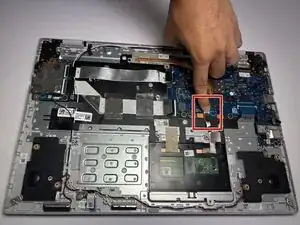
Gently pull the thin white ribbon cable straight out of its connector to disconnect it from the motherboard.
-
-
-
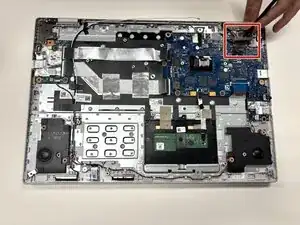
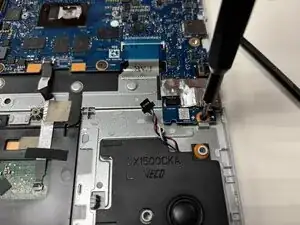
Use a spudger to pry the small tangle of black, red, white, and blue wires from the audio connector, pushing the wires back toward the speaker.
-
-
-
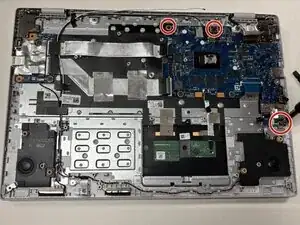
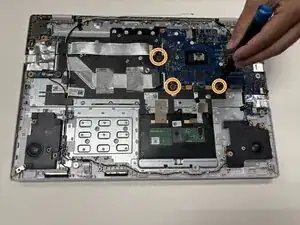
Remove the three 2 mm JIS #00 screws from the motherboard.
-
Remove the three 1 mm JIS #00 screws from the motherboard.
-

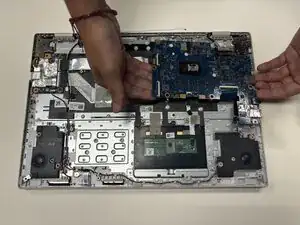
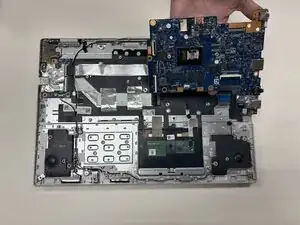
To reassemble your device, follow these instructions in reverse order.