Introdução

After years of usage, water or any other liquid spills, your cats jumping on it, or whatever the cause may be. You may notice that your keyboard is beginning to be unresponsive. Without a keyboard, your laptop becomes difficult to navigate.

In this guide, we'll show you how to disassemble the laptops keyboard, so you can be able to repair. Repair made easy, with good visuals, and accessible tools.

  1. tx2gvpyxbranMiQ6
    tx2gvpyxbranMiQ6
    AuZIJ2phJvKHpM4G
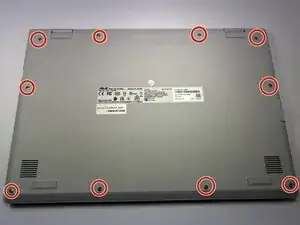
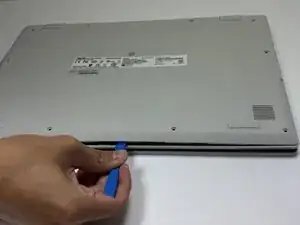
    • Remove the ten 7 mm JIS #00 screws from the bottom edge of the Chromebook.

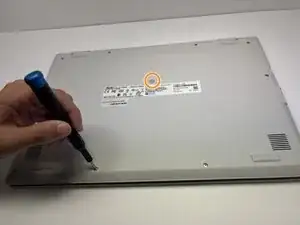
    • Remove the one 7 mm JIS #00 screw in the middle, above the tag.

  2. fBPVJxiXTSY5wKqT
    fBPVJxiXTSY5wKqT
    lnCkxsSEKyokrjxO
    JQrwbRcPsHXwhPXB
    • Use a plastic opening tool to carefully lift the bottom cover and take it off the laptop.

    • Avoid using metal tools to pry open the case, as this can damage the housing.

  3. MrSeEePK6IjucjXg
    MrSeEePK6IjucjXg
    AvvXaUEuOAtZRWCv
    11pLBpKUGapQKsK6
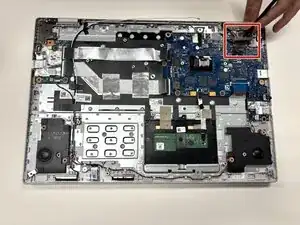
    • To disconnect the cable, use a spudger or your fingernail to lift the locking tab.

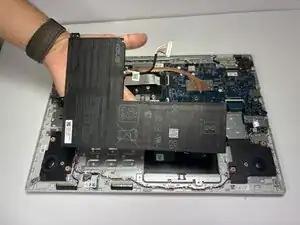
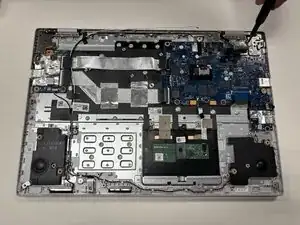
    • Use your hand to carefully unplug the battery cable from the motherboard.

  4. fPlAdRWbmjYihpUr
    • Remove five 2 mm JIS #00 screws from the battery.

  5. W25XABqixJZZUksN
    W25XABqixJZZUksN
    d43OyfHJfuvDUMha
    • Remove the battery from the laptop.

  6. 4aBcQUZgPbqb2RoR
    4aBcQUZgPbqb2RoR
    3EMXDEaHvQ4HmR3R
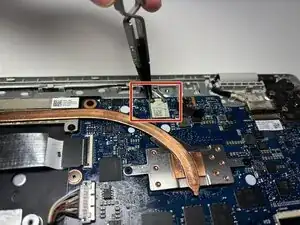
    • Use tweezers to carefully disconnect the black and white antenna wires from the wireless card, then lift them away.

    • Be gentle; the connectors are fragile and can snap if forced.

  7. FhZtENQ2pylg2Pxi
    FhZtENQ2pylg2Pxi
    XrPUZbliFjqoJENn
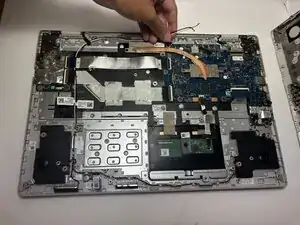
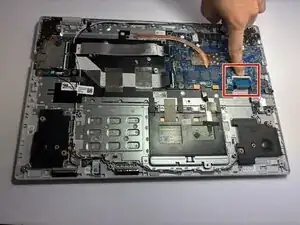
    • Using a spudger, gently push the two side-by-side ribbon cables to the left to disconnect them.

  8. TM4YgLwOSGTJ5Fdf
    TM4YgLwOSGTJ5Fdf
    byJBAUyyTiDOcu5U
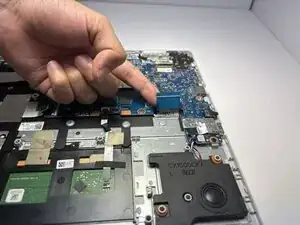
    • Pull the thick blue ribbon cable straight out of its connector to disconnect it from the motherboard.

  9. FcwnG3GSeOVpM2Dq
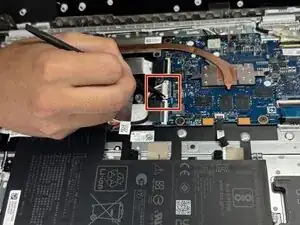
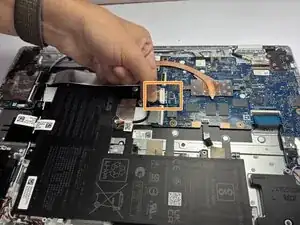
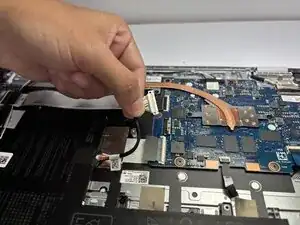
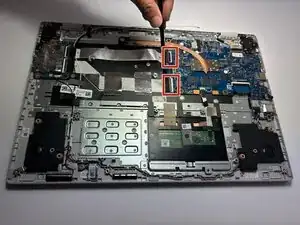
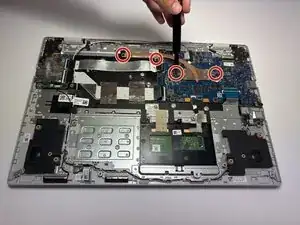
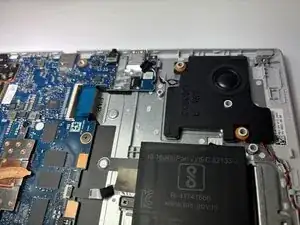
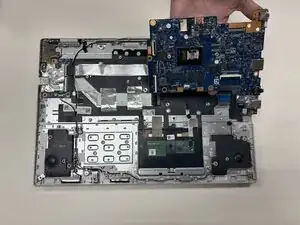
    • Remove the four 2mm JIS #0 screws from the heat sink in the center of the motherboard.

    • Lift and remove the heat sink.

  10. Nd5rJ2ZUYLRBYcCk
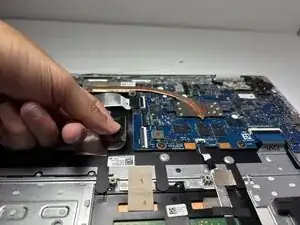
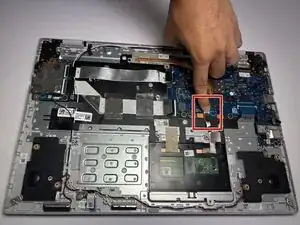
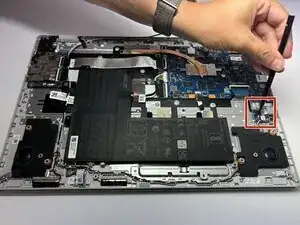
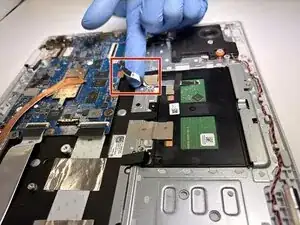
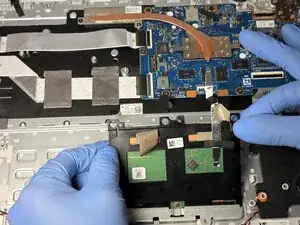
    • Gently pull the thin white ribbon cable straight out of its connector to disconnect it from the motherboard.

  11. nJFJ1DiICIdCOesf
    • Disconnect the thick black connector by gently pulling it up, away from the motherboard.

  12. YaxB2VAyQr2pAb4P
    YaxB2VAyQr2pAb4P
    Kvkh2SH1NnnmsS43
    • Remove the four 4mm JIS #00 screws at the bottom of the hinge.

  13. evwEG1bMOfar5g5b
    evwEG1bMOfar5g5b
    JPHWHQHNRQ3WSerI
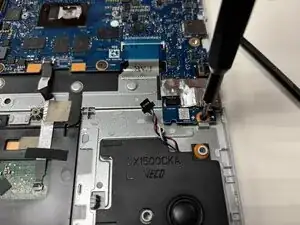
    • Use a spudger to pry the small tangle of black, red, white, and blue wires from the audio connector, pushing the wires back toward the speaker.

  14. roCkO3g21qX36jbl
    roCkO3g21qX36jbl
    QyGhbPDWD1hAVXpR
    qTcEQGZiOao3ujUG
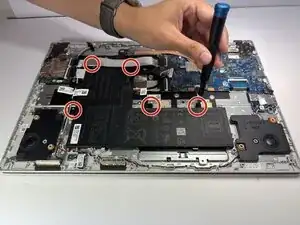
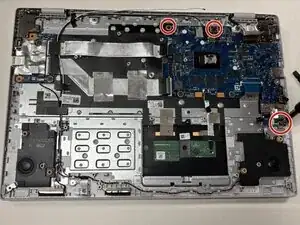
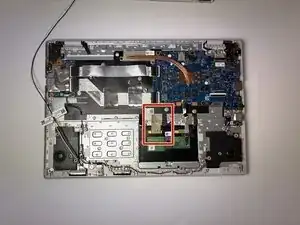
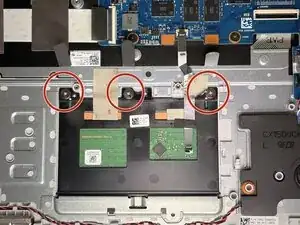
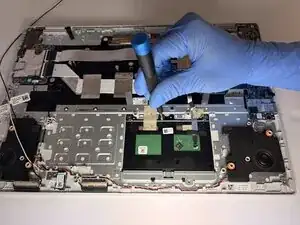
    • Remove the three 2 mm JIS #00 screws from the motherboard.

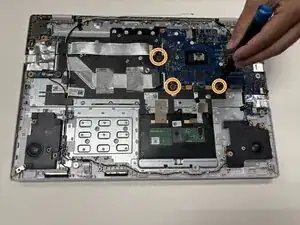
    • Remove the three 1 mm JIS #00 screws from the motherboard.

  15. tX32M4PupIZEd1MM
    tX32M4PupIZEd1MM
    fGKjjEw5TcWRiZVm
    • Gently lift and remove the motherboard.

  16. KZWvOHRHWLey3WvR
    KZWvOHRHWLey3WvR
    34SyBFUZjAYQTSHG
    • Carefully pull on the trackpad cable to disconnect it from the motherboard.

  17. AYPcOOWtXNbVMCTF
    AYPcOOWtXNbVMCTF
    VvtdfMkOaWvjJ1cg
    • Gently remove the tape from the frame.

  18. qCqfQYaKyZSfRWTp
    qCqfQYaKyZSfRWTp
    cGF4Jht6ARQLVipr
    • Remove the three 2 mm screws using a Phillips #1 screwdriver.

  19. 6BwYF3tyeRn2mQrP
    6BwYF3tyeRn2mQrP
    gBAXK5UdqnSecg6D
    • Lift off the trackpad to remove it.

  20. 25qdwi4tuPwgeaKN
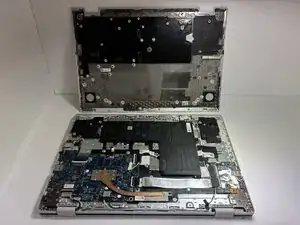
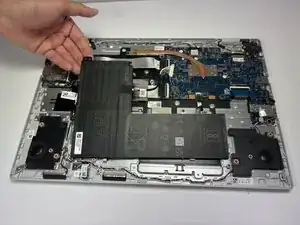
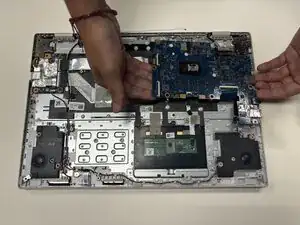
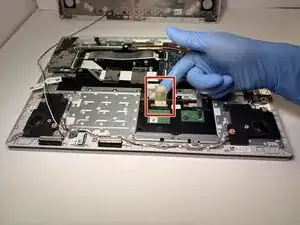
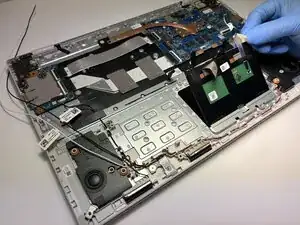
    • After removing all components from the frame, remove any last screws and pieces that may remain.

  21. tQiaAF5VSNB5nGn2
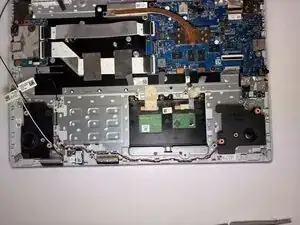
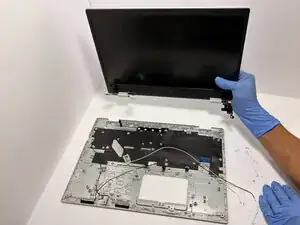
    • Once everything is removed and disconnected. You now can remove the keyboard off the laptop and replace it.

Conclusão

To reassemble your device, follow these instructions in reverse order.

Ron Balladares

Membro desde: 11/09/25

243 Reputação

0 comentários