Introdução

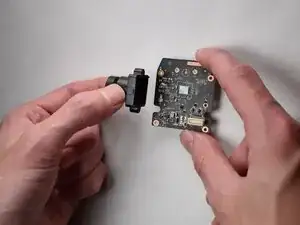
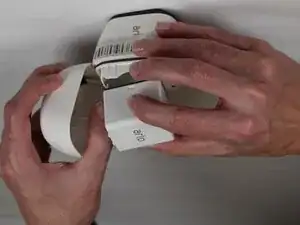
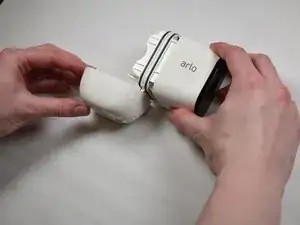
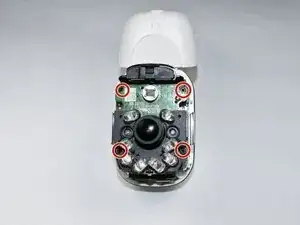
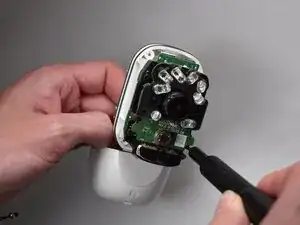
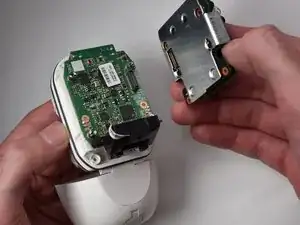
This guide is for replacing the internal lens assembly in your Arlo Pro VMS4430. This repair is necessary if the camera is blurry, cracked, or scratched. This procedure is intermediate and requires careful disassembly of the camera casing, which will expose the internal components.

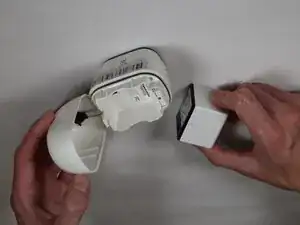
Warning: Always ensure the battery is removed and the camera is completely powered OFF before beginning the disassembly to prevent short circuits or damage to the delicate internal electronics.

  1. phrvYowqXio2fg1w
    phrvYowqXio2fg1w
    RRXOY2PNMNl2VSVp
    • Press down on the arrow button

    • Pull back on the case to open the framing.

  2. hJbghkDkYWWYxr4Z
    hJbghkDkYWWYxr4Z
    AUe2v1qkwgcU5OYe
    XdPG3Rv5drtQT2cT
    • Pull back on the white tab on the battery, and pull the battery out.

  3. iQT51oeWmQXVcKcZ
    • Remove all four 5.5mm corner screws using a T5 Torx screwdriver.

  4. RJRNmEUT44LWWRlf
    RJRNmEUT44LWWRlf
    IIDWMCWN1QfH5XRM
    • Separate the front from the back housing.

  5. 3iHNnSEyy2wv11rX
    3iHNnSEyy2wv11rX
    AaQXOyXAawcOMQHr
    rq2IDPtfJQZhpqJI
    • Remove the four 3.0mm screws using a Phillips #00 screwdriver.

    • Remove the camera module.

  6. Yy2wSXJkIhfKQNSp
    Yy2wSXJkIhfKQNSp
    XiIQTNcfrSNjIHLr
    • Remove the four 4.0mm screws using a Phillips #00 screwdriver.

  7. EaCyhfSDYZkimv5W
    EaCyhfSDYZkimv5W
    ABAwj4RjDZVeInUc
    • Remove the protective metal covering.

  8. RG6wbtHmJVVUWDAO
    RG6wbtHmJVVUWDAO
    eamwANYcO5sFg53a
    • Remove the two 3.0 mm screws using a Phillips #00 screwdriver.

    • Remove the lens.

Conclusão

To reassemble your device, follow these instructions in reverse order.

Kyle Pryor

Membro desde: 22/10/25

133 Reputação

0 comentários