Introdução
-
-
This problem may present as an incorrectly high temperature displayed. If temperature read out exceeds a certain safety limit (120*C), the kettle will only display E3 and not turn on otherwise
-
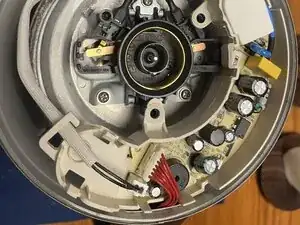
In my case, the defective part was a plug connector in the connects the temperature sensor to the main board. The plug was corroded after use of mild acid for Calc removal. This increased electrical resistance leading to the incorrect temperature readout
-
-
-
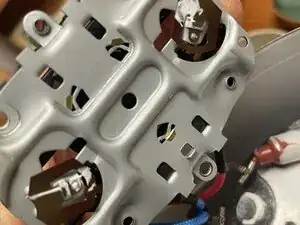
The plug in question is shown at the bottom of this photo with two black wires. In mild cases, cleaning of the connectors should be sufficient. In my case, corrosion was severe and a replacement plug was not at hand.
-
In this case, I removed the main board from its plastic cover (one screw next to the silicone covered relay switch), then soldered the wires directly to the circuit board.
-
-
-
The following steps are not required for this repair, but serve for informational purposes only.
-
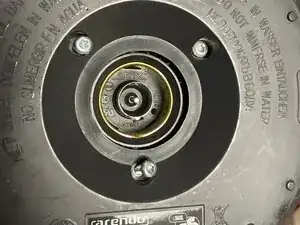
The temperature sensor and power socket are attached to the base of the water kettle by three M3 Phillips screws. At the top and bottom of the power connector, there are two bimetal temperature switches, which are purely physical/mechanical safety cutoffs and not related to this sensor problem.
-
-
-
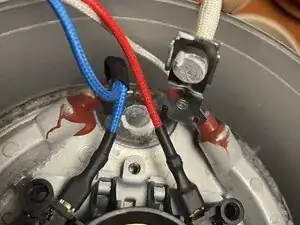
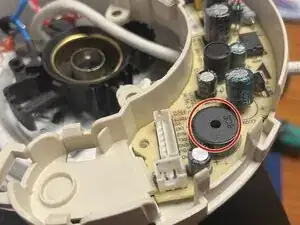
In case you felt bothered by the loud beeping noise of the kettle (which cannot be completely turned off in the menu), the volume can easily be reduced by covering the hole of the beeper element (circle). A solid layer of sticky tape will reduce noise level significantly
-
To reassemble your device, follow these instructions in reverse order.