
Introdução
Este guia mostra como aplicar o adesivo do conjunto do display em um iPad Pro 9.7” aberto. Este é parte do procedimento do conjunto do display do iPad Pro 9.7”.
Ferramentas
-
-
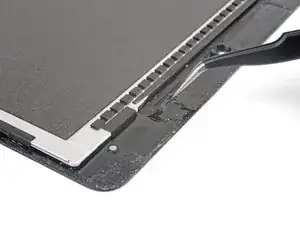
Antes de instalar adesivos novos, limpe e elimine completamente os restos no conjunto do display e na estrutura.
-
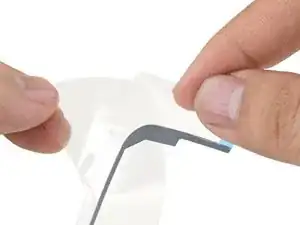
Use uma pinça para puxar segmentos de resto de fita.
-
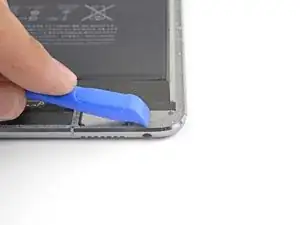
Use uma ferramenta de abertura ou uma espátula para raspar resíduos. Você pode usar álcool isopropílico altamente concentrado (acima de 90%) para amolecer o adesivo.
-
Remova o resíduo esfregando em uma direção para evitar manchas.
-
-
-
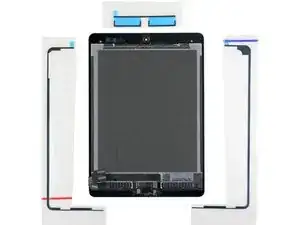
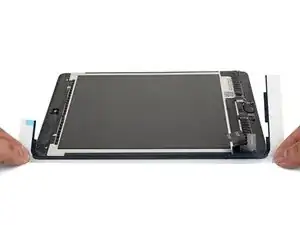
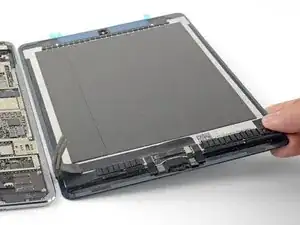
Disponha as tiras de adesivo substitutas em volta do conjunto do display, de forma que elas correspondam aos lados certos.
-
-
-
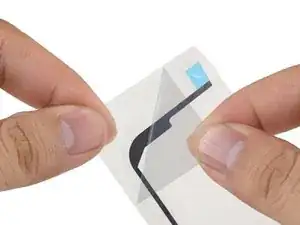
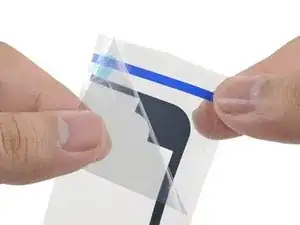
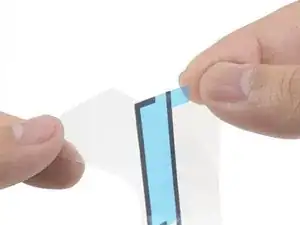
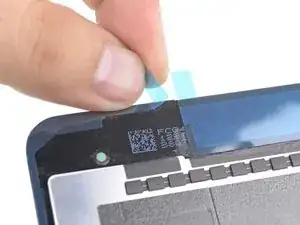
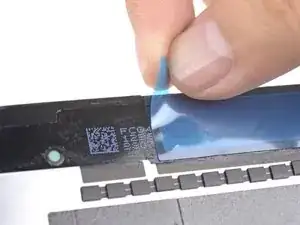
Descasque e remova a camada de plástico superior grudada da tira adesiva esquerda.
-
Descasque e remova a película protetora inferior de plástico da tira.
-
-
-
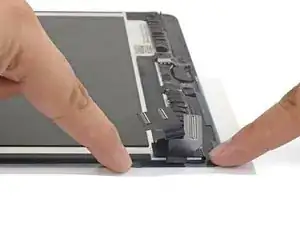
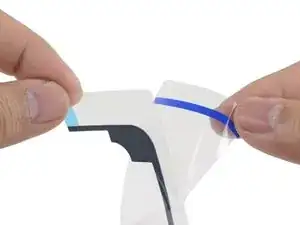
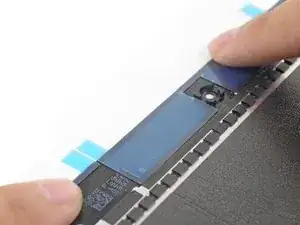
Alinhe a tira adesiva esquerda em relação ao canto esquerdo do conjunto do display.
-
Começando por um canto, cole a tira adesiva no conjunto de display e aperte a tira.
-
-
-
Descasque e remova a primeira camada grudada da tira.
-
Descasque e remova a película protetora inferior da tira.
-
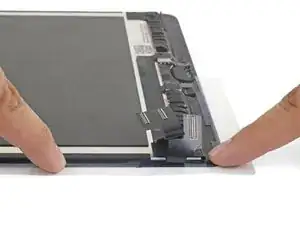
Alinhe a tira adesiva em relação ao canto direito do conjunto de display.
-
Começando por um canto, cole a tira adesiva no conjunto de display e aperte.
-
-
-
Descasque e remova a primeira camada grudada da tira.
-
Descasque e remova a película protetora inferior da tira.
-
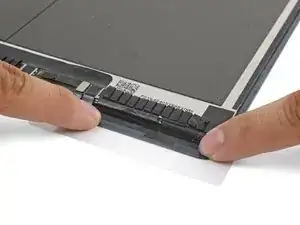
Alinhe a tira em relação à parte de cima do conjunto de display, de tal forma que a linha reta do adesivo una as tiras esquerda e direita.
-
Aperte a tira.
-
-
-
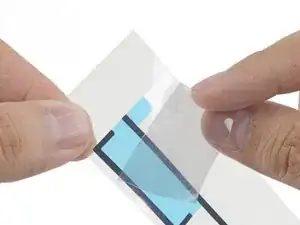
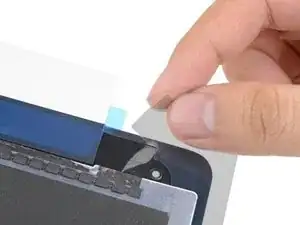
Descasque e remova a camada de reforço transparente de plástico de todos os três segmentos de tira adesiva.
-
-
-
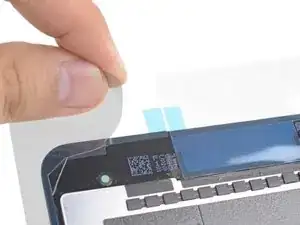
Descasque e remova as três películas protetoras de plástico para descobrir o adesivo.
-
Feche o dispositivo e empilhe alguns livros pesados sobre ele por trinta minutos para fazer o novo adesivo colar melhor.
-


O reparo não correu como programado? Dê uma olhada na nossa comunidade de Respostas para o iPad Pro 9.7” para obter ajuda sobre solução de problemas.

11 comentários
Thanks, I was able to fix my wife’s shattered digitizer screen on the iPad 6th gen with this guide!
I managed to get it done, but this was a personal nightmare for me and more difficult than replacing the battery in my ipad. There are too many instruction that say “remove plastic” and I have no idea which layer; there was nothing on the packaging to indicate which side was up or which side was the front and I ended up guessing the wrong direction because it “looked” right, but wasn’t. A simple sticker on the packaging indicating a direction would have removed all of the frustration. I only managed to figure it out by removing all of the plastic so that the sticky side of the adhesive was exposed and then I could finally see how it was supposed to fit and how I was supposed to press down with the other side of the plastic to push the adhesive side into the frame.
Fixed a cracked iPad 4 mini screen; I agree with twizzlercraze72. Some kind of labeling would have saved so much peeling and re-sticking. I ended up with a gap next to my home button. An expensive lesson to learn.
I followed these instructions and used 99.9% isopropyl alcohol to clean off the glue around the display - but the isopropyl leaked under the screen and ruined it! Replacement screen more than the iPad’s worth. Use tiny amounts and don’t allow for any seepage, or try to manage without and just carefully scape. My iPad’s now a write-off… :-(
Alex Harness -
Hi Alex!
I’m really sorry to hear about your experience. Can you describe a little more how the alcohol ruined the screen? This info can help with future guides!
Arthur Shi -
Use goof off or xylene on cotton swab outdoors to remove adhesive. Do it outside so you don’t smell up the house. Better than rubbing alcohol.
macman2 -
Goof-off will unfortunately leave a residue that can eventually weaken the replacement adhesive. Be sure to fully clean off the surface with alcohol after you use Goof-off.
Arthur Shi -
I used a hair dryer to soften the adhesive.
OK, you still leave a very small, microscopic, layer of adhesive after removing the black tape, but really, new tape will still stick to that. We’re not trying to make the iPad water proof - we’re simply trying to make the components secure and not fall apart. Shame Apple couldn’t have used screws instead!
Billinski -
Used CRC Brakleen PRO SERIES. Applied sparingly with a Q-tip 2 inches at a time. Softened the adhesive was easily squeezed off with a plastic spudger.
dklj -
I'd strongly suggest not cleaning the adhesive off the display with alcohol. Use a heat gun or hair dryer as Billinski suggested, even if you leave a little bit of adhesive behind. The same thing happened to me as to Alex in 2021: using IPA to clean the adhesive left around the frame, alcohol went between the glass and the screen. Display is quite cloudy but functions 100%.
Someone (not me) posted a reddit thread in the /mobilerepair sub titled "Alcohol seeped under my IPad's screen" that describes the same issue, alcohol between screen/glass.
ANITA YK -