Introdução
Use this guide if you’re experiencing issues with the Anker Soundcore Motion Boom Plus battery. If the speaker turns off unexpectedly or won’t power on, the battery may be drained, faulty, or in need of replacement.
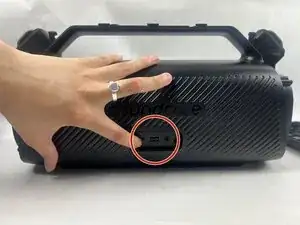
Before continuing with this guide, rule out other possible causes. If the device isn’t charging, try using a different charging cable or power source to determine whether the battery is simply low. Also, check the charging port for any signs of damage.
This repair requires opening the device, so proceed with caution—some components may be sensitive to electrostatic discharge (ESD) or accidental damage. Consider using an anti-static mat or wrist strap to minimize ESD when repairing electronic devices.
If you notice the battery looks puffy or smells funny, the battery could be swollen. Be cautious if you encounter a swollen battery during disassembly and handle it carefully, as it poses a fire hazard.
Be sure to power off the speaker completely before beginning the repair to avoid electrical shock or damage to your speaker.
-
-
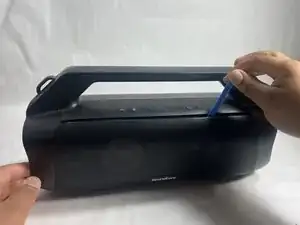
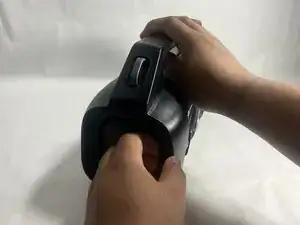
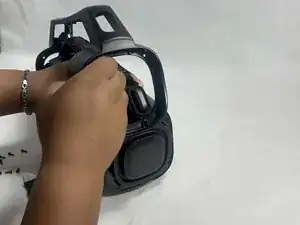
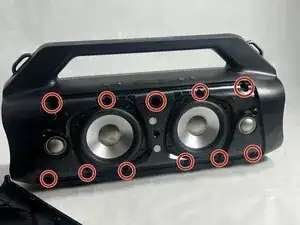
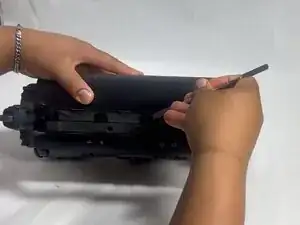
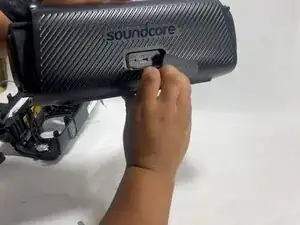
Insert an opening tool into the seam between the speaker grille and the chassis.
-
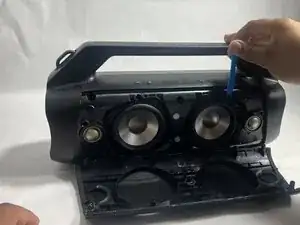
Pry the tool around the top, bottom, and sides until the grille fully releases.
-
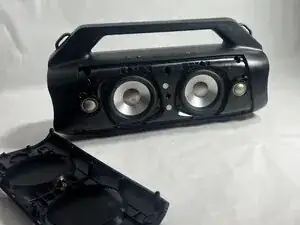
Remove the grille.
-
-
-
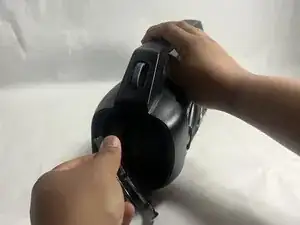
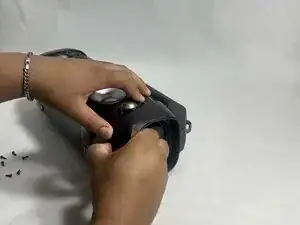
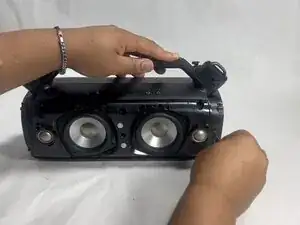
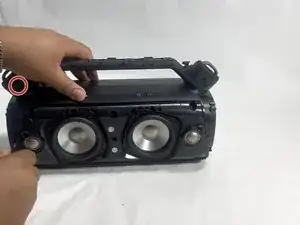
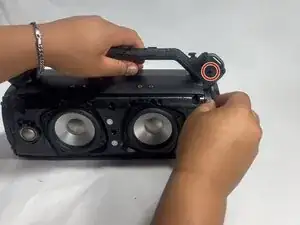
Gently remove the handle from the device by clicking off the handles from the sides and then pulling it off.
-
-
-
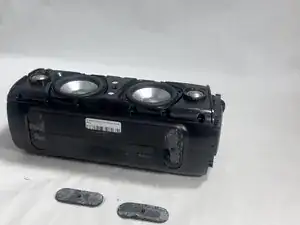
Flip the speaker onto its side and use a spudger to remove the two rubber feet on the bottom of the device.
-
-
-
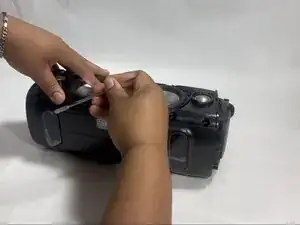
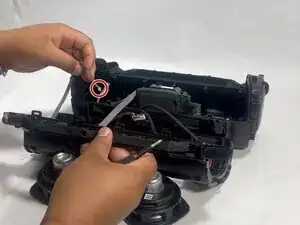
Remove the two 14 mm Phillips screws located on each side of the handle, near the clip points.
-
-
-
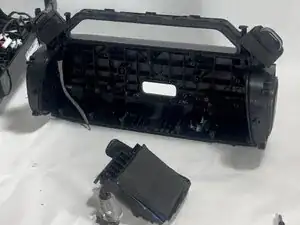
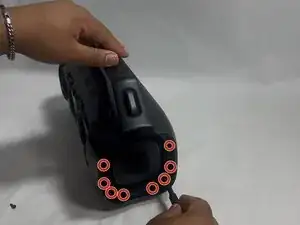
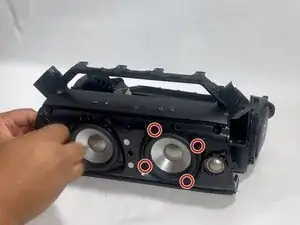
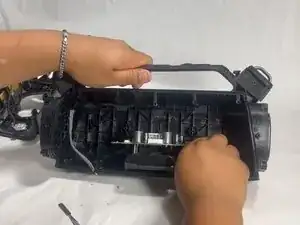
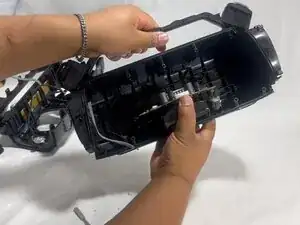
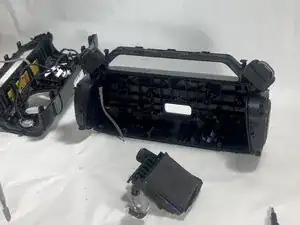
Remove the four 11 mm Phillips screws securing the subwoofer.
-
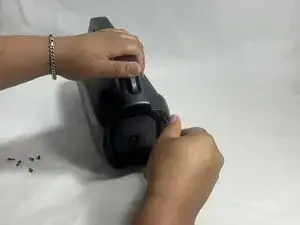
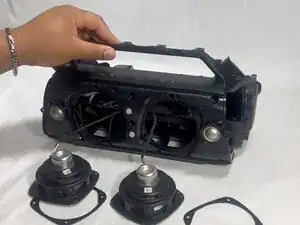
Gently pull the subwoofer out of the device.
-
-
-
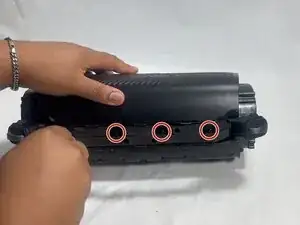
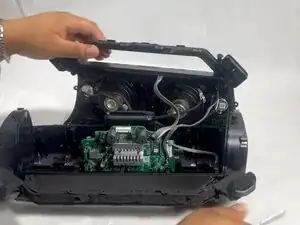
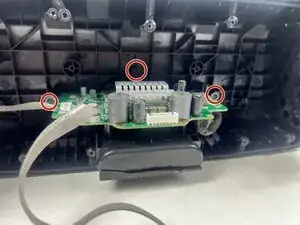
Remove the three 12 mm Phillips screws surrounding the motherboard using a screwdriver.
-
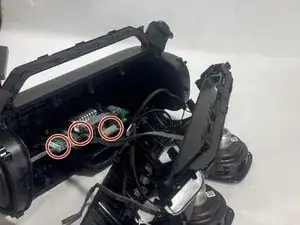
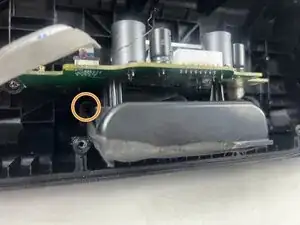
Remove the two 10 mm Phillips screws surrounding the battery.
-
-
-
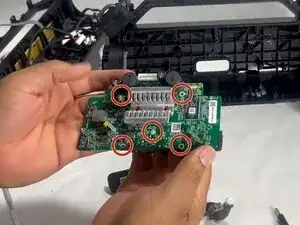
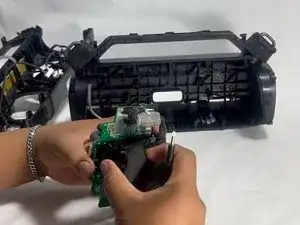
Remove the five 10 mm Phillips screws securing the motherboard and battery together.
-
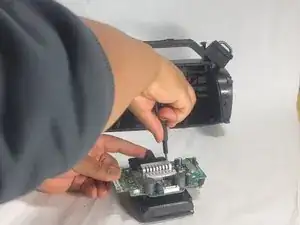
Gently lift the motherboard from the battery once all screws are removed.
-


To reassemble your device, follow the above steps in reverse order.
For optimal performance, after completing this guide, calibrate your newly installed battery.
Take your e-waste to an R2 or e-Stewards certified recycler.
Repair didn’t go as planned? Try some basic troubleshooting or ask our Answers community for help.
Where can I buy a replacement do you have the part # for battery and charging port
Wassim -