Introdução

If the back cover of your Amazon Kindle 8 is damaged, use this guide to replace it.

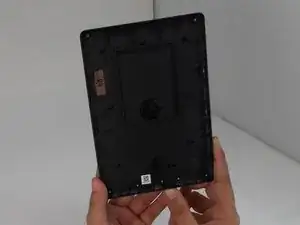
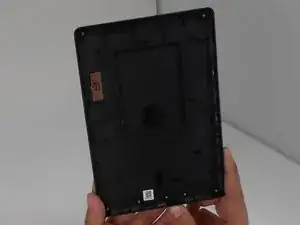
The back cover protects the Kindle's internal components from damages. A damaged back cover can interfere with the kindle's durability and functionality.

Before beginning, make sure that the back cover isn't simply loose and can't be resecured without replacement.

Be cautions when prying off the back cover to avoid damaging clips or internal components.

  1. pCiRbuZFtSMKS5vh
    pCiRbuZFtSMKS5vh
    SvkEDcjFyDoyxdSX
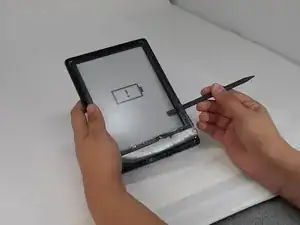
    • Insert the iFixit opening tool into any corner of the Kindle’s front cover.

    • Gently slide the tool along the edges and carefully separate the front cover from the inner front cover.

    • Keep even pressure to avoid any cracks.

    • Lift front cover once all clips are disengaged.

    • Lift the front cover gently so that it is not cracked.

  2. bXwNrLmWpJX6YuX6
    bXwNrLmWpJX6YuX6
    ebJUdHPtUyfmEDy2
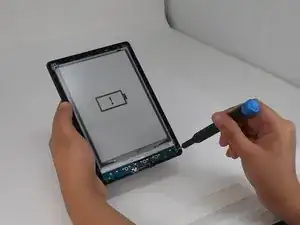
    • Insert the spudger between the inner front cover and the screen.

    • Gently work your way around to loosen the inner front cover.

    • Carefully lift the inner front cover from the device.

  3. Sk2vYtlkfFs2cuFi
    Sk2vYtlkfFs2cuFi
    KA34MTNgAJJmUbF6
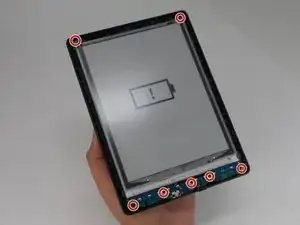
    • Use a T4 Torx screwdriver to remove the seven 3 mm screws around the perimeter of the device.

    My Kindle's top two screws are similar to the placement here. But the ones at the bottom are tucked under the motherboard. How do I access these?

    Nathan Hughes -

    Glued with tape just remove slowly from bottom corner!

    info -

    Glued with soft tape remove slowly from.bottom corner!!

    info -

    How is your touch works after such disassembly? I see one IR LED diod missing on the photo, probably because inner cover was removed carelessly. These diodes works for touch system in this reader, without attached inner cover touches won't work

    Pala4 Yev -

  4. NmoageDtDNvGG3oN
    NmoageDtDNvGG3oN
    ofqjYKVa1MJOyFiR
    • Lift the screen and motherboard from the back cover.

  5. 1x1UlYiUqYNCgteT
    • Separate the motherboard and the back cover.

Conclusão

To reassemble your device, follow the above steps in reverse order.
Repair didn’t go as planned? Try some basic troubleshooting or ask our Answers community for help.

Luke

Membro desde: 25/09/24

432 Reputação

0 comentários