Introdução
Here is an Amana washer that had issues with the motor. This was determined after running the automatic diagnostics. Replacement is straight forward with no pitfalls or difficulties.
To work on this replacement, you will need to gain access to the bottom. It is best to place the washer on its front. Place a few old blankets etc. so as not to scratch the front to much. Since I did a total rebuild on this washer, I had also removed the control panel. It was easier for me to place the washer upside down :-)
Ferramentas
Peças
-
-
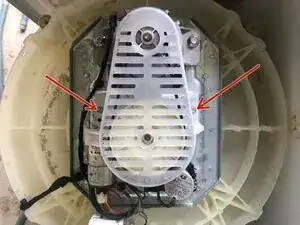
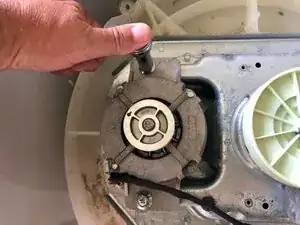
First the pulley cover has to be removed. It is attached via two 5/16 bolts
-
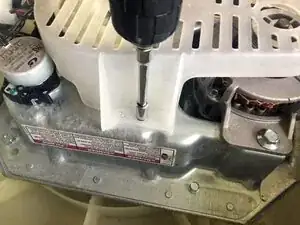
Use an electric screwdriver with a short extension and a 5/16 socket to remove the right screw,
-
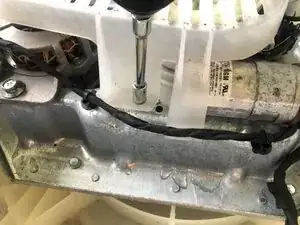
followed by the left screw, is easiest. A hand ratchet or a nut driver will of course work as well.
-
-
-
Remove the pulley cover
-
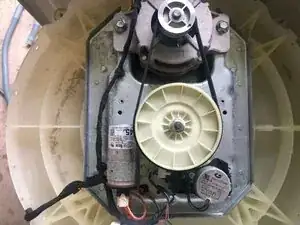
Now clearly visible are motor, pulley for the drive (clutch/splutch is underneath), shift actuator and start capacitor for the motor
-
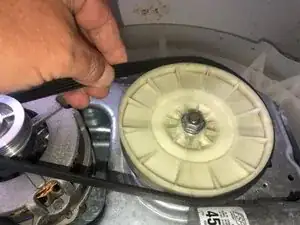
To remove the drive belt, lift one side up and then pulling it to the drive pulley while continuing to pull up on it. The belt will eventually run off the pulley
-
-
-
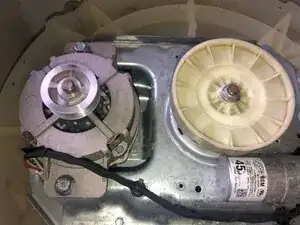
Belt is now removed
-
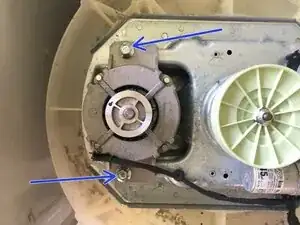
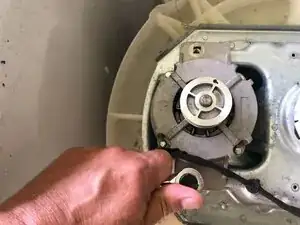
The motor is held to the housing by two 13mm machine bolts
-
I am using a 13mm socket to remove one,
-
-
-
and then the other bolt
-
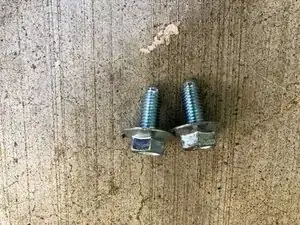
Both bolts are identical
-
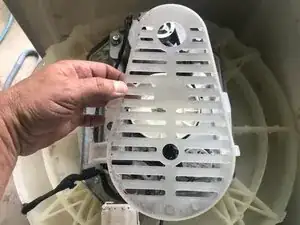
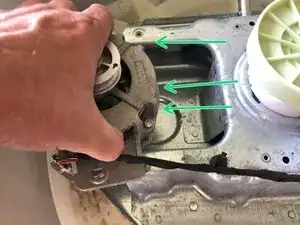
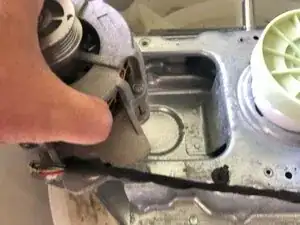
The motor is still boxed in the housing. Slide it to the outside
-
-
-
and then lift it up. There is enough length of the electrical cable to allow for this movement.
-
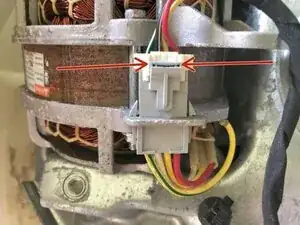
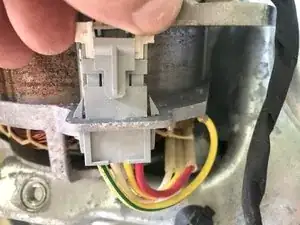
Next is to remove the wire connector. It does use a locking tab.
-
Move the locking tab up (you will now see the gap (Red arrow)
-
-
-
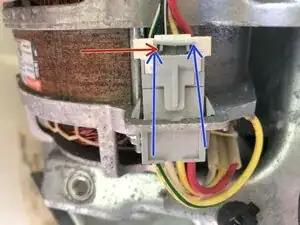
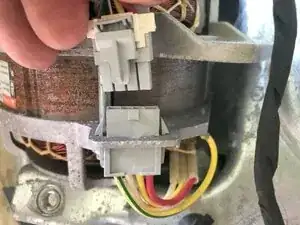
lift the locking tab with your fingernail (or a small screwdriver will work as well )
-
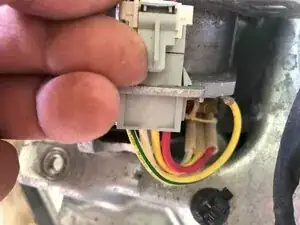
pull on the connector, (not the wire!)
-
until the connector comes free
-
-
-
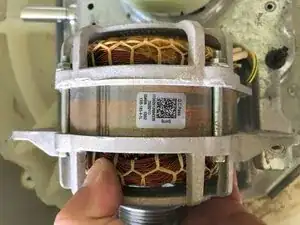
Motor can now be repalced.
-
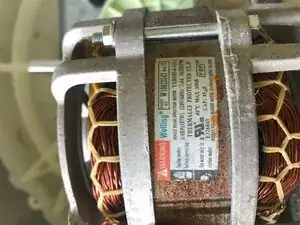
Here is the tag for anybody that will need to know more about the motor.
-
To reassemble your device, follow these instructions in reverse order.

Um comentário
Nice information for me and thanks