Introdução
This guide will show you how to alter an oversized shirt with a ribbon corset technique by adding sewn loops and a laced ribbon. This fix helps reshape a loose shirt into a more fitted and fully adjustable top without needing advanced sewing skills. For the best look, choose ribbon and thread that match your shirt’s color—or pick a contrasting color if you want the lacing to stand out. Follow the safety notes closely, especially when using needles and pins.
-
-
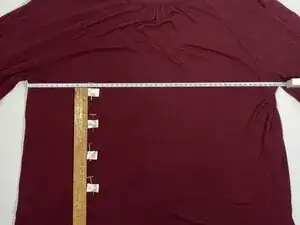
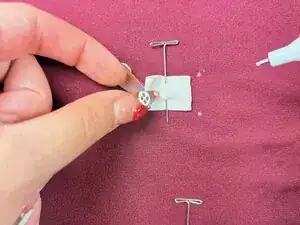
Lay the shirt flat.
-
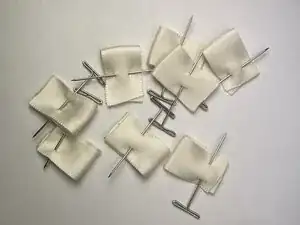
Place the loops parallel to the side seam, spaced about 2 inches apart, starting near the underarm.
-
-
-
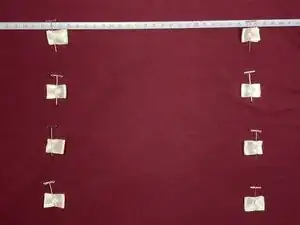
Place the remaining 4 loops on the opposite side of the shirt.
-
Mirror the first row so both sides line up evenly.
-
-
-
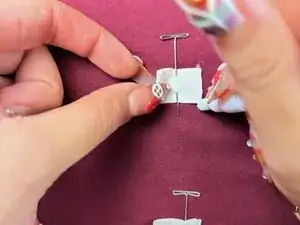
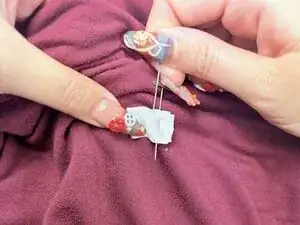
Once the last stitch is done and the thread is inside the shirt, tie a finishing knot:
-
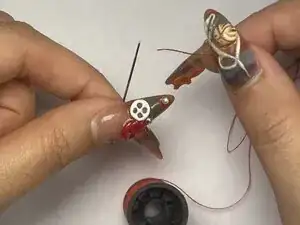
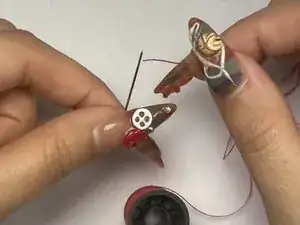
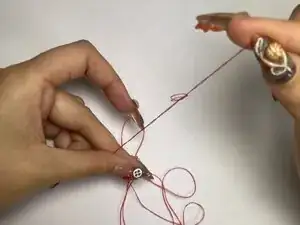
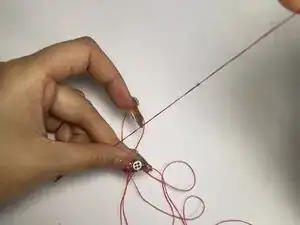
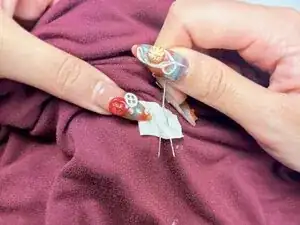
Slide the needle under your last stitch and pull to form a small loop.
-
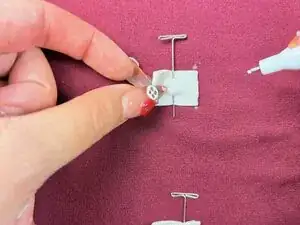
Pass the needle through the loop and pull tight to create a knot.
-
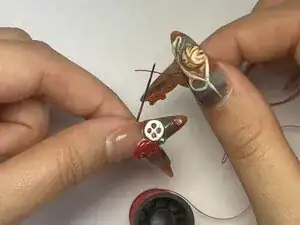
Repeat once more to secure it.
-
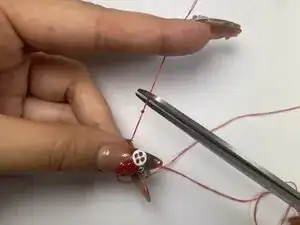
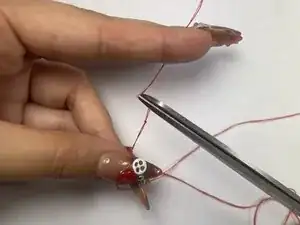
Trim any excess thread.
-
-
-
Repeat Steps 11–13 for the remaining 7 loops.
-
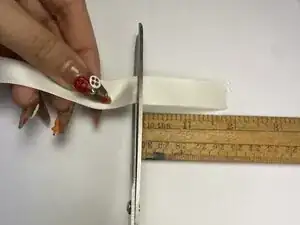
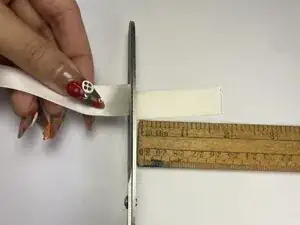
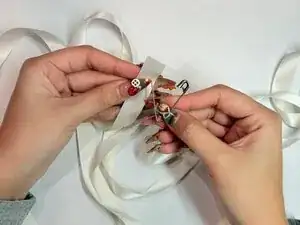
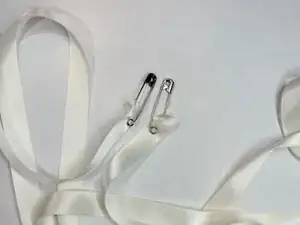
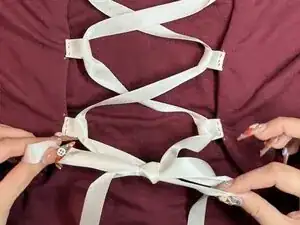
Cut a long ribbon that can zig-zag through all the loops and tie into a bow at the bottom.
-
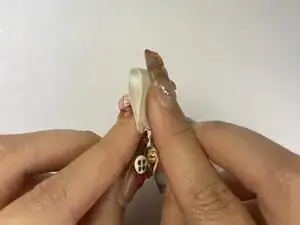
Seal both ribbon ends with a liquid fabric sealer to prevent fraying.
-
-
-
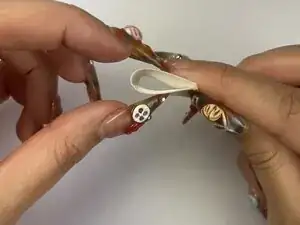
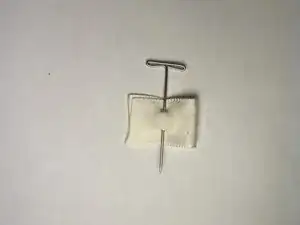
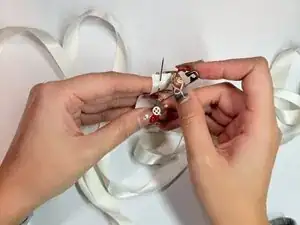
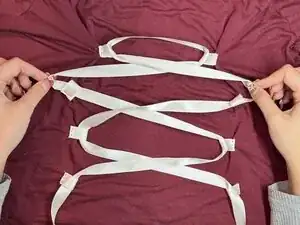
Attach a small safety pin to both ends of the long ribbon to make threading through the loops easier.
-
-
-
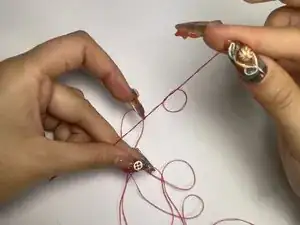
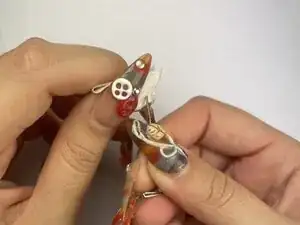
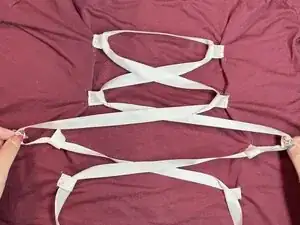
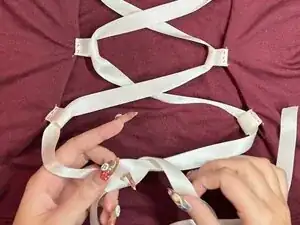
Insert the ribbon through the top loops.
-
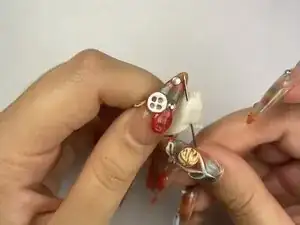
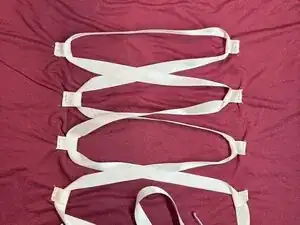
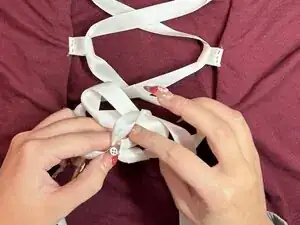
Cross the ribbon and lace in a zig-zag pattern.
-
Work downward through each loop pair.
-