Introdução
Use this guide to turn a pair of slim-fitting jeans into flare jeans.
Slim-fitting jeans are characterized by a tighter fit closer to the ankle, while flare jeans are looser and wider around the ankle. By adding extra fabric, slim-fitting jeans can be altered into flare jeans for added width and shape.
Before using this guide, be sure to have another pair of jeans ready to add to the slim-fitting jeans in order to turn them into flare jeans. The estimated time for this project depends on the speed of sewing and is about 6 hours if it is done by sewing by hand.
Ferramentas
-
-
Turn the jeans inside out.
-
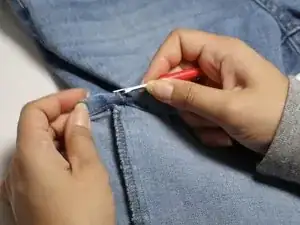
Approximate the length on the pant leg until you would reach the knee region and mark it.
-
-
-
Using a seam ripper from the bottom of the pant leg, begin removing the seams until they are completely separate up until the knee region of the jeans.
-
-
-
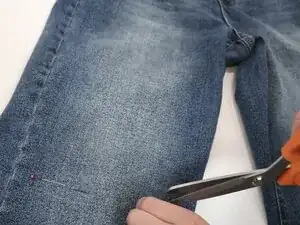
Using fabric chalk or a marker, outline the area you would like to use in a triangular-like shape on the donor fabric until you reach the desired fit of the pants, then repeat with another section of the fabric.
-
Cut out two of the triangles for each of the pant legs from the donor fabric.
-
-
-
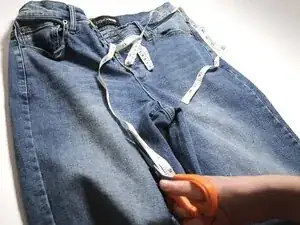
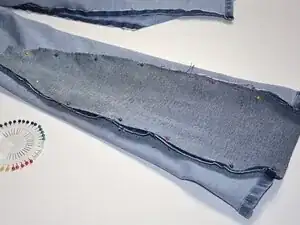
Align the donor fabric triangle with the inside fabric side facing up with the bottom of the jeans. Your fabrics should be facing the same directions.
-
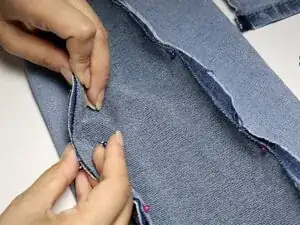
Begin pinning the denim fabric and the jeans together starting at the bottom of the pant leg while allowing for some seam allowance. Follow the shape of the triangle and the opened seam on the pair of jeans ensuring that they will lay flat once pinned.
-
-
-
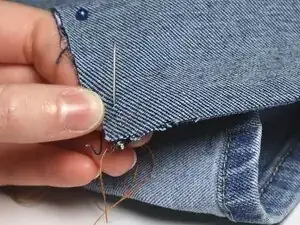
Sew a straight line along the edge of the seam on the inside using a backstitch, removing the pins as you go.
-
Knot the end of a piece of thread then thread the needle with the opposite end of the thread.
-
Push the needle from the back of the fabric to the front side.
-
Then pull the thread through the fabric until the knot rests up against the back side of the new seam with the needle going toward the front side.
-
Take the needle and push it through the fabric about 0.5 cm toward the left of the thread.
-
Pull the thread through the back of the fabric then push the needle through the fabric about 0.5 cm to the left on the back of the fabric.
-
Pull the needle and thread through the fabric to the front then push the needle into the hole where the previous stitch was.
-
-
-
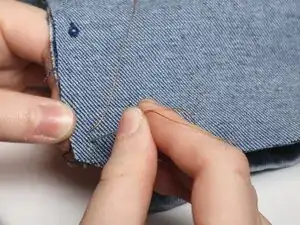
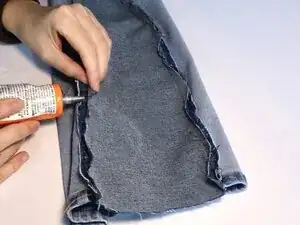
Apply fabric glue in a thin line between the edges of the fabric, parallel to the seam to prevent jeans from fraying.
-
After applying the glue, press the flaps together lightly so glue can soak into the fabric and let it fully dry before moving on to the next step.
-
-
-
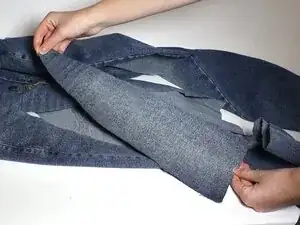
Repeat steps 1-8 on the opposite pant leg to make the flare insert even and complete the design.
-


.