Introdução
This guide provides instructions on how to upgrade or replace the hard drive in an Alienware M15x. If your Alienware M15x is running slowly, showing storage errors, or won’t start up, it may be time to replace the hard drive. This repair is often needed when the drive has failed, you’re running out of space, or you want to upgrade to a faster SSD for better performance. You don’t need advanced technical skills—just basic computer repair knowledge and the right tools. While the process is straightforward, the M15x’s compact design means you’ll need to work carefully when removing the bottom panel and handling internal components. Follow these steps to safely replace your drive and get your system running like new.
Ferramentas
-
-
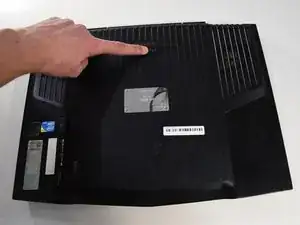
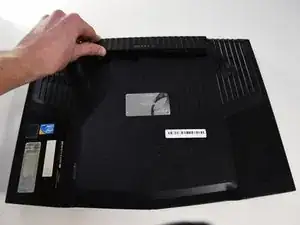
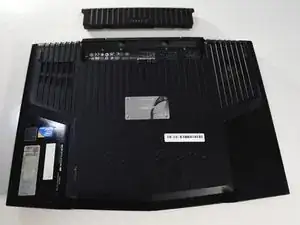
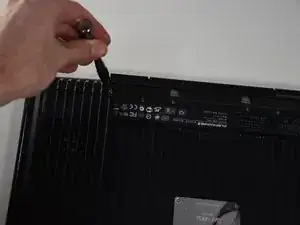
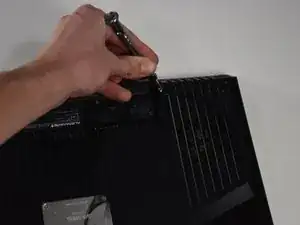
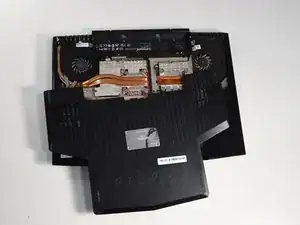
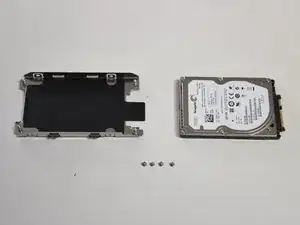
Remove the two 4-mm screws that hold the compartment door to the rest of the computer using a PH#0 screwdriver tip.
-
-
-
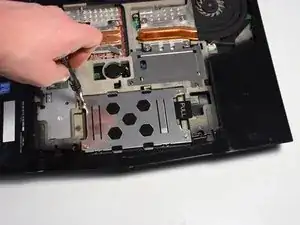
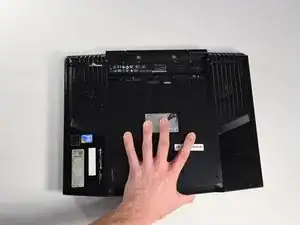
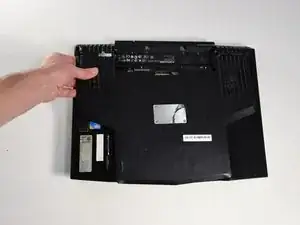
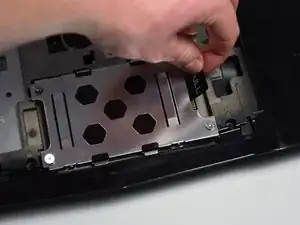
Once the screws are loosened use the "PULL" tab to remove the current hard drive from the computer.
-
-
-
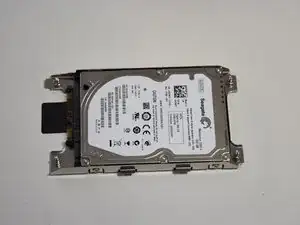
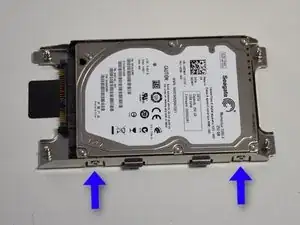
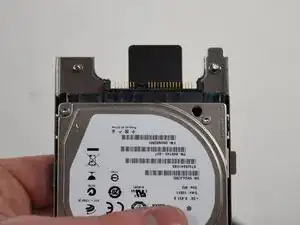
Now take off the SATA converter and then connect it to the drive you would like to replace it with.
-
To reassemble your device, follow these instructions in reverse order.