Introdução

If your Alienware AW610M mouse cursor moves erratically, lags, or stops responding, the problem might not be the sensor; it could be the mouse feet. This guide will show you how to replace the mouse feet on your Alienware AW610M to get smooth movement and accurate cursor tracking. For additional details to prepare for replacing the mouse feet, try visiting the "Cursor Tracking Does Not Work" troubleshooting page.

  1. WxR6ADjuNNoTFK64
    WxR6ADjuNNoTFK64
    pyoSxTGxnu4ORpwO
    TmqHdbNZAVvGJ5ju
    • Power off the mouse and disconnect any wired connections.

  2. ZpPUdOBBrDUuEmH6
    ZpPUdOBBrDUuEmH6
    pQaBmHaALkNyqcjr
    • Use a spudger to gently lift and remove the old mouse feet.

    • If the feet are sticky, try lifting slowly from one corner to avoid tearing them.

    • Be careful not to scratch the mouse surface or damage the plastic housing.

  3. ifadS2jIOJlnp4CD
    ifadS2jIOJlnp4CD
    MAuYFPyXSCIpnFHo
    • Take a lint free cloth lightly dampened and clean away any remaining adhesive residue.

    • Allow the surface to dry completely before applying new feet to ensure proper adhesion.

  4. lYTdEHsurhlT2C4w
    lYTdEHsurhlT2C4w
    cdpRlYvfBaUECm3Z
    2fdMV4DSdfKBOBW2
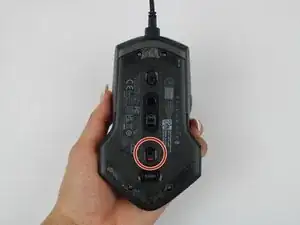
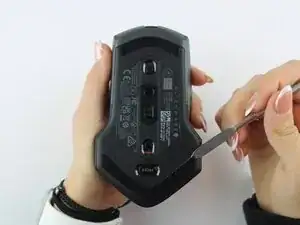
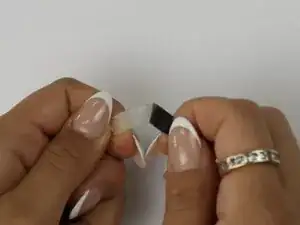
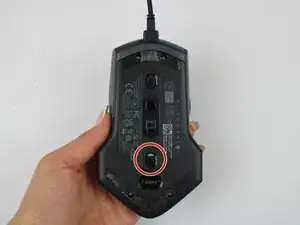
    • Peel the adhesive backing off the new mouse feet. Align the mouse foot with its designated area on the mouse. Press firmly to secure it in place. Repeat steps for bottom mouse foot.

    • Make sure the feet are properly aligned before pressing, as misalignment can affect mouse performance.

  5. vDhVs23YDYuW2NwU
    vDhVs23YDYuW2NwU
    5VT3GXc2qjb2DNbL
    pk2DG2XICPMbJUpY
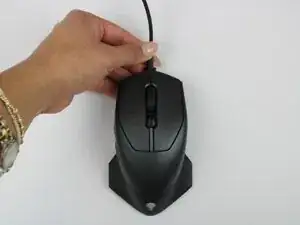
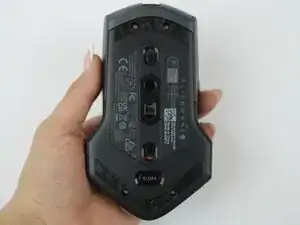
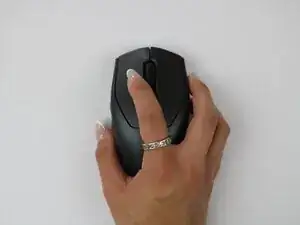
    • Power the mouse back on via wired or wireless connection and test the glide and tracking on a smooth surface.

    • If the mouse still tracks poorly, check the surface or sensor for dust or debris.

Conclusão

To reassemble your device, follow these instructions in reverse order.

Ashley S.

Membro desde: 24/09/25

171 Reputação

0 comentários