Introdução
The motherboard on the Alienware 15 R2 is an key part of this laptop. This guild will show how to replace the motherboard which is a critical component in the laptop that allows the all other components to work together. When doing this guild make sure to keep take of where each screw was and where the cables plug into.
Ferramentas
-
-
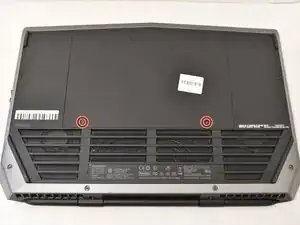
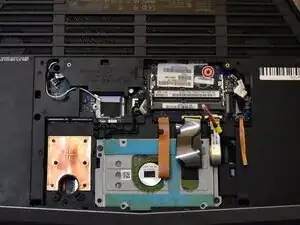
Place laptop upside down with the hinge facing you, then remove the two 9 mm Phillips #0 screws located in the bottom left and right of the of the rear panel.
-
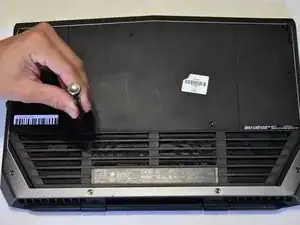
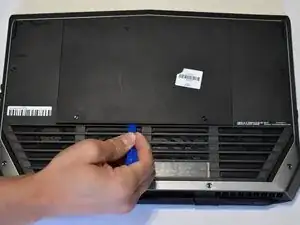
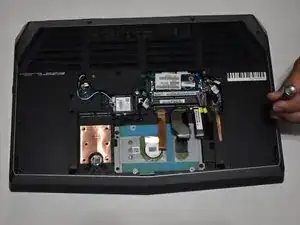
Remove the rear panel by using the iFixit opening tool to separate it from the back of the laptop.
-
-
-
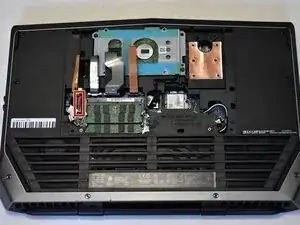
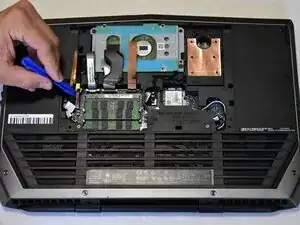
Use the iFixit opening tool to disconnect the battery cable. Put the iFixit tool underneath the cable and then pull it to remove.
-
-
-
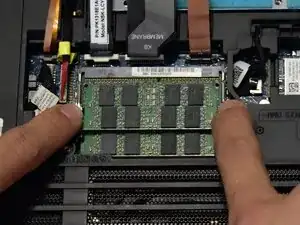
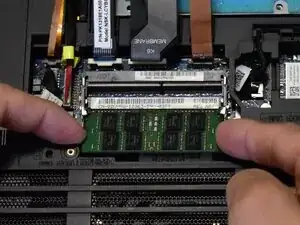
Two clips secure each RAM module in place, one on each side. Using your fingers, spread the clips away from the RAM module.
-
Repeat for the second module.
-
-
-
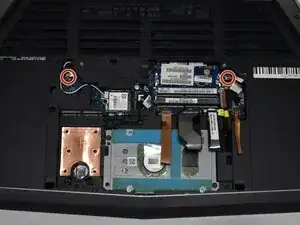
Using a Phillips #0 screw driver remove the 3 mm screw behind where the RAM used to be.
-
If you installed additional SSD's, you will need to remove those as well.
-
-
-
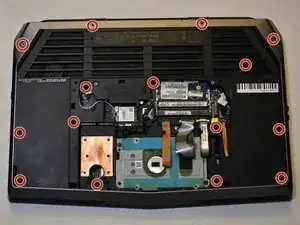
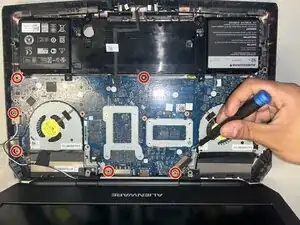
Remove all screws from the back casing using a Phillips #0 screw driver. (4X 18mm, 4X 10mm, 6X 6mm)
-
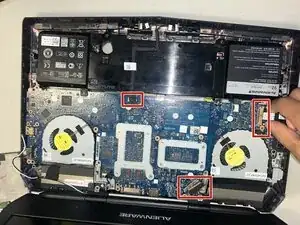
Press your finger in the hole next to the hard drive to lift the key board. You may need an iFixit opening tool and work your way around the edges of the keyboard to get it fully lifted.
-
-
-
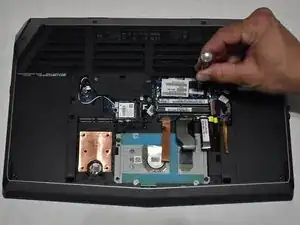
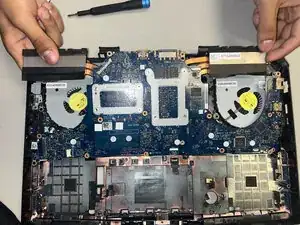
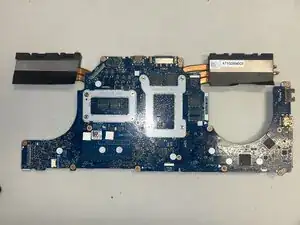
Remove the motherboard using an iFixit opening tool anytime it becomes difficult to get out.
-
To reassemble your device, follow these instructions in reverse order.