Introdução

  1. OPLxuan2OSjtkv1d
    • Make sure the device is off and unplugged from power.

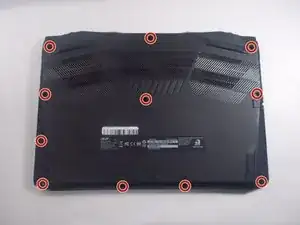
    • Flip the device so the bottom is facing up.

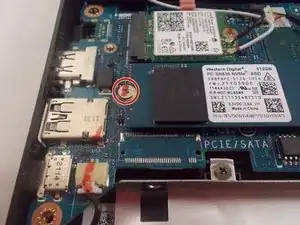
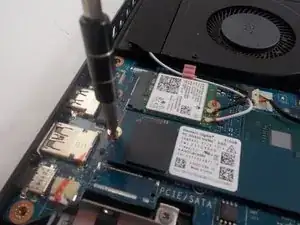
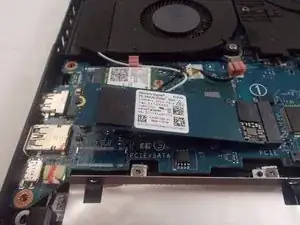
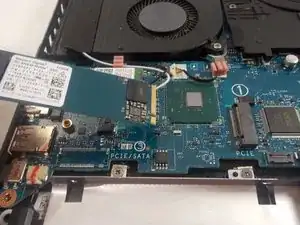
    • Use a Phillips #1 screwdriver to remove the eleven screws securing the bottom cover.

  2. nOBEhp6GnCIMpAfE
    nOBEhp6GnCIMpAfE
    wQlGQcyGOLlQwDna
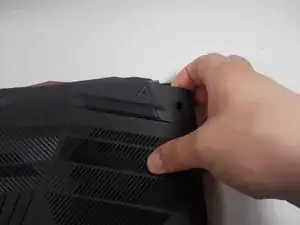
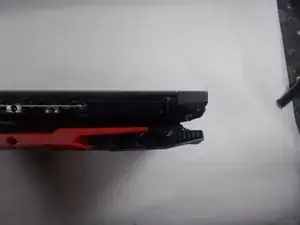
    • Insert an iFixit opening tool into a gap along one edge of the bottom cover and gently pry upward to release the plastic clips. Work your way around the edges until all clips have released.

    • You may hear loud clicking sounds as the clips are released—this is normal.

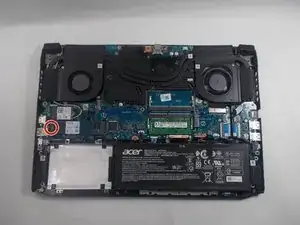
    • Lift the bottom cover away from the laptop and set it aside. Lift the top left and right corners up and away from the device.

    • Remove the panel from the laptop.

  3. XgBWCFpMvQbwCqQC
    XgBWCFpMvQbwCqQC
    MHl2iY2Clwc1VNbj
    eQfXaSuwywHG4qca
    • Remove the single screw from the SSD using a Phillips #1 screwdriver.

  4. EsgXmZBXvG166Psr
    EsgXmZBXvG166Psr
    6xXbxCPKZRwsABZF
    5nqV2VANwOCvPXDF
    • The drive will lift itself up.

    • Gently pull the drive to the left to remove it from the laptop.

Conclusão

To reassemble your device, follow these instructions in reverse order.

Samuel Rouillard

Membro desde: 31/03/21

681 Reputação

0 comentários