Introdução
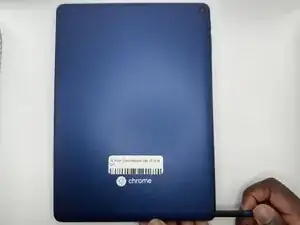
In this guide, we’ll walk you through how to replace the motherboard in your Acer Chromebook Tab 10 N18Q1.
If your tablet is experiencing issues such as failing to power on, frequent crashes, or unresponsive hardware components, check the troubleshooting pages first to confirm that the motherboard is the cause before proceeding.
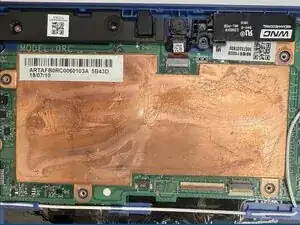
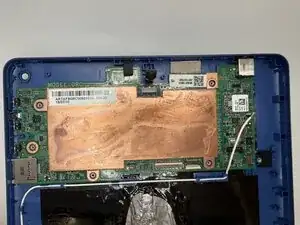
The motherboard is the central circuit board of the tablet and connects all major components. In this guide, we’ll show you how to access and remove the existing board safely.
Before you begin, power off your tablet and disconnect the charger.
-
-
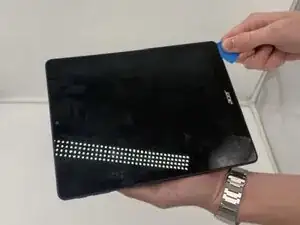
Insert an opening pick into the gap between the screen and the bottom case. Slide it around the edge to release the clips securing the two parts together.
-
Gently separate the screen from the bottom casing.
-
-
-
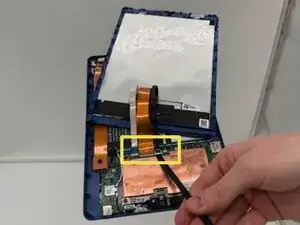
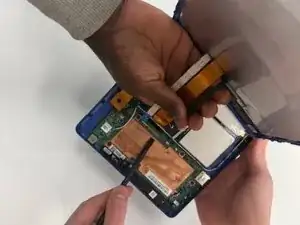
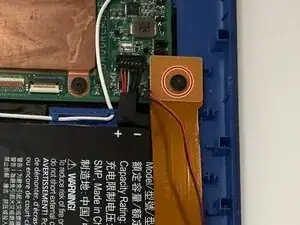
Use a spudger or a clean fingernail to flip up the locking flap—this is the unlocked position.
-
Use tweezers or your fingers to gently pull the cable out of its socket.
-
Remove the sensor board and cable.
-
-
-
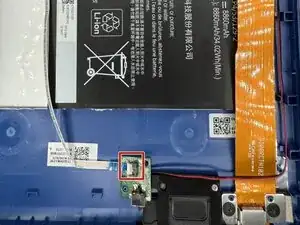
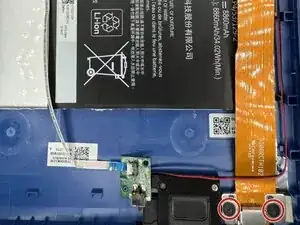
Use a Phillips #1 screwdriver to remove the 2 screws holding the USB-C port in place.
-
Remove the screw at the end of the orange ribbon cable and remove the USB-C cable.
-
-
-
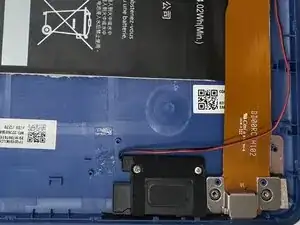
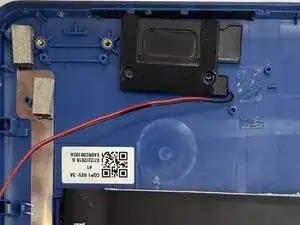
Use a Phillips #0 screwdriver to remove the 2 screws from the lower speaker.
-
Remove the lower loudspeaker.
-
-
-
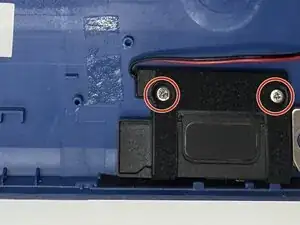
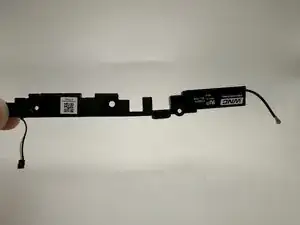
Remove the two Phillips screws from the upper speakers that secure them to the frame.
-
Remove the upper speakers.
-
-
-
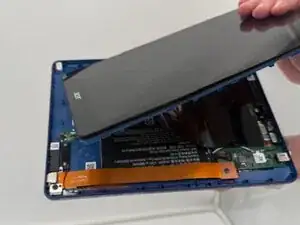
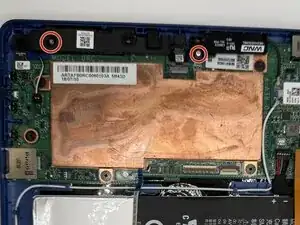
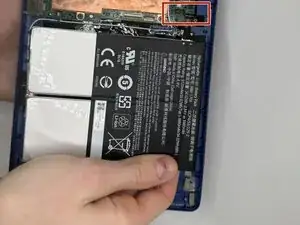
Use the flat end of a spudger to lift and unclip the outer edges of the battery connector.
-
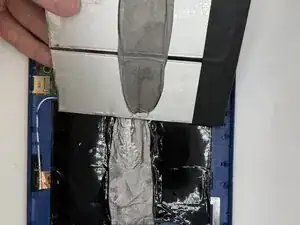
Remove the battery from the tablet.
-


To reassemble your device, follow these instructions in reverse order. Take your e-waste to an R2 or e-Stewards certified recycler.