Introdução

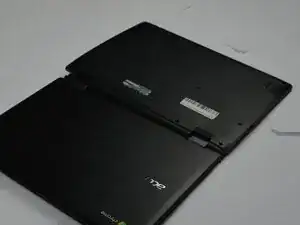
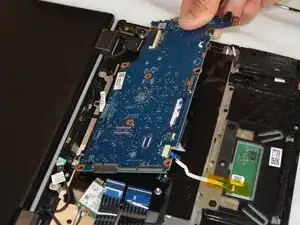
This guide demonstrates how to replace the motherboard in your Acer Chromebook Spin 511 R752T.

  1. pFpR2YhpAXPKZu41
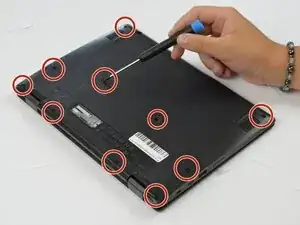
    • Using the Phillips #0 screwdriver, remove twelve 6.4 mm screws from the bottom of the laptop.

    • Set the screws aside in a safe place.

  2. QVmFBIjBoKSWub4L
    QVmFBIjBoKSWub4L
    yAVIyWnbRaMkvQdH
    YonupsXWZiVFVbX1
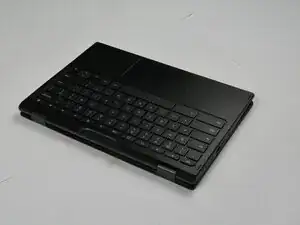
    • Flip the laptop over so that the keyboard is facing you.

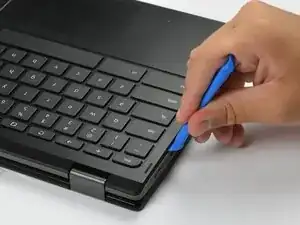
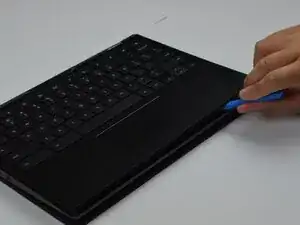
    • Use an opening tool to gently pry the front keyboard with palm rest from the Chromebook.

    • Slide the opening tool around the edge to release the connecting clips.

  3. GF6VMN2cBgQUC4PJ
    GF6VMN2cBgQUC4PJ
    EpmI6dcKPT4DomRH
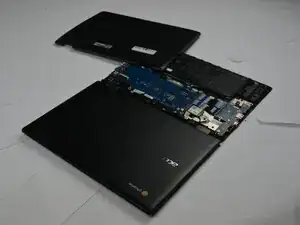
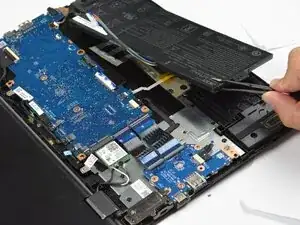
    • Flip the computer over again, so the back plate is facing up.

    • Remove the back plate completely.

  4. CwWxdacIWkXxAIVA
    CwWxdacIWkXxAIVA
    TPsKrapqnqHqnOxB
    • Using angle tweezers, carefully remove the tape, securing the battery wires.

  5. fPSfbs4TiqMqguLC
    fPSfbs4TiqMqguLC
    AVkRjXbpCSGRVQtT
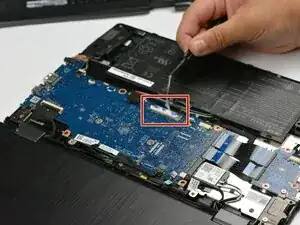
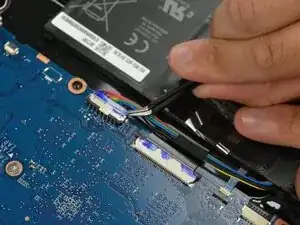
    • Use the point of a spudger to push on alternating sides of the battery connector to "walk" it out of its socket.

    • Disconnect the battery cable from the motherboard.

  6. cVTDWkPsHaNDZHYq
    • Remove the battery from the laptop.

  7. iuNcYFgtZJGiEhcs
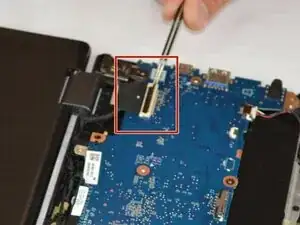
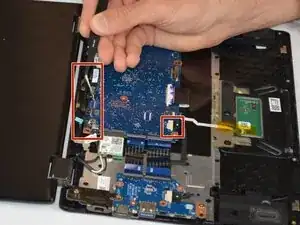
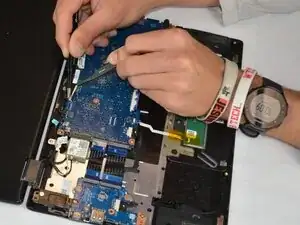
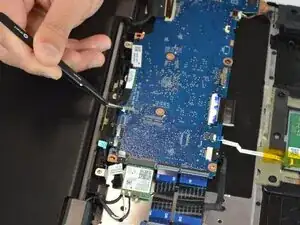
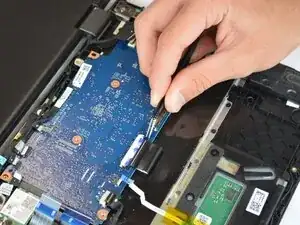
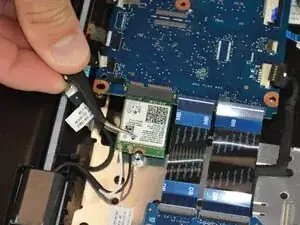
    • Use a Phillips #0 screwdriver to remove three screws securing the motherboard.

    • Remove the single screw holding the Wi-Fi card down.

  8. ofEr1voCDxMEVkL5
    ofEr1voCDxMEVkL5
    aePKpcEdImmPsGNJ
    QBWkhbvbntIQOPuV
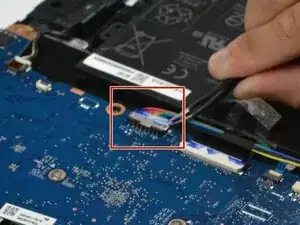
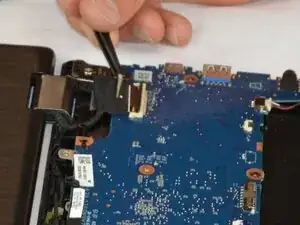
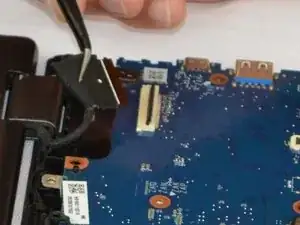
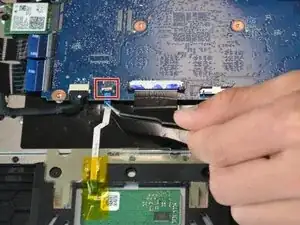
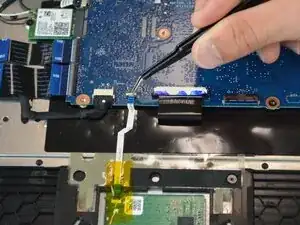
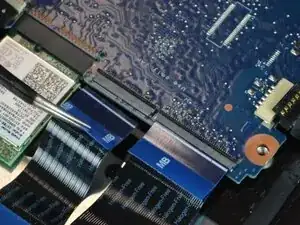
    • Use a spudger or a clean fingernail to flip up the locking flap on the ZIF connector—this is the unlocked position.

    • Use tweezers or your fingers to gently pull the cable out of its socket.

  9. wIWOnXBQhCTMsDgI
    wIWOnXBQhCTMsDgI
    6UVJrXkf2BFEAh6J
    WbyFNGvY2KtVpD1N
    • remove tape, unplug, finished

    • 3 connectors with tape

  10. t3UrTkbuGVVsMNZx
    t3UrTkbuGVVsMNZx
    X5kkSYisV5bSvHXT
    • Disconnect the ZIF connector.

  11. ELXwTpLQly1DwxMH
    ELXwTpLQly1DwxMH
    QKqwjblBSJOqkP1W
    • Disconnect the touchpad connector.

  12. SoWfsAeQfvlfbIa5
    SoWfsAeQfvlfbIa5
    2O1gDVluhBHxxDoO
    • Disconnect the daughterboard connectors from the motherboard.

  13. RFoAcfUrEHaeGvPU
    • Slide the Wi-Fi card from the socket on the motherboard.

  14. vksiAfMrH1wdoWHB
    • Remove the motherboard from the device.

Conclusão

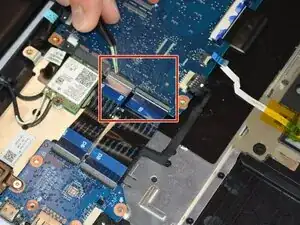
To reassemble your device, follow these instructions in reverse order. Take your e-waste to an R2 or e-Stewards certified recycler.

Maxwell Benson

Membro desde: 25/09/25

295 Reputação

0 comentários