
Introdução
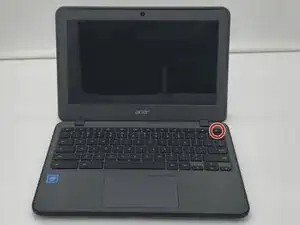
Use this guide to replace the I/O board in a Acer Chromebook C731T-C42N.
Ferramentas
-
-
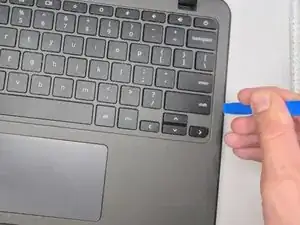
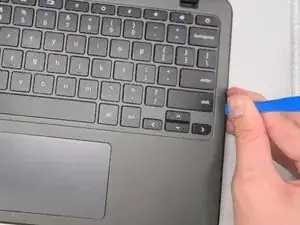
Insert an opening tool between the chassis and keyboard/palm rest assembly.
-
Pry around the entire perimeter until the assembly releases.
-
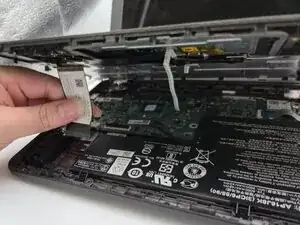
Slightly lift the assembly, with care not to strain the two connected ribbon cables.
-
-
-
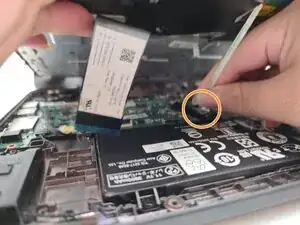
Flip up the locking tab on the left ZIF connection and pull the cable out parallel to the to the socket.
-
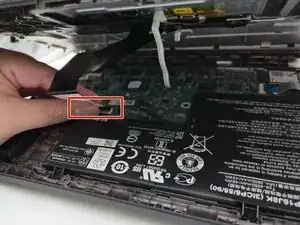
Disconnect the second ribbon cable.
-
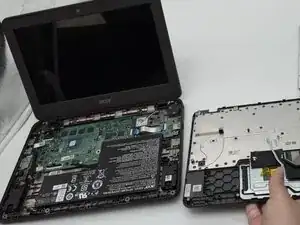
Remove the keyboard and palm rest assembly.
-
-
-
Remove the two 3.5 mm-long screws securing the I/O board.
-
Flip up the locking flap securing the I/O board ribbon cable.
-
Remove the I/O board.
-
To reassemble your device, follow the above steps in reverse order.
Take your e-waste to an R2 or e-Stewards certified recycler.
Repair didn’t go as planned? Try some basic troubleshooting or ask our Answers community for help.
