Introdução
This is a removal/replacement guide for the trackpad of the Acer Chromebook C731 T-C42N.
This guide may be helpful if your trackpad is not working, is insensitive to your touch, or if it can't click anymore.
Do these steps in reverse order in order to replace the trackpad.
Hazard Statement:
When opening the laptop, there are two cables attached to both the top and bottom cover. They are for the track pad/keyboard and for the power button. Take care to disconnect them before pulling the top and bottom pieces apart too far.
-
-
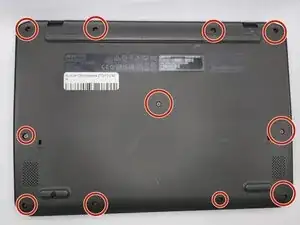
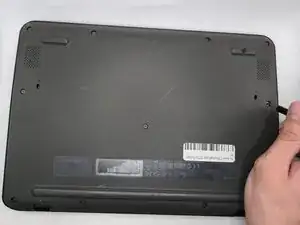
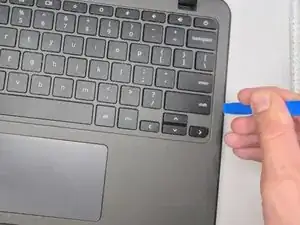
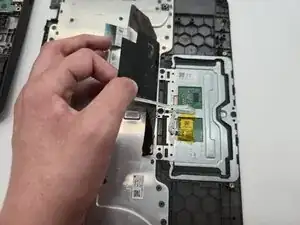
Insert an opening tool between the chassis and keyboard/palm rest assembly.
-
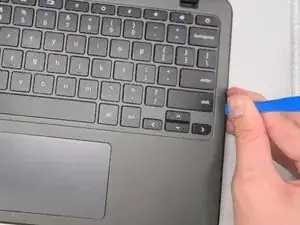
Pry around the entire perimeter until the assembly releases.
-
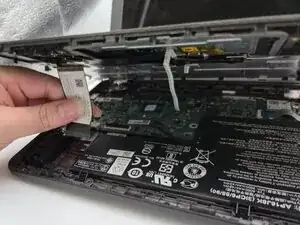
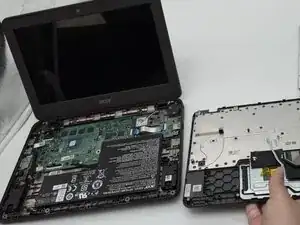
Slightly lift the assembly, with care not to strain the two connected ribbon cables.
-
-
-
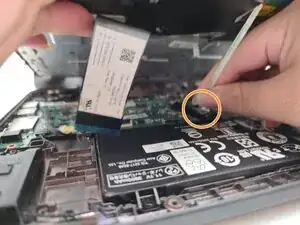
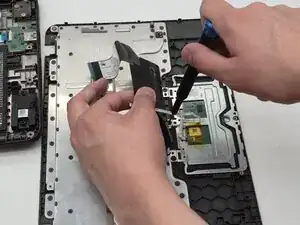
Flip up the locking tab on the left ZIF connection and pull the cable out parallel to the to the socket.
-
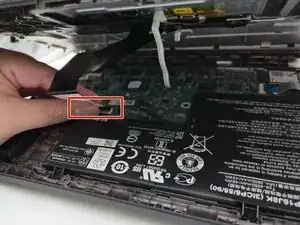
Disconnect the second ribbon cable.
-
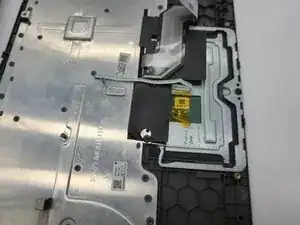
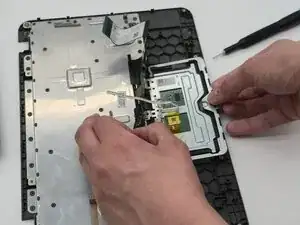
Remove the keyboard and palm rest assembly.
-
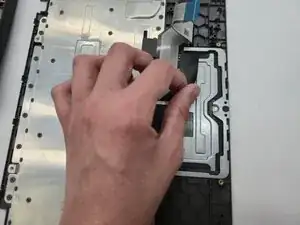


To reassemble your device, follow the above steps in reverse order.
Take your e-waste to an R2 or e-Stewards certified recycler.
Repair didn’t go as planned? Try some basic troubleshooting or ask our Answers community for help.