Introdução
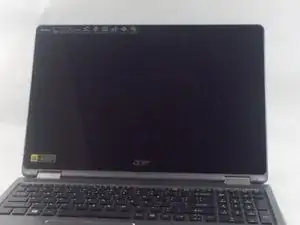
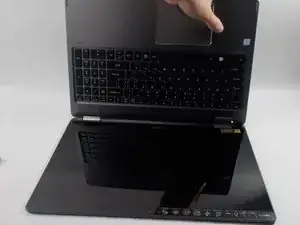
The display assembly on your Acer Aspire R5-571T-57Z0 is what displays the interface that the user interacts with. This particular display has a touch-screen interface which allows the user to interact with the laptop by tapping the screen with their fingers alternatively to using a mouse or trackpad.
If your screen has discolorations, lines appearing across the screen, or the touch controls are not registering, your display may be damaged and require replacement. Before continuing with this guide and replacing your display, make sure the issue is not software related. Ensure that all software has been closed and the laptop has been restarted. Additionally, update any out of date graphics drivers. Malfunctioning screens are especially common after an update to the operating system. This problem can be fixed by updating the previously mentioned graphics drivers. Consult our troubleshooting guide for more information.
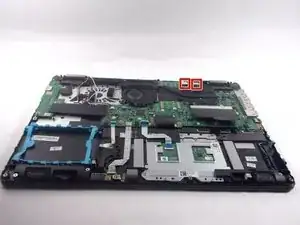
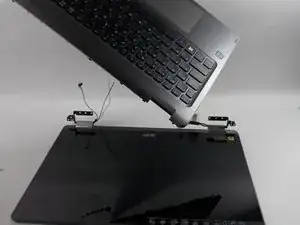
This guide will show you how to replace the display assembly in your Acer Aspire R5-571T-57Z0. Before starting this guide, make sure to power off your computer and disconnect it from any external devices. Once these steps are taken, carefully follow our guide to remove the display assembly from your laptop.
Ferramentas
-
-
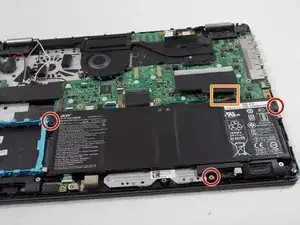
Remove the three 4.0 mm screws from the battery using a Phillips #00 screwdriver.
-
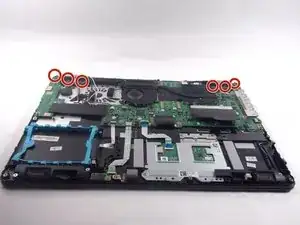
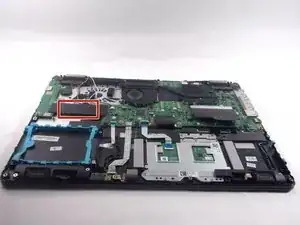
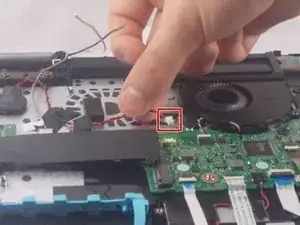
Unplug the cable connected to the RAM.
-
Carefully remove the battery.
-
-
-
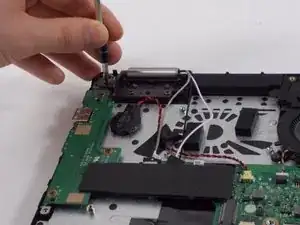
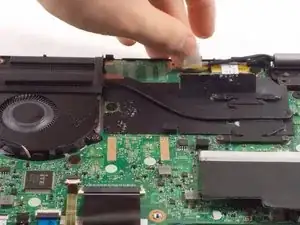
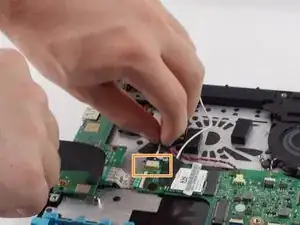
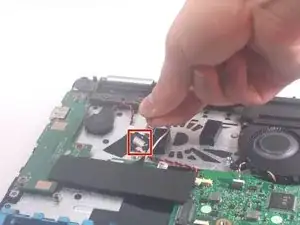
Pull back the tape covering the connectors.
-
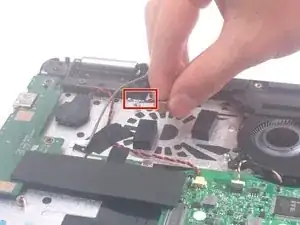
Detach the two connectors (one black wire, one white wire).
-


To reassemble your device, follow these instructions in reverse order.

Um comentário
The instructions say to just pull bak the stickers for the display, I assume those should also be disconnected?
There are clips on the south edge, so lift the top first
Helen Tai -