Introdução
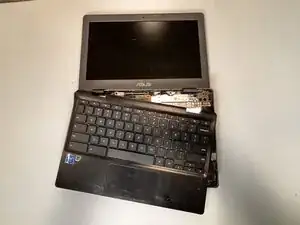
This guide is for when any aspect of the palmrest or keyboard stops functioning and the cause is due to the physical components rather than the software of the laptop. When you find yourself in a situation in which the palmrest should be replaced is when some of the keyboard wiring has somehow been ripped off or the keyboard backlight stopped working for some reason.
The entire palmrest itself contains the keyboard and all its wiring, so replacing the palmrest means to replace the keyboard.
Before using this guide, it is best to have the laptop completely shut off as it requires unplugging the battery.
Ferramentas
-
-
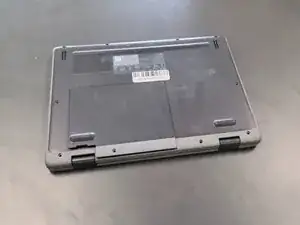
Close the lid and set the laptop with down the bottom facing up.
-
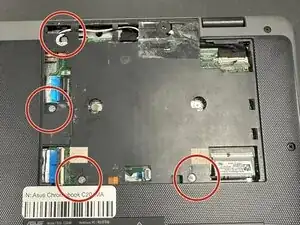
Use a Phillips #0 screwdriver to remove the following screws:
-
Six 6 mm-long
-
Four 8 mm-long
-
Lift and remove the panel.
-
-
-
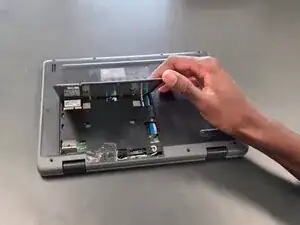
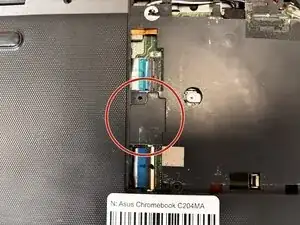
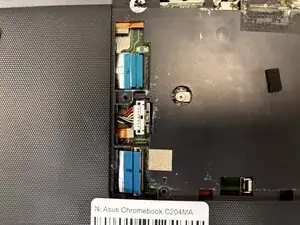
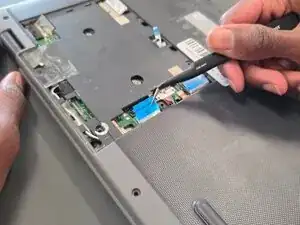
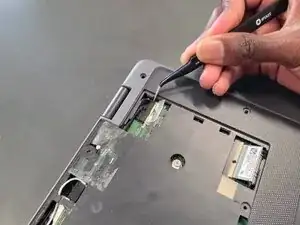
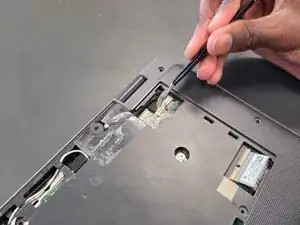
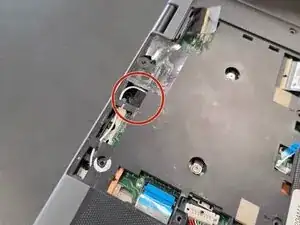
Lift up the silver hinge securing the battery connector and disconnect the battery connector.
-
-
-
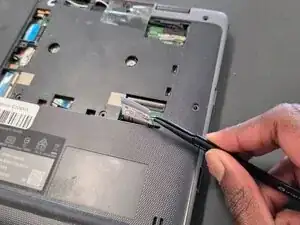
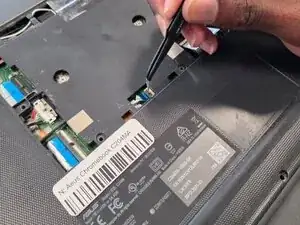
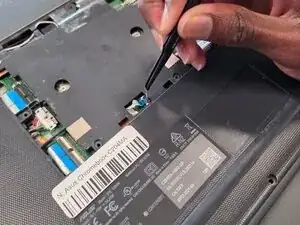
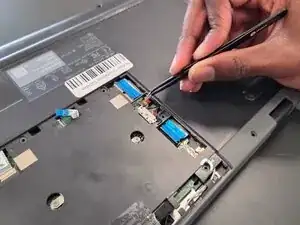
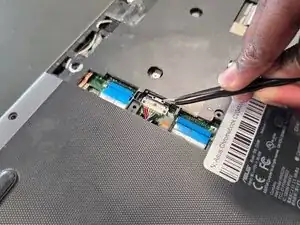
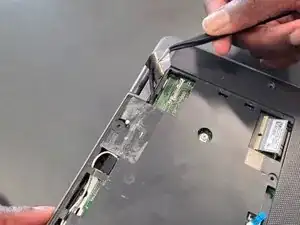
Lift up the tape covering the display cable.
-
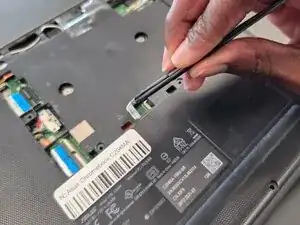
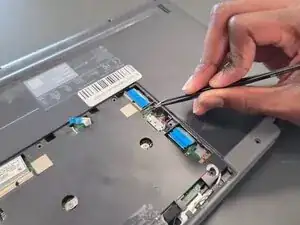
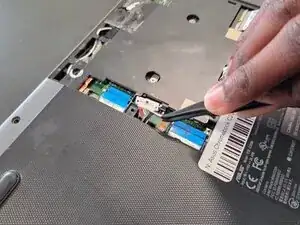
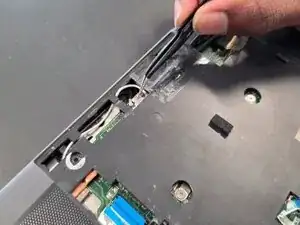
Lift the locking bar securing the display cable.
-
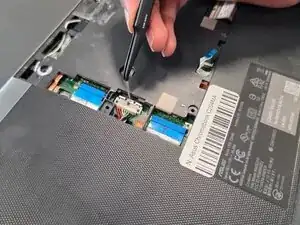
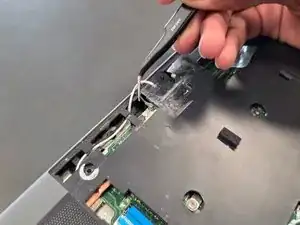
Disconnect the display cable.
-
-
-
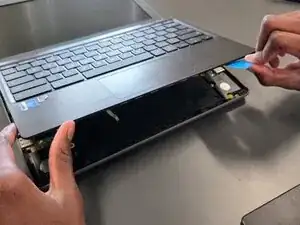
Flip over the laptop and open the lid to a full 180 degrees.
-
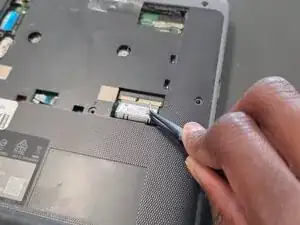
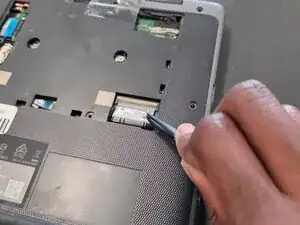
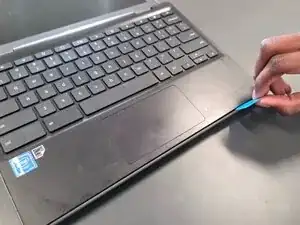
Insert an opening pick into the seam between the palm rest assembly and chassis.
-
Slide the opening pick around the perimeter until the palm rest assembly fully releases.
-
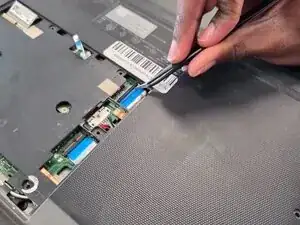
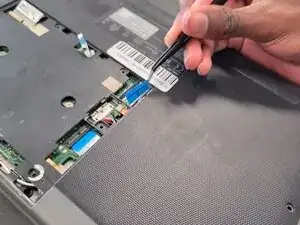
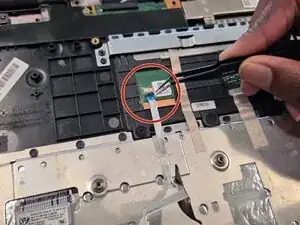
Flip up the locking flap securing the touchpad ribbon cable.
-
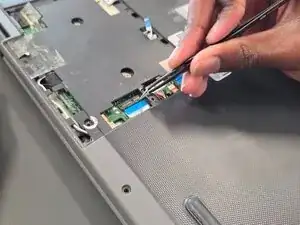
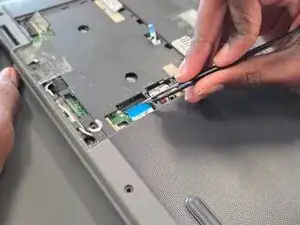
Disconnect the ribbon cable.
-
Remove the palm rest assembly.
-


To reassemble your device, follow the above steps in reverse order.
Take your e-waste to an R2 or e-Stewards certified recycler.
Repair didn’t go as planned? Try some basic troubleshooting or ask our Answers community for help.