Introdução
A healthy motherboard is completely crucial to your laptop's health and productivity and when you have a faculty motherboard, this can lead to the device running into certain problems. These problems can be not powering on at all to performance problems like random shutdowns, freezing, and blue screen errors.
Certain problems can even lead to more issues such as components not being recognized, display problems, and even cause damage to other hardware like the CPU, RAM or storage devices due to insufficient power.
Before checking out this guide, make sure to check out the Asus Chromebook C204MA Won't Charge Troubleshooting Guide to see if some these underlying issues can be addressed and resolved through the troubleshooting guide.
-
-
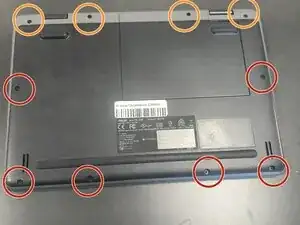
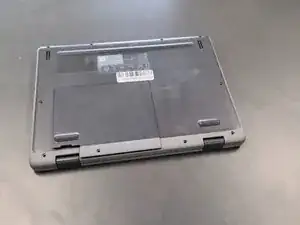
Close the lid and set the laptop with down the bottom facing up.
-
Use a Phillips #0 screwdriver to remove the following screws:
-
Six 6 mm-long
-
Four 8 mm-long
-
Lift and remove the panel.
-
-
-
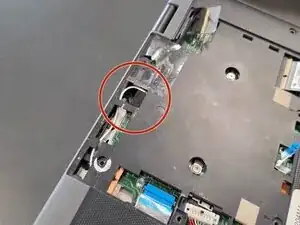
Lift up the silver hinge securing the battery connector and disconnect the battery connector.
-
-
-
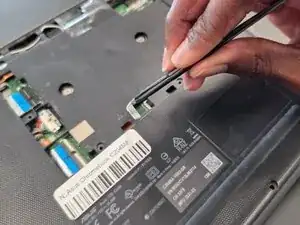
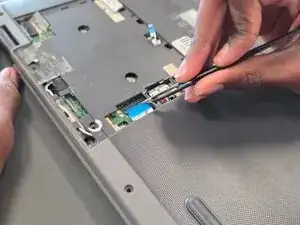
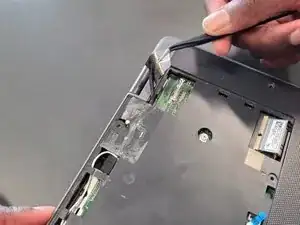
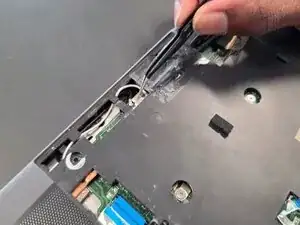
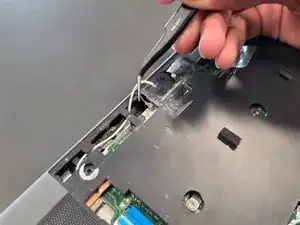
Lift up the tape covering the display cable.
-
Lift the locking bar securing the display cable.
-
Disconnect the display cable.
-
-
-
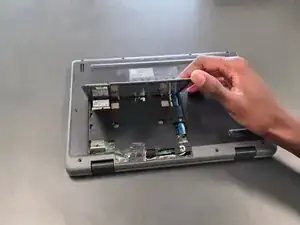
Flip over the laptop and open the lid to a full 180 degrees.
-
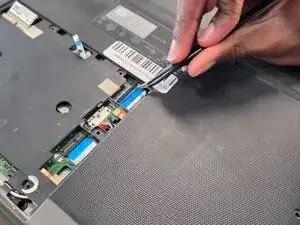
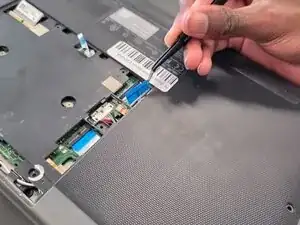
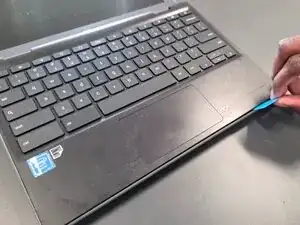
Insert an opening pick into the seam between the palm rest assembly and chassis.
-
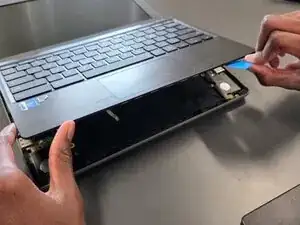
Slide the opening pick around the perimeter until the palm rest assembly fully releases.
-
Remove the palm rest assembly.
-
-
-
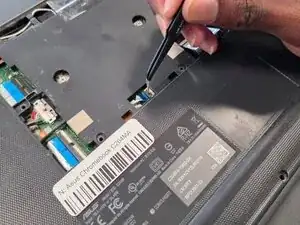
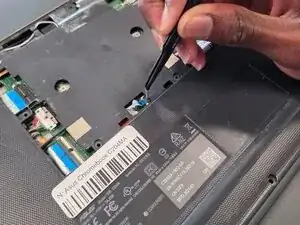
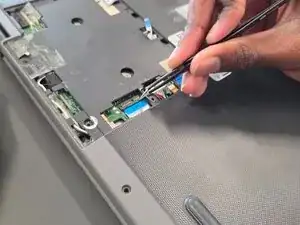
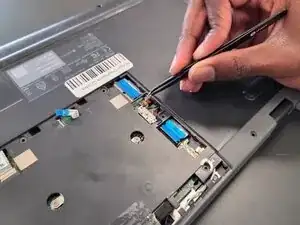
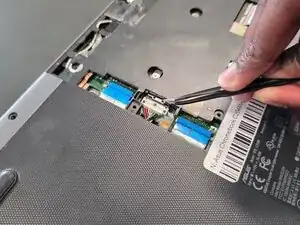
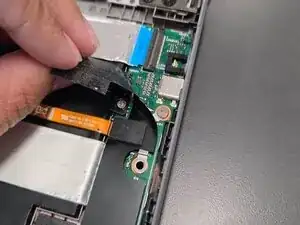
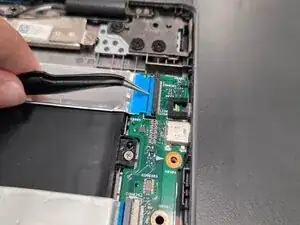
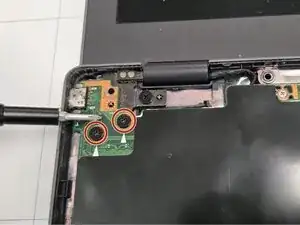
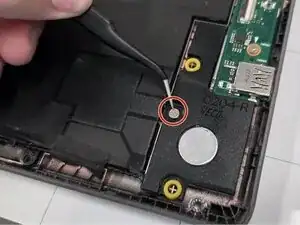
On the I/O board on the right half of the laptop, lift the black mylar film and unscrew the single 4 mm-long Phillips #0 screw.
-
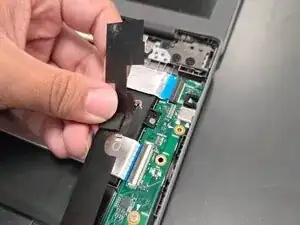
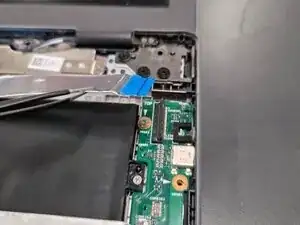
Lift off the orange cable and black mylar film and set aside.
-
-
-
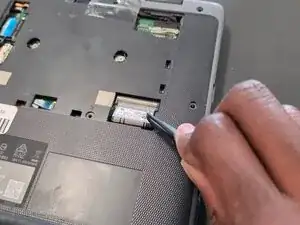
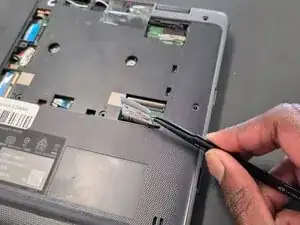
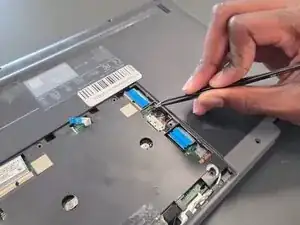
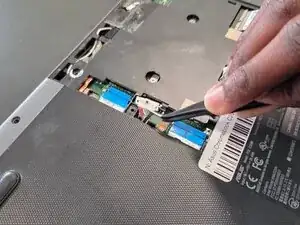
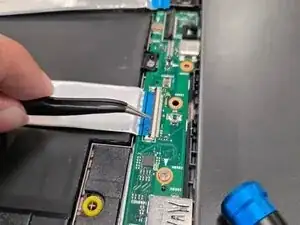
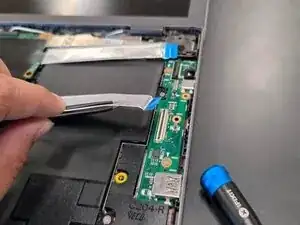
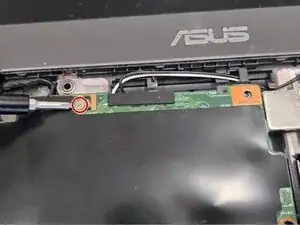
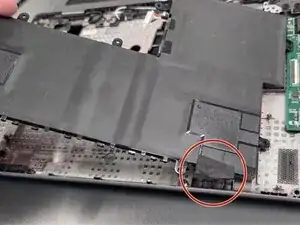
Lift up the locking flap securing the second I/O board ribbon cable and disconnect the ribbon cable.
-
-
-
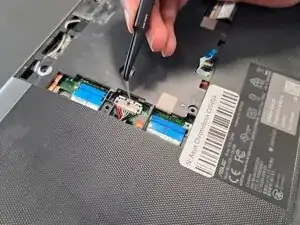
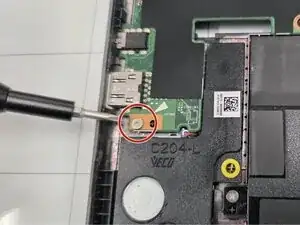
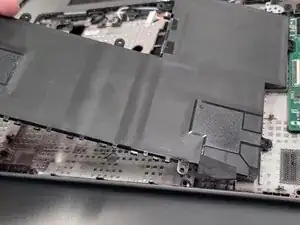
In order to remove the motherboard to reach closer towards the battery, these are the steps required.
-
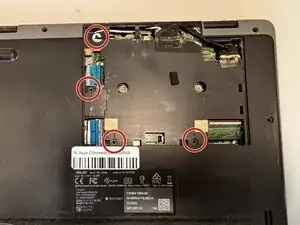
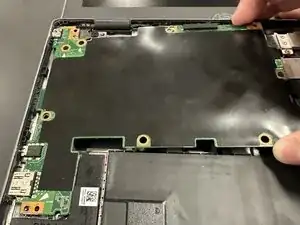
Remove the following screws with a Phillips screwdriver: two 5 mm-long black screws by the upper left of motherboard; one 4 mm-long sliver screw upper middle of the motherboard and one 4 mm-long sliver screw by the bottom left corner of motherboard.
-
-
-
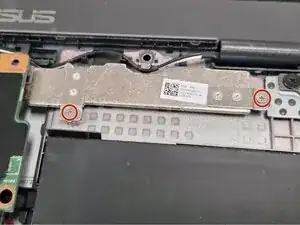
Unscrew two 4 mm-long sliver screws at the sliver thermal support bracket, located at the bottom left and middle right.
-
-
-
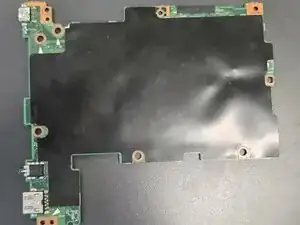
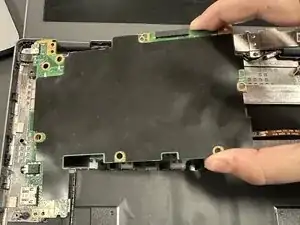
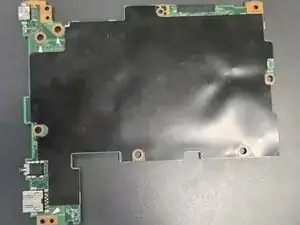
Using your hands lift mother board slightly up and pull to the right slowly until motherboard is free.
-
-
-
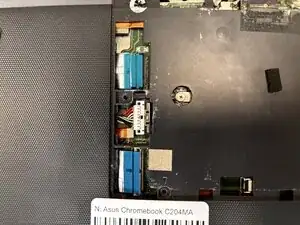
Upon removal of motherboard, move motherboard and left side speaker out of the way.
-
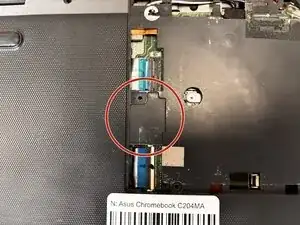
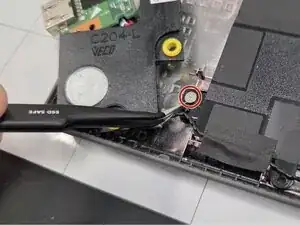
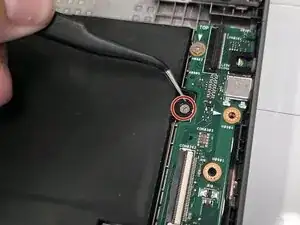
Remove the three 4 mm-long sliver screws located on the right side of upper right portion of battery, bottom right portion of battery and far bottom left of battery (located next to speaker)
-
-
-
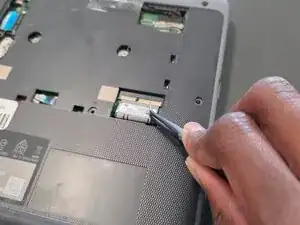
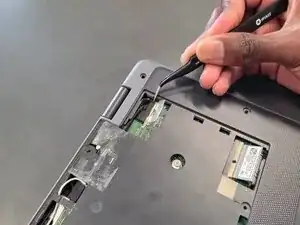
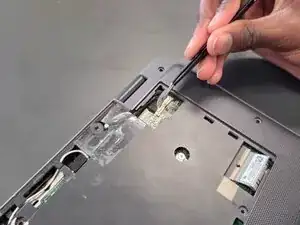
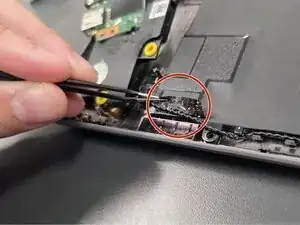
Lift black tape on the bottom right side of the battery.
-
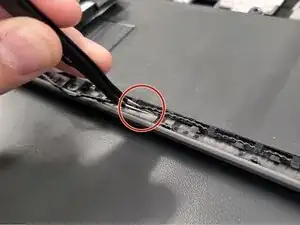
Unravel black speaker cord across battery with tweezers.
-


To reassemble your device, follow the above steps in reverse order.
Take your e-waste to an R2 or e-Stewards certified recycler.
Repair didn’t go as planned? Try some basic troubleshooting or ask our Answers community for help.