Introdução
Replacing your Mazda's CX-5's engine air filter is a simple but important maintenance task. A clean filter improves airflow to the engine, supports proper combustion, and helps protect internal components from dust and debris.
Before beginning, make sure the engine is cool to the touch, as you'll be working near the intake system. No previous car repair experience is required for this task, but be mindful of sharp edges and ensure all screws are properly reinstalled to prevent air leaks.
Ferramentas
Peças
-
-
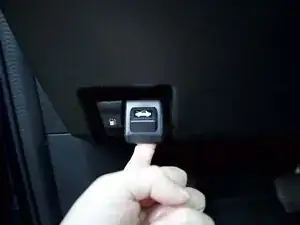
Pull the hood release lever located on the lower left side of the driver’s seat.
-
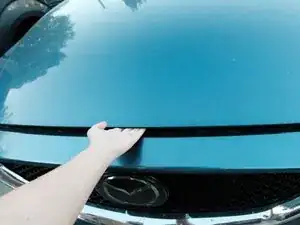
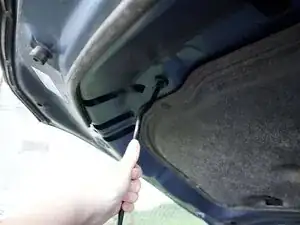
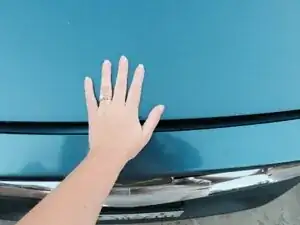
Move to the front of the vehicle and reach under the hood to release the safety latch.
-
-
-
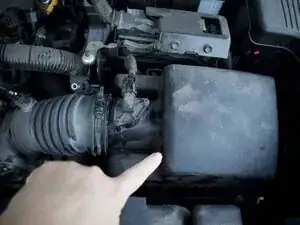
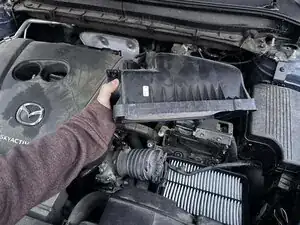
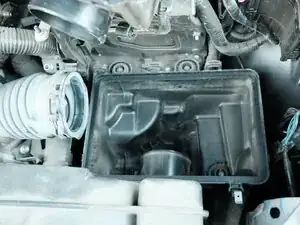
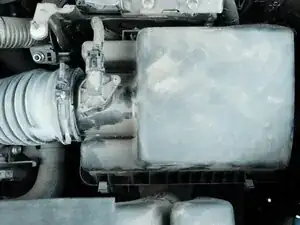
Find the large black plastic air filter housing on the driver's side of the engine bay.
-
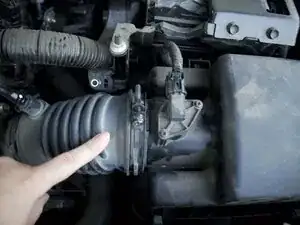
Identify the air intake duct connected to the housing.
-
-
-
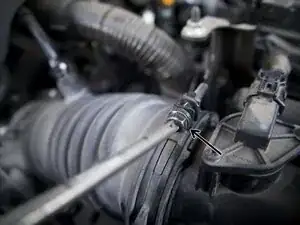
Use a Phillips #2 screwdriver to loosen the hose clamp securing the intake hose to the air filter housing cover.
-
Remove the three 16.0 mm Phillips #2 screws securing the top cover of the housing.
-
Release the spring‑loaded tension tab if present.
-
-
-
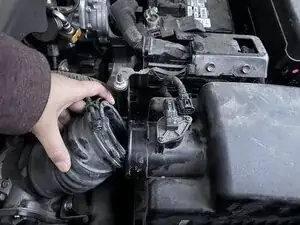
Remove the air intake duct from the housing cover.
-
Gently lift the housing cover. You may need to tilt it back slightly to free the rear tabs.
-
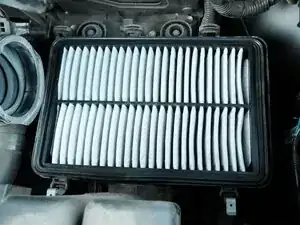
Remove the old air filter with both hands.
-
-
-
Lower the housing cover and ensure the rear tabs align properly.
-
Reinstall and tighten the three 16.0 mm Phillips #2 screws.
-
Re‑engage any clips or the tension tab.
-
-
-
Close the hood.
-
Start your vehicle and listen for any unusual sounds, everything should run smoothly.
-


To reassemble your device, follow these instructions in reverse order.
