Introdução
This guide will show you how to replace the battery in a 2018 Toyota Highlander Key Fob, which is the standard remote used for locking, unlocking, and starting many Toyota Highlander vehicles. Some versions of this remote are also called the Toyota Smart Key or the Toyota Remote Keyless Entry Fob.
The key fob battery powers the internal transmitter that communicates with the vehicle. When the battery begins to fail, the key fob may only work at very close range, respond inconsistently, or stop unlocking the car entirely. Some vehicles will also show a warning message that the key battery is low. Replacing the battery restores normal signal strength and prevents the key fob from failing unexpectedly.
This repair replaces the CR2032 lithium coin cell located inside the fob. Coin cell batteries are small and convenient, but they can be hazardous if punctured, bent, or exposed to metal tools. Avoid squeezing the battery with pliers and keep it away from small children and pets, since swallowed coin batteries can cause serious injury. Old batteries should be recycled properly instead of being thrown in the trash.
Before beginning, make sure the issue is actually caused by a weak battery. Problems caused by water exposure, impact damage, or worn buttons will not be fixed by replacing the battery. If your vehicle uses a push button start system, a dead key fob battery can also prevent the car from detecting the key, so replacing the battery as soon as symptoms appear is important.
This repair does not require any special skills or electronic experience. The key fob does not need to be reprogrammed after the battery is replaced, and the procedure can be completed safely with basic tools.
Ferramentas
-
-
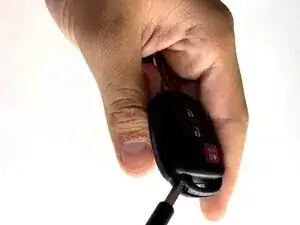
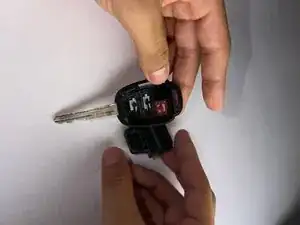
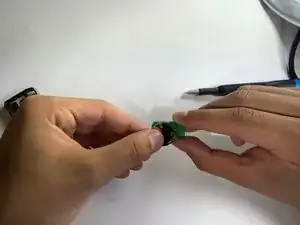
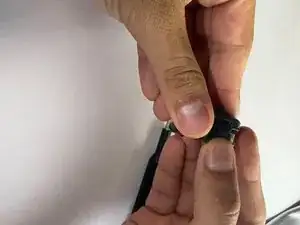
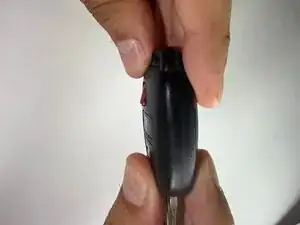
Insert a spudger into the gap in the casing.
-
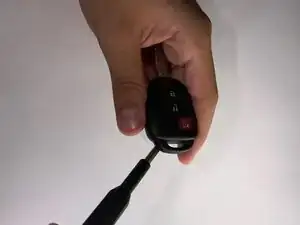
Gently twist or wiggle the tool to separate the two halves of the casing.
-
-
-
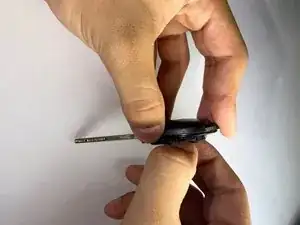
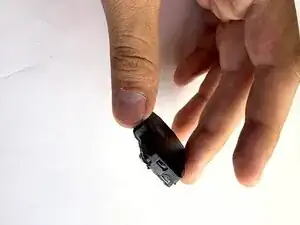
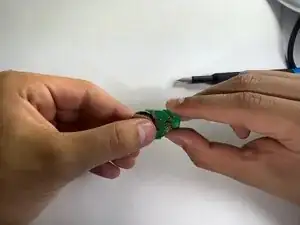
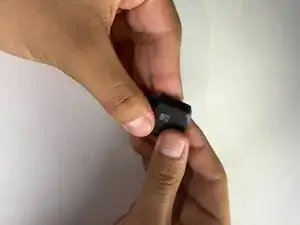
Use a spudger to gently lift the battery casing.
-
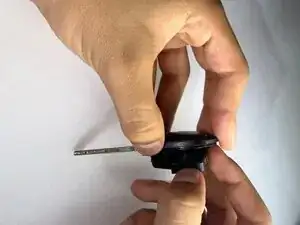
Slide the pointed end of a spudger tip under the circular battery and carefully lift it out.
-
-
-
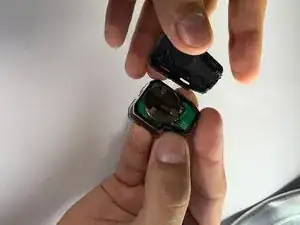
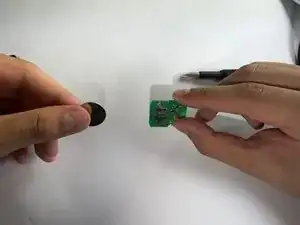
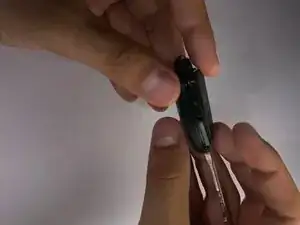
Carefully remove the motherboard connected to the battery.
-
Set the motherboard aside on a clean, static-free surface.
-
-
-
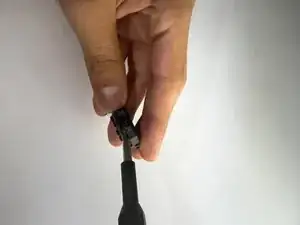
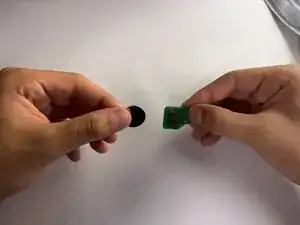
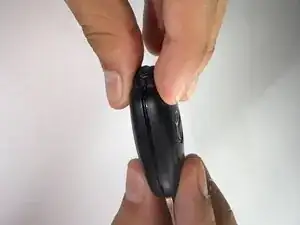
Remove the old battery. If needed, gently open the metal holder securing it in place.
-
Use your finger to slide the battery out of the compartment.
-
If the battery is difficult to remove, use a pair of tweezers to lift it out carefully.
-
-
-
Insert the new battery into the holder. If needed, close the metal clip to secure it in place.
-
Use a pair of tweezers if necessary to help position the battery.
-
Ensure the battery slides smoothly back into place.
-
-
-
Press the battery and internal components firmly into the key fob casing.
-
Ensure the casing halves are properly aligned before closing.
-
Snap the key fob back together — you should hear a click when it’s securely closed.
-
-
-
Make sure the buttons are properly aligned before snapping the key fob casing closed.
-
Ensure the casing halves are correctly aligned to avoid pinching any internal parts.
-
Snap the casing back together until you hear a click.
-
Check that all buttons are in place and respond smoothly when pressed.
-