Introdução
This guide provides a quick, clear, and beginner-friendly approach to replacing the engine air filter on a 2017 Honda CR-V. A clean air filter is essential for maintaining proper engine performance, protecting the engine from debris, and ensuring consistent fuel efficiency. Over time, the air filter becomes clogged with dust, pollen, and other contaminants, which can restrict airflow and force the engine to work harder than necessary. Replacing it at regular intervals helps preserve long-term engine health and can even improve throttle response and overall drivability.
The 2017 CR-V is designed with straightforward access to the air filter housing, making this maintenance task simple to complete at home with basic tools—often requiring little more than your hands. By following the steps in this guide, you can confidently service your own vehicle, save time, avoid unnecessary service charges, and ensure that your engine continues to receive clean, unrestricted airflow for optimal performance.
Ferramentas
Peças
-
-
Begin by sitting in the driver’s seat and pulling the hood-release lever, located on the lower left side of the dashboard near the door.
-
Exit the vehicle and walk to the front, then slide your hand under the center of the hood to find the secondary safety latch. Press the latch upward to fully release the hood, and lift it until it is fully open.
-
Locate the metal prop rod—usually clipped into a holder along the front frame—and remove it from its clip. Insert the end of the rod into the designated support hole on the underside of the hood to securely hold the hood open while you work.
-
-
-
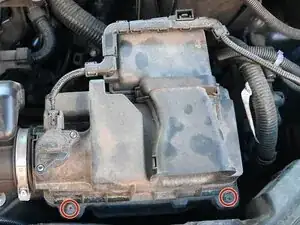
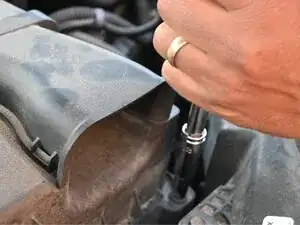
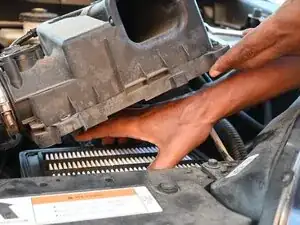
Look along the outer edge of the housing cover—two screws are at the front corners.
-
Lean in slightly to see the back side of the housing—two more screws are located at the rear corners.
-
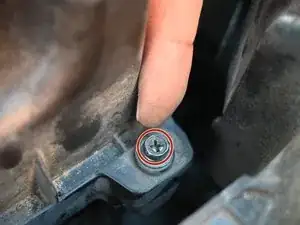
All four screws sit in small recessed pockets in the plastic cover, making them easy to spot once you scan around the perimeter.
-
-
-
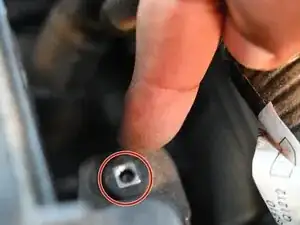
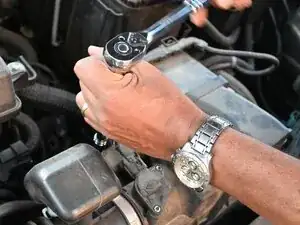
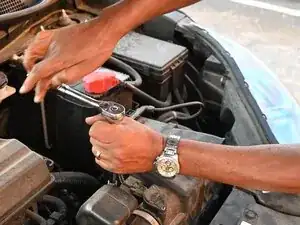
Using a 3/8-inch drive ratchet wrench with an 8mm socket, carefully loosen the four screws (A, B, C, D) securing the air filter housing cover.
-
Once all screws are loosened, gently wiggle the cover to ensure it is fully free and ready to be lifted
-
-
-
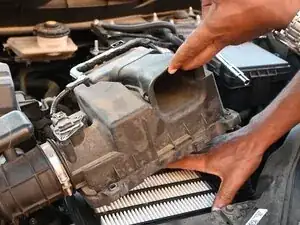
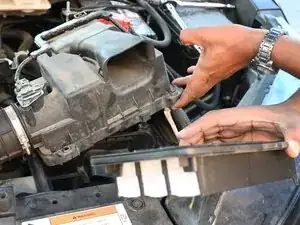
Lift the loosened cover and set it aside safely.
-
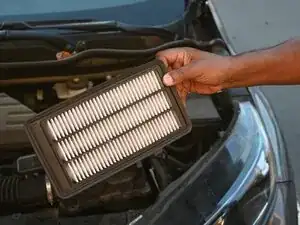
Carefully reach inside and grasp the old air filter. Pull it straight up and out of the housing.
-
Take the new air filter and align it in the same orientation as the old one. The pleated side should face downward, and the rubber seal should sit evenly around the edge to form a proper seal.
-
-
-
Place the cover back onto the housing and hand-tighten the four screws. Using your 3/8-inch drive ratchet with 8mm socket, tighten all four screws securely.
-
Remove the metal support rod from the hood and place it back in its holder.
-
Gently lower the hood from a moderate height and press down firmly near the latch to ensure it is fully closed and latched.
-