Introdução
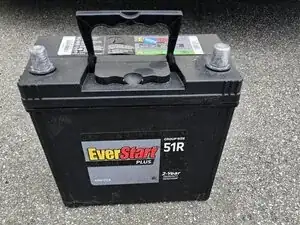
This guide will walk you through replacing the 12V battery in a 2016–2020 Honda Civic. This repair is essential when the battery no longer holds a charge or the car struggles to start.
Before you begin this repair, make sure that the car is off and parked on a flat surface. If you have driven recently, wait until the engine cools before you begin. Wear gloves and safety glasses to avoid injury.
Caution: When disconnecting the battery cables, always start with the negative terminal first, then disconnect the positive terminal. When reconnecting the cables, connect the positive terminal first, then the negative. This helps prevent accidental short circuits.
Ferramentas
-
-
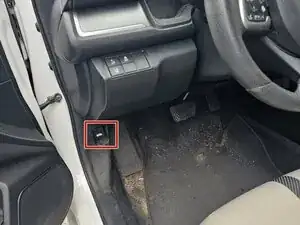
Open the driver's side door and look between the speaker and steering wheel.
-
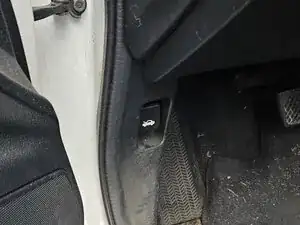
Pull the lever with the icon showing a car with an open hood to release the hood.
-
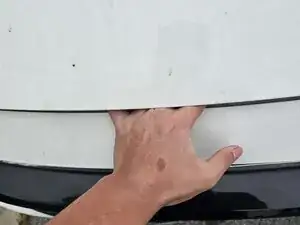
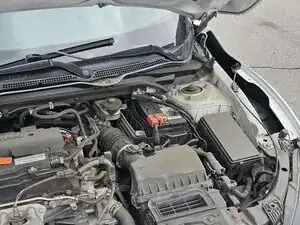
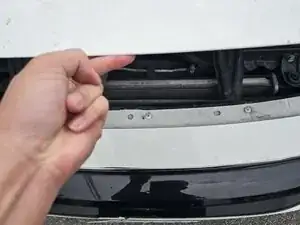
Make your way to the front of your car.
-
-
-
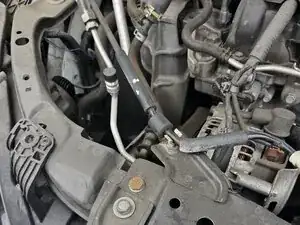
Insert your hand into the space under the hood slightly left of center, then slide it to the right.
-
With the lever compressed, pull the hood up with your other hand.
-
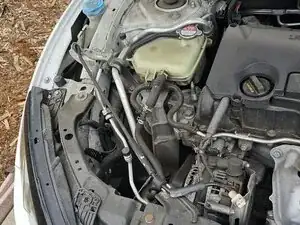
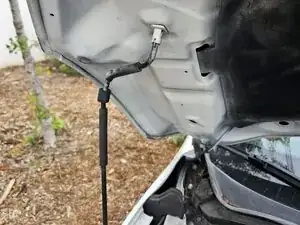
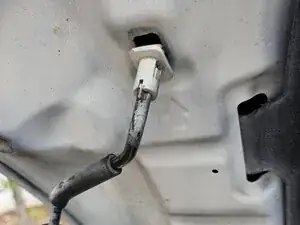
Lift the hood prop rod and slide the end into the hole in the roof of the hood.
-
-
-
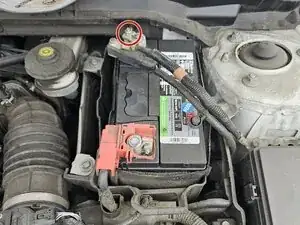
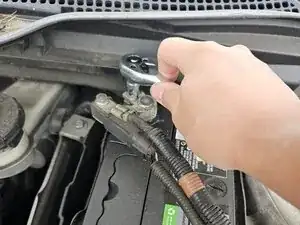
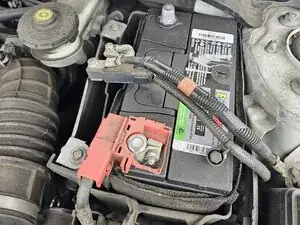
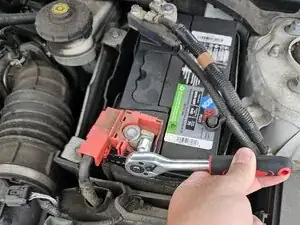
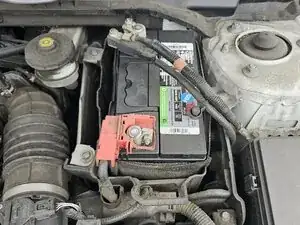
With the socket wrench, loosen the nut on the negative (black) terminal of the battery.
-
Pull straight up on the cable connector after loosening it.
-
-
-
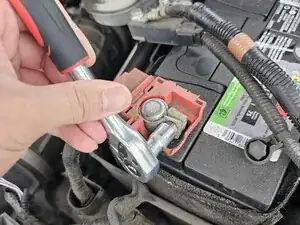
Use a 10 mm wrench to loosen the nut on the positive (red) contact.
-
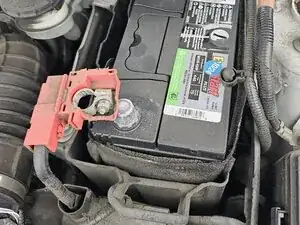
When loosened, pull straight up to remove the contact.
-
-
-
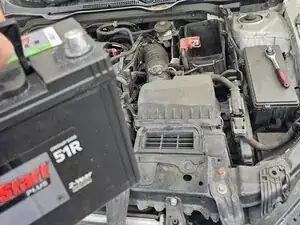
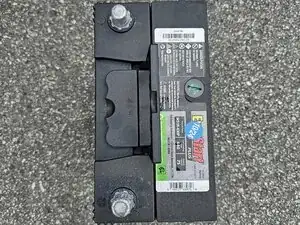
Lift the battery out of the engine bay using the handle on top.
-
Place the new battery into the compartment with the negative terminal at the top (farthest from you) and the positive terminal at the bottom (closest to you) as you stand in front of the hood.
-
-
-
Slide the negative (black) cable onto the negative terminal and tighten the nut.
-
Slide the positive (red) cable onto the positive terminal and tighten the nut.
-
-
-
Hold the hood with one hand, remove the hood prop, and clip it back into place at the top of the engine bay.
-