Introdução
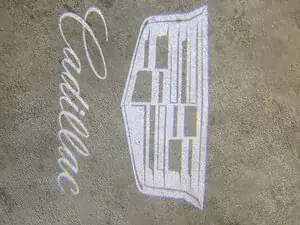
This guide demonstrates how to upgrade or replace the under-door courtesy lights (puddle lights) on a 2014 Cadillac ATS. This is commonly done to install LED logo projection lamps, which project the Cadillac crest onto the ground when the door is opened. This is a beginner-level modification that requires no wire cutting or drilling; the new units are designed to be "plug-and-play" replacements for the factory housing.
About the Part
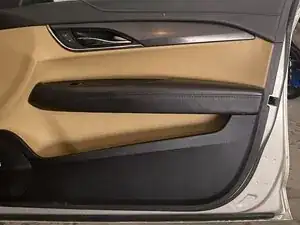
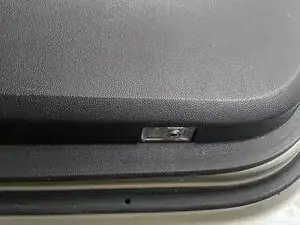
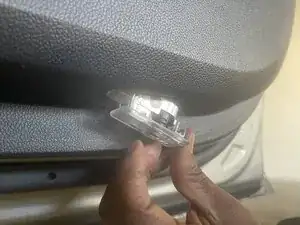
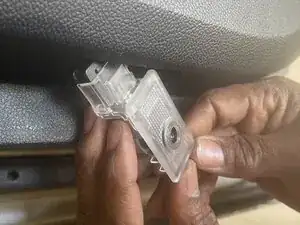
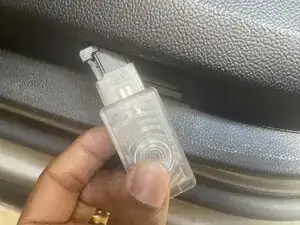
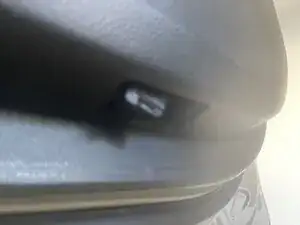
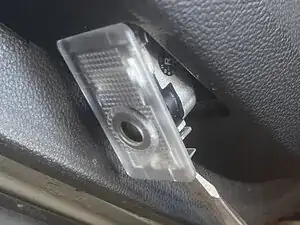
The Courtesy Light Assembly (also known as a Puddle Light) is located on the bottom edge of the interior door trim. Its primary function is to illuminate the ground immediately outside the vehicle to assist drivers and passengers when entering or exiting in the dark. The OEM part uses a standard halogen bulb, while aftermarket upgrades utilize high-intensity LEDs and a stencil lens to create a sharp image projection.
Common Symptoms
If you are experiencing the following issues, this guide will help you resolve them:
- No Illumination: The light does not turn on when the door is opened. ([See Troubleshooting: Burnt Out Bulbs])
- Dim or Yellow Light: The factory halogen bulb is too dim or provides poor visibility.
- Flickering: The light output is unstable or cuts out intermittently. ([See Troubleshooting: Loose Connections])
- Cosmetic Upgrade: The user wishes to replace the standard light with a custom logo projector.
Tips & Warnings
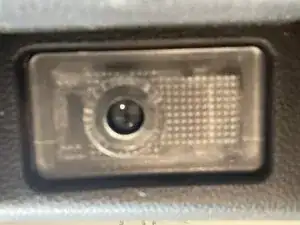
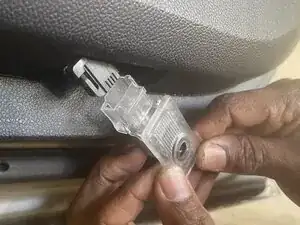
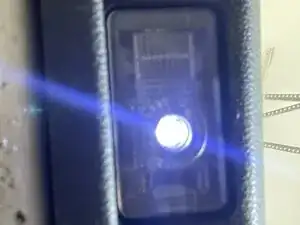
- WARNING: Hot Components. If the door has been open for more than a minute, the factory halogen bulb inside the lens will be extremely hot. Do not touch the glass bulb directly. Allow it to cool for 5 minutes before removal to avoid burns.
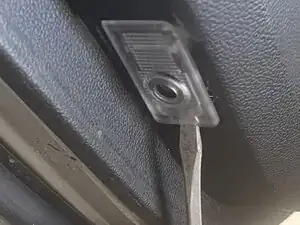
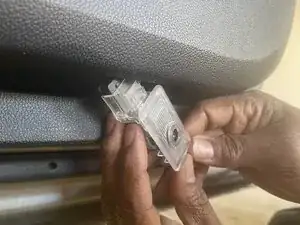
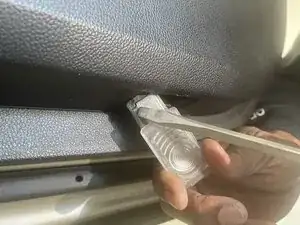
- Plastic Trim Care: The door panel is made of plastic that can scratch or mar easily. Always use a plastic trim removal tool or a flathead screwdriver wrapped in electrical tape. Do not use excessive force.
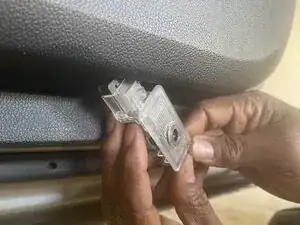
- Orientation Check: Before snapping the new projection light fully into place, plug it in to ensure the logo is facing the correct direction (not upside down relative to the driver).
- Disposal: If the old housing is broken, dispose of the plastic and electronic waste according to local e-waste regulations.
Ferramentas
Peças
-
-
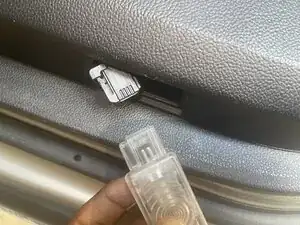
Be sure to correctly align the LED projection lamp housing unit with the power cable connector.
-