Introdução
If your 2019 Jeep Cherokee Limited key fob is showing signs of a weak or dead battery, this guide will show you how to safely replace it so you don’t have to visit a dealership.
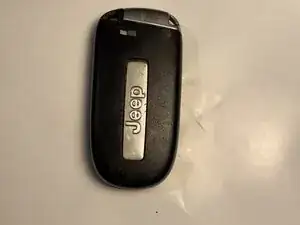
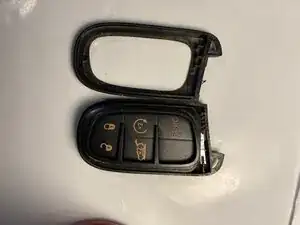
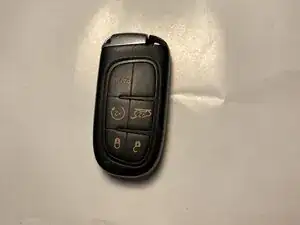
Before starting, inspect your key fob for any cracks or damage. If the fob’s casing is broken or the internal components are damaged, replacing the battery alone may not restore full functionality.
Typically, if the casing is intact, you can easily open the fob, remove the old battery, and install a new one.
Step 2 involves prying the fob open. It’s recommended to use a small flathead screwdriver or plastic pry tool and wear gloves to protect your hands.
For reference, here is a link to a video showing a full key fob teardown and battery replacement for similar Jeep models.
Ferramentas
Peças
-
-
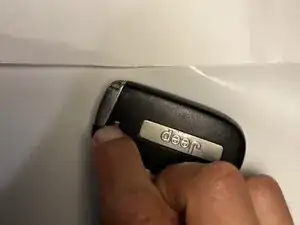
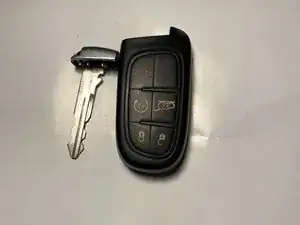
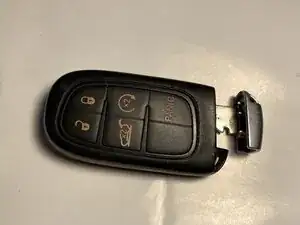
Press the small release button on the side of the key fob.
-
Press and hold that side button firmly — you should feel or hear the mechanism disengage.
-
While keeping the button pressed, pull the mechanical key straight out (do not twist).
-
-
-
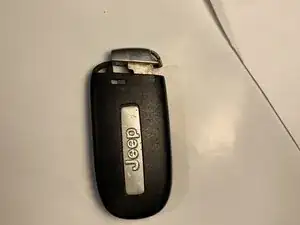
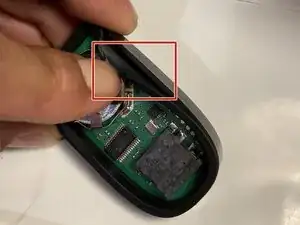
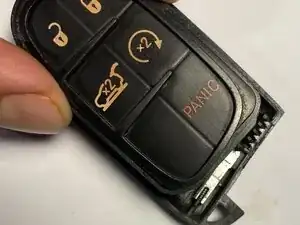
Look at the area where the mechanical key was removed.
-
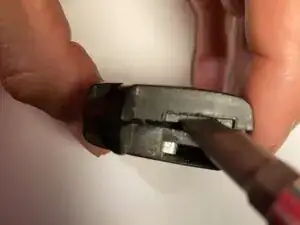
Identify the two slits—the mechanical key slot and the pry slot. Insert a small flathead screwdriver into the pry slot and apply gentle pressure to avoid injury.
-
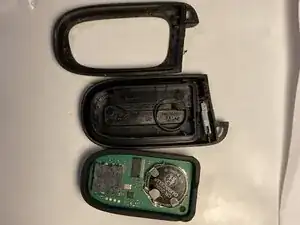
Apply gentle pressure until the key fob pops open.
-
-
-
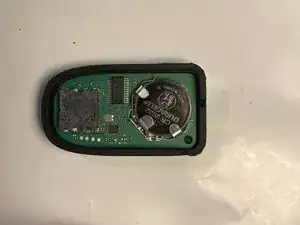
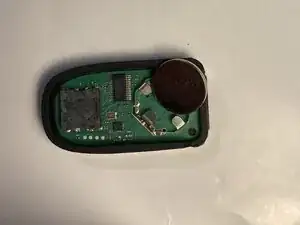
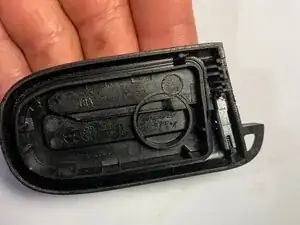
Set the pieces on a flat surface so nothing gets lost. Only one of the pieces holds the battery.
-
-
-
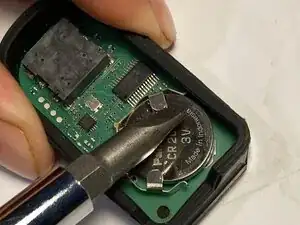
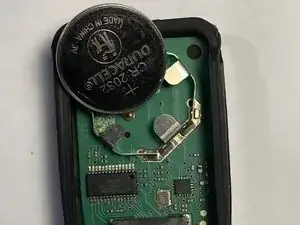
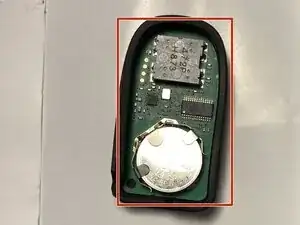
With a flathead screwdriver, gently lift the bent metal tabs holding the battery and carefully push the battery out.
-
-
-
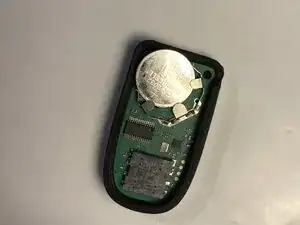
Insert the new battery, sliding it beneath all three metal tabs. Ensure the positive side (‘+’) faces upward.
-
-
-
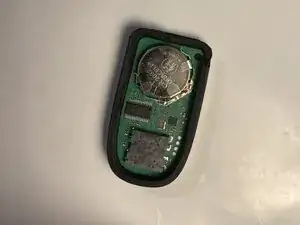
Take the back piece of the fob (the one with the battery outline) and hold it in your hand.
-
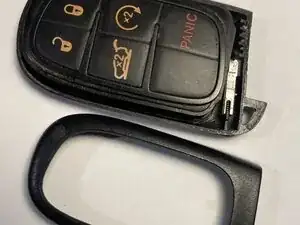
Align and firmly attach it to the piece containing the new battery.
-
Finally, snap the outer casing securely around the fob.
-


To reassemble your device, follow these instructions in reverse order.