Introdução
Note: I've replaced rotors and pads on both my Celica and an old Mk1 CR-V. These rear Nissan brakes were harder by far to remove. Allow time so you don't feel the need to rush and perhaps use too much force. ;)
-
-
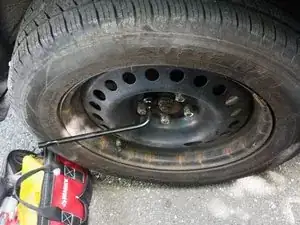
If you have the Tin wheel version like mine; remove the plastic covers. Then loosen the lug nuts. Mine were so tight I ended up heating a couple of them get them loose! Maybe the alloy wheel lug nuts are always easier?
-
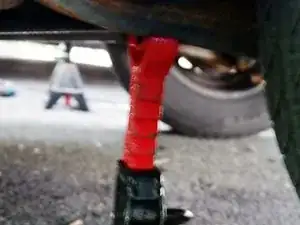
Jack the car and place it on axle stands. You can see where I placed my stands... there didn't seem to be clearly designated support points...
-
-
-
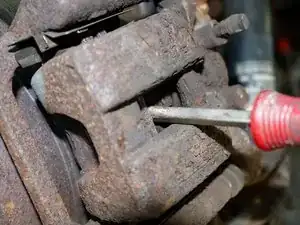
First open the hood and then the brake fluid reservoir. Next, insert a screwdriver or similar tool between the inner pad and the rotor; compress, (push in) the caliper piston. As soon as you're done doing so close the brake fluid reservoir, the fluid is hygroscopic. (absorbs water from thee air).
-
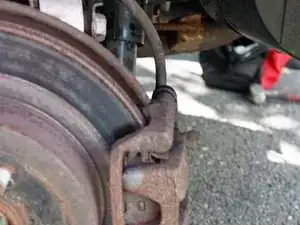
The Caliper is secured by slider pins with 14mm heads. The top pin is directly in line with the brake hose, (sadistic design Engineer?). I needed to apply significant heat with a blow torch to loosen them. So I used a cheap vise-grip to shield the brake hose from the heat!
-
Remove the pins with a 14mm socket. Note: the pin with the rubber on the end is the lower pin. Position the caliper in such a way that the hose will not be strained.
-
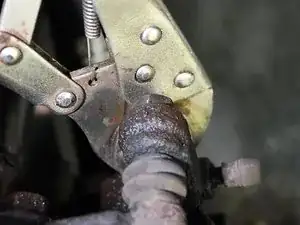
The Carrier for the Pads are held by two 17mm bolts, they too required a good deal of heat to loosen.
-
-
-
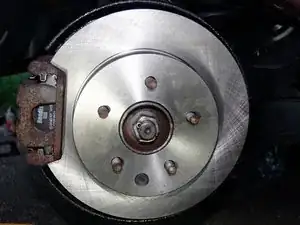
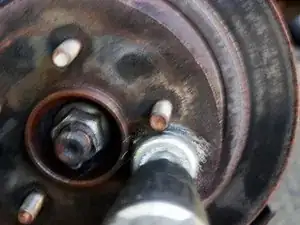
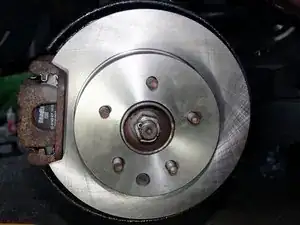
Most Rotors I have dealt with... a couple of taps... and they could be pulled off. Not These!
-
The rotors seemed to be bonded to the lugs and the wheel hub by rust. I was unwilling to strike the rotors hard since I feared it might damage the lugs and wheel bearings.
-
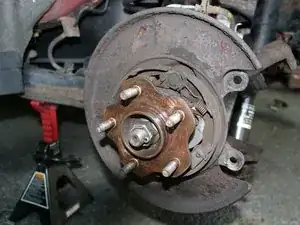
I used a wire brush attachment on a cordless drill I removed as much rust as I could. I next used a screwdriver to chisel off rust where the rotor met the wheel hub. I heated those areas with a blow torch then sprayed them with PB Blaster, repeating this on both sides.
-
When I could finally see a gap around the lugs I tapped the rotors loose with a mallet and pulled them off.
-
-
-
Once I had removed the old parts, I brushed the rust off the metal shield and spayed it with rust converter, then enamel paint. I sprayed everything down with brake cleaner.
-
I ground rust off the places the pad tins contact and applied a bit of brake grease to prevent corrosion recurring under the tins.
-
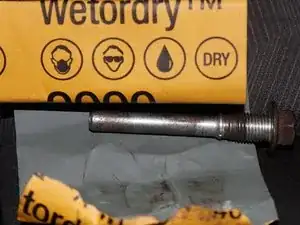
I cleaned the sliding pins and the holes they sit in with wet and dry sandpaper, then sprayed them clean using brake cleaner. I re-greased the pins and put them back in place with new boots. (rubber tipped pin at the bottom!)
-
I applied a little grease to the contact points of the shoes for the emergency brake.
-
I clipped in the pins and reassembled everything. The job took far longer than anticipated due to the rust... but this was in upstate NY.
-
I didn't have any, but if you have tin wheels may want to apply anti-seize grease on the lugs. I sprayed them with lithium grease after they were fully tightened to help keep water out.
-
Once the car was back on the ground I applied and released the emergency brake a few times to work in the grease applied to the contact points.
-
To reassemble your device, follow these instructions in reverse order.

Heat to remove lugs? Never heard of such a thing.
Huevos Gigantus -
Heating metal causes it to expand, useful for many thing from loosening a tight jar lid to loosening tight nuts and bolts. I'd remember it as an option...
Juan Garcia -