Introdução
If your radio or infotainment screen on a 2011 Toyota Camry has stopped working, the cause is often a blown fuse. This guide will show you how to locate, inspect, and replace the radio fuse safely and correctly.
Replacing a fuse is a quick fix that restores power to your radio, screen, or aftermarket stereo without needing professional help. Make sure to use the correct 15-amp mini blade fuse and verify the fuse layout using the chart on the inside of the fuse box cover.
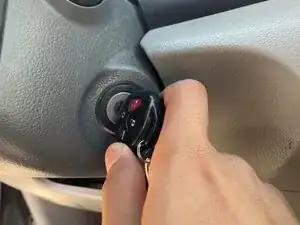
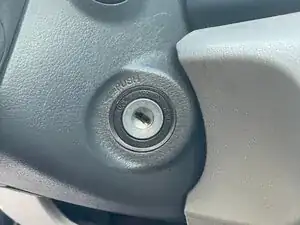
Before starting, you want to ensure safety precautions by turning off the vehicle and removing the key from the ignition to prevent any other problems from occurring, such as electrical shock or a short circuit.
-
-
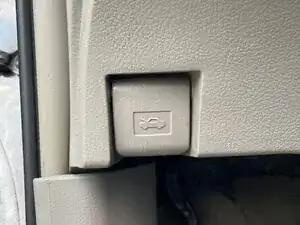
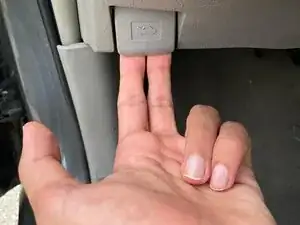
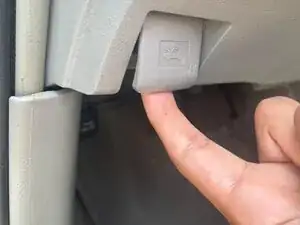
To open the hood, locate the hood release lever beneath the dashboard on the driver’s side near the steering wheel. Pull the lever firmly until you hear a click or pop indicating the hood has released.
-
-
-
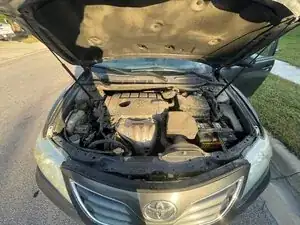
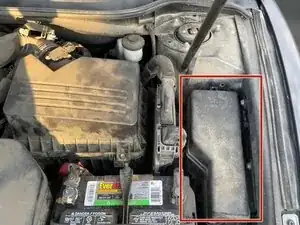
Open the hood and locate the relay and fuse box, which is positioned on the driver’s side near the right edge of the engine bay.
-
-
-
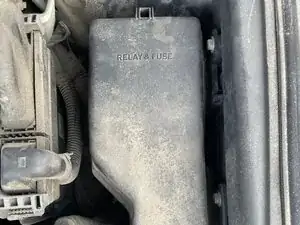
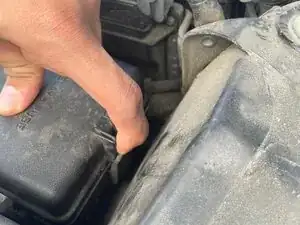
Press down on the tab on the top of the cover to release the locking clip.
-
While holding the tab down, pull the cover gently toward you.
-
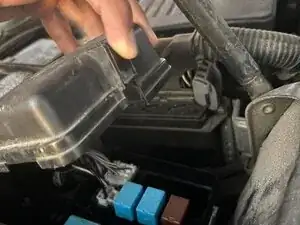
Once the clip releases, lift the cover upward to access the fuses and relays inside.
-
-
-
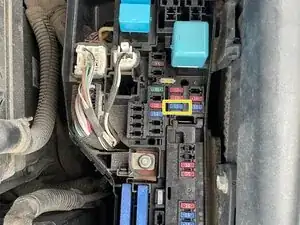
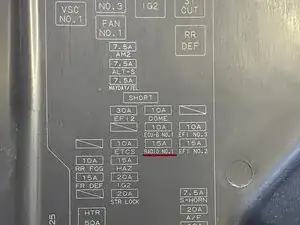
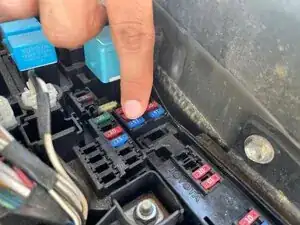
Locate the radio fuse by referring to the diagram printed on the inside of the fuse box cover. This diagram identifies each fuse’s function and amperage rating.
-
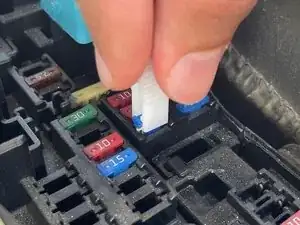
Use the correct replacement fuse with the same amp rating specified in the diagram, typically a 15A mini blade fuse for the radio circuit.
-
-
-
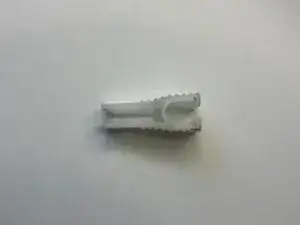
The fuse box cover includes three spare blade fuses — a 30A, 15A, and 10A fuse — conveniently stored for quick replacements. It also contains a built-in fuse puller that you can use to safely remove and replace any blown fuses.
-
-
-
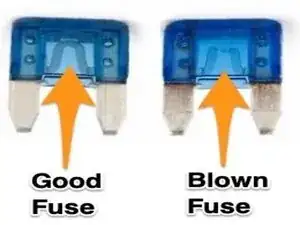
The good fuse on the left shows an intact metal strip running through the center, allowing electrical current to flow normally.
-
The blown fuse on the right has a broken or melted metal strip, indicating it has failed and needs to be replaced.
-
-
-
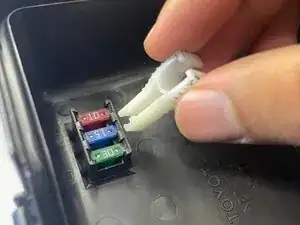
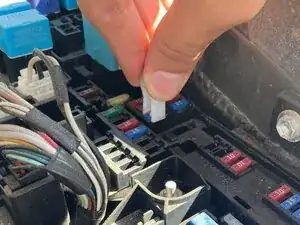
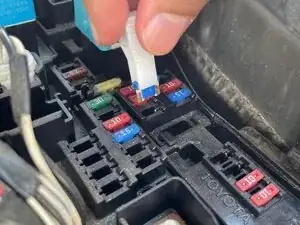
Use the fuse puller to grip the blown fuse and gently pull it straight out. Insert the new fuse of the same amperage rating into the slot and push firmly until it’s fully seated and secure.
-
🏆🤩🏆 Congratulations! You’ve successfully replaced the fuse! Turn on your car and test the radio or screen. Enjoy the sound and display coming back to life! 🎶🎉
-


To reassemble your device, follow these instructions in reverse order.