Introdução

This is a replacement for the AC motor and Resistor module as a set.

They both provide cabin air conditioning and can wear out after years of constant use. Even if the blower motor failed, the control module might be the root cause.

The motor should be replaced if,

  • No air blows at all.
  • If fan strength seems to be weaker.
  • Grinding is heard when the fan is turned on.
  • The Blower Motor Control Module has failed.

The resistor module should be replaced if,

  • Fan only works at the 4th setting (fastest speed).
  • The module is visibly damaged or corroded.

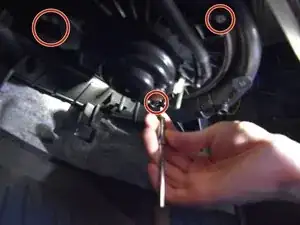
The two Philips and three Torx T20 screws should be reused, as the parts manufacturer may not provide screws.

  • Both Philips and Torx screws are 16mm long.
  1. HnKEw1KDXgfcLQGx
    HnKEw1KDXgfcLQGx
    XYMXle2hDSPWEBiY
    TxxJcEQEEBGYLPZO
    • Never work on car electronics when the car is running. Disconnect the battery before beginning.

    • Secure the car with the emergency break.

    • Open the glove box.

    • Push the sides to release the glove box.

  2. lAuWpn6HXEIAaBN3
    lAuWpn6HXEIAaBN3
    j1Mnwv2OTSBORGEp
    • Unscrew the top screw on the resistor module with a long Phillips screwdriver.

  3. VjQjPNacfbPPlEON
    VjQjPNacfbPPlEON
    eyv2KEJPU4AK2r1P
    EvjkguAgYx3OFwkC
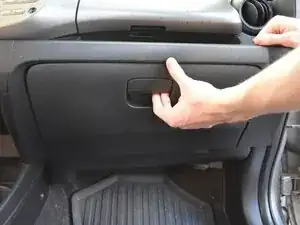
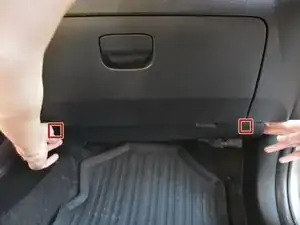
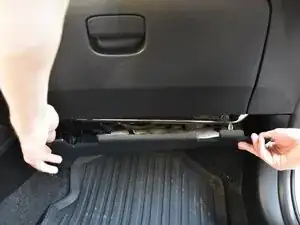
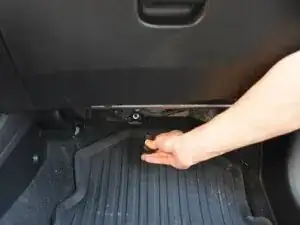
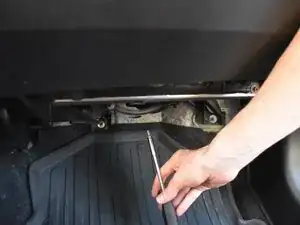
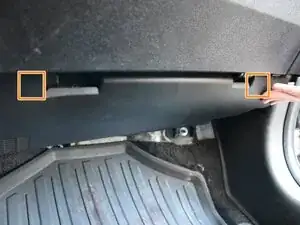
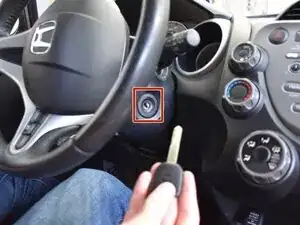
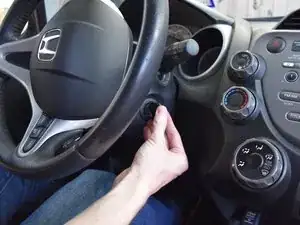
    • Find the edges of the bottom cover and pull down to release the two clips.

    • Set bottom cover aside until replacement is completed.

  4. PfwAGaJd6eEZmRQq
    PfwAGaJd6eEZmRQq
    2MPRd5dOGyBRcNCI
    • Unscrew the bottom screw with the stubby Philips screwdriver.

  5. cSKS5GwIiWSorJlQ
    cSKS5GwIiWSorJlQ
    bCeYt1YeGpZgmURA
    • Pull the module out of its slot.

    • Push the tab and pull to release the module.

    • Follow these steps in reverse to replace the module.

    • If you are just replacing the control module, refer to step 11 to replace the bottom cover.

  6. qSHuvPHWkEpBqqFY
    qSHuvPHWkEpBqqFY
    MKCLgSBeEerGClVP
    AsjQjLGrUnYaJsaK
    • Use a T20 Torx screwdriver to release the screws securing the blower motor.

  7. I2vL1YEhQmdeEXIl
    I2vL1YEhQmdeEXIl
    bHRQREJFCHHrKQop
    3RZVOeaZcPiMgnHy
    • Slide the motor out of the slot.

    • The motor is heavy, so take care handling it.

  8. ugMonAVCJqDSUmMK
    ugMonAVCJqDSUmMK
    wcVLG2TCRgTLfP5I
    NnQgYAMtobtLKcfK
    • Squeeze the clip to release the wire.

  9. RaBp1rPHQV3HU2bE
    RaBp1rPHQV3HU2bE
    loRGM6ZwwblCgSaS
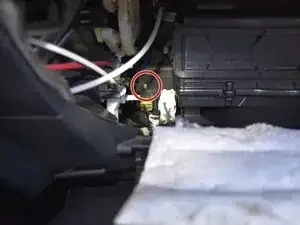
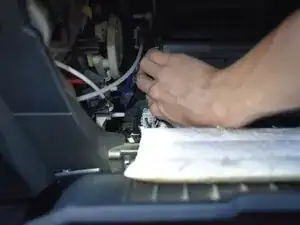
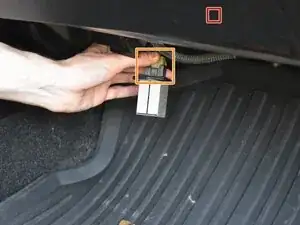
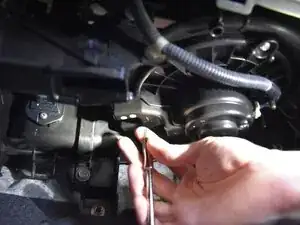
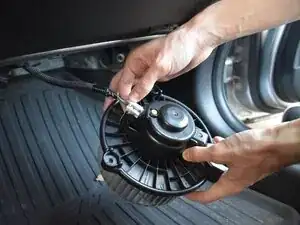
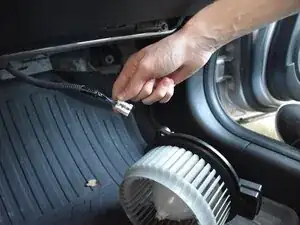
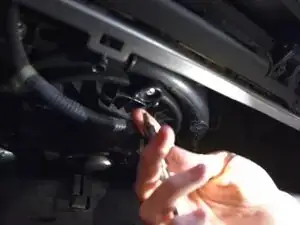
    • Attach the clip to the plug.

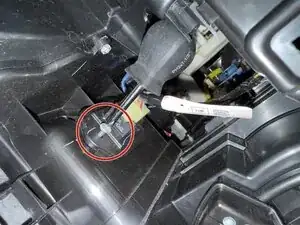
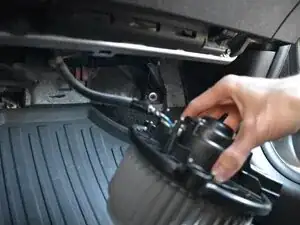
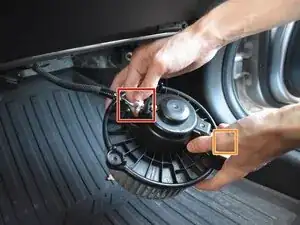
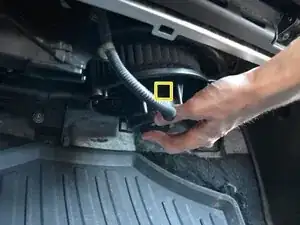
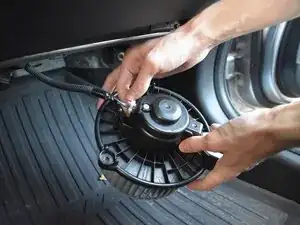
    • Orient the rectangular point to face the front passenger wheel.

    • Slide the motor into the circular slot so it fits snugly.

  10. Rinrq2LglbKOu51q
    • Replace the three T20 Torx screws.

  11. Ih2sSSXUQCXJOl1F
    Ih2sSSXUQCXJOl1F
    OoLjf6IxxDTgbrcc
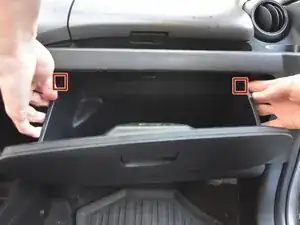
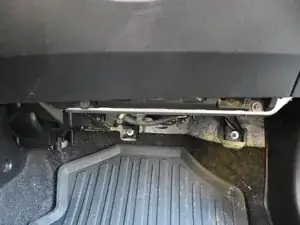
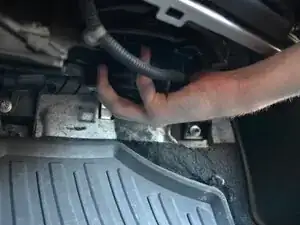
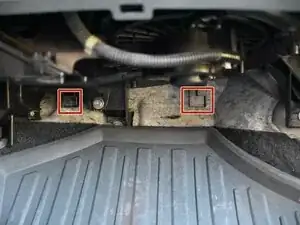
    • Find the two hooks to anchor the cover to the back.

    • Place your hands under the two clips on the front and click the clips into place directly under the glove box.

  12. KvfGrGWvmo2f1jRn
    KvfGrGWvmo2f1jRn
    DUqImZwkuqnV4MTh
    Q2xQH31HWY6kMjZ2
    • Leaving a car engine on in an enclosed space can lead to carbon monoxide poisoning and/or death.

    • Reconnect the battery.

    • Turn the key to the third position to engage the accessory mode.

    • Make sure the AC button below the stereo is on to ensure the Air Conditioning is engaged.

    • Turn the Fan Control dial to each setting. Air should flow normal at each setting.

Caleb French

Membro desde: 25/09/25

205 Reputação

0 comentários