
Introdução
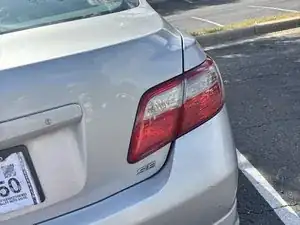
Use this guide to replace the trunk-mounted taillight of a 2007–2011 Toyota Camry. This is intended to specifically address the taillight assembly that is actually on the trunk lid, and not the outer taillight on the body of the vehicle. Some of the bulbs inside the taillight light up every time either the headlights or brake lights are in use, and these can be especially important features for visibility in safely driving at night or through bad weather.
If your tail light is dim, flickering, or completely out, go to the appropriate section of your Camry's Troubleshooting page to confirm whether the problem lies with a burnt-out bulb, a damaged socket, or a failed trunk-side tail light assembly.
Replace it by having the vehicle parked safely and the ignition off. It is also advisable to disconnect the negative terminal on the battery in order to avoid accidental short circuits when dealing with electrical connectors. Be extremely cautious with the burnt-out or broken bulbs because the glass could be fragile.
This will show you how to remove a faulty trunk-side taillight assembly and replace it with a new one so the proper lighting can be restored, making your vehicle safe and road legal once again.
Ferramentas
-
-
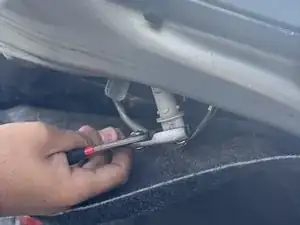
Open the trunk to locate the tail light assembly.
-
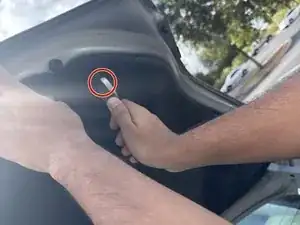
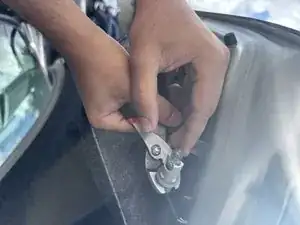
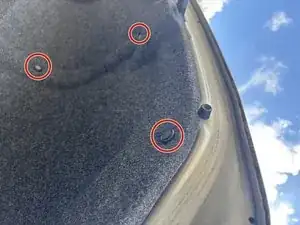
Use a car trim removal tool to undo the fasteners securing the trunk lining near the tail light.
-
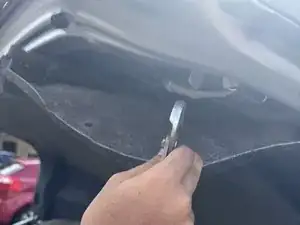
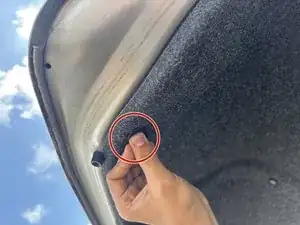
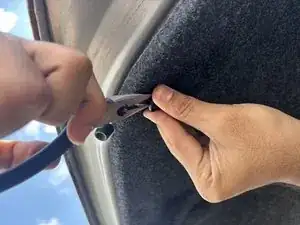
Carefully pull back the trunk lining near the tail light area to expose the the tail light assembly.
-
-
-
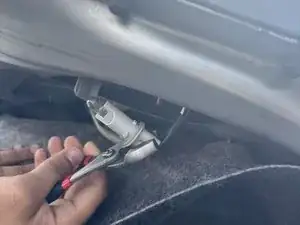
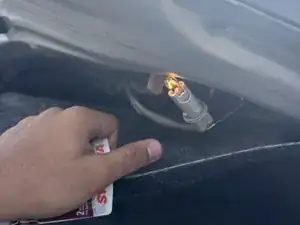
Gently pull the assembly out from the car’s body, taking care not to damage any connected wires.
-
-
-
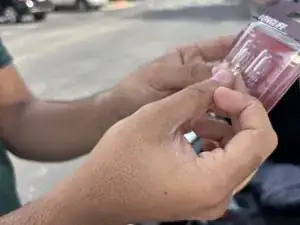
Twist the tail light bulb counterclockwise to release it, then pull it straight out.
-
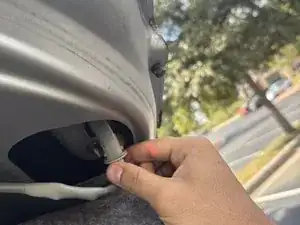
Twist the socket back into the assembly to lock it in place.
-
Reattach the tail light assembly to the car and secure it firmly with the screws.
-
-
-
Push the trunk's lining back into place and replace the fasteners.
-
Close the trunk and turn on your lights to verify that the new bulb is working correctly.
-
Repeat Steps 1-4 on the other tail light.
-
To reassemble your device, follow these instructions in reverse order and repeat the steps outlined in the guide. The method also works for both sides, so it's handy to do either one if either is out, as the guide would work for either one or both.
