Introdução
If the driver’s side power window in your 2002 Volkswagen Jetta isn’t working, whether it won’t roll down, won’t control the other windows, or fails to lock and unlock the doors, use this guide to replace the driver’s side power window module.
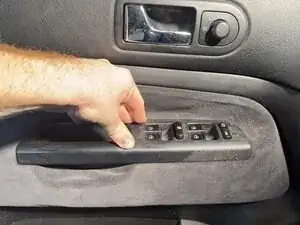
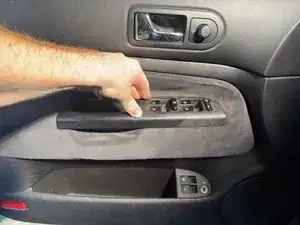
The power window module is a key component of the driver’s door panel. It houses the controls for all four power windows as well as the central locking system. A faulty module can result in unresponsive window switches, non-functioning door locks, or limited control over the other windows in the car.
Before using this guide, check the window switches for visible damage or signs of wear. In some cases, debris or moisture inside the switch panel may cause a temporary malfunction. Make sure to test the switches after the car has been restarted and the fuse in position 6 of the interior fuse panel has been inspected.
This guide will walk you through removing the inner door panel, disconnecting the existing module, and installing a new one.
Before you begin, ensure your car is off and in park.
Ferramentas
Peças
-
-
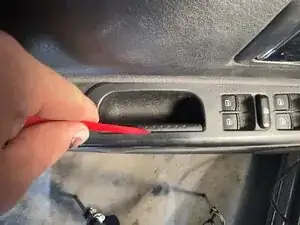
Use a trim tool (or, optionally, a flathead screwdriver) to gently pry the interior plastic piece from the door bezel handle.
-
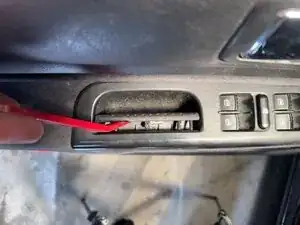
Remove the small plastic cover.
-
-
-
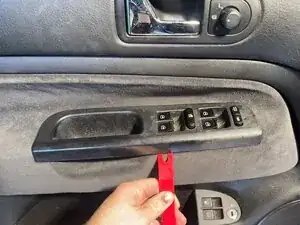
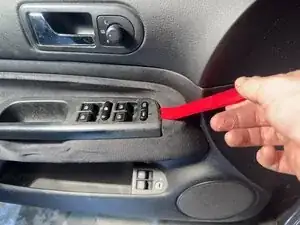
Insert the trim tool into the bottom of the bezel. Find a spot in the middle of the bezel, and gently push upward until the trim tool has the leverage needed, then push the bezel upward from the door.
-
Repeat this process at several points along the bottom and sides of the bezel to release all of the clips.
-
-
-
Remove the bezel from the door.
-
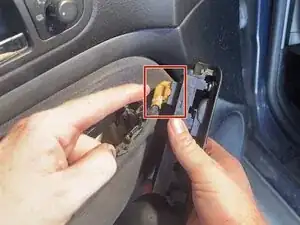
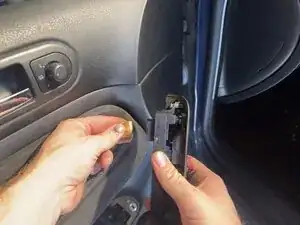
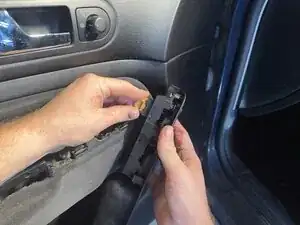
Push down on the locking tab with your thumb and pull gently to disconnect the bright orange connector plugged into the adapter of the power control module.
-
-
-
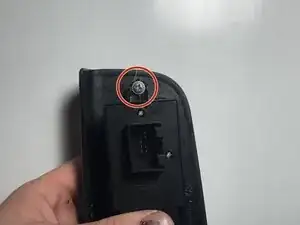
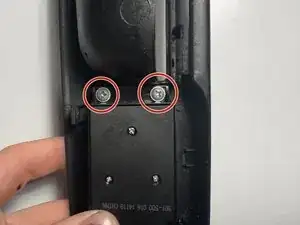
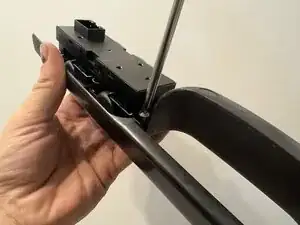
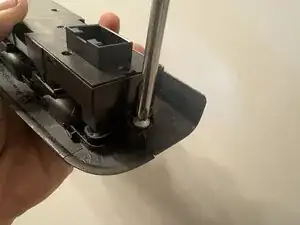
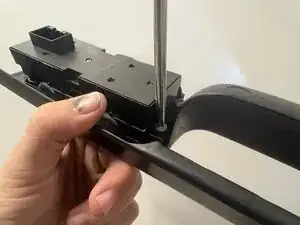
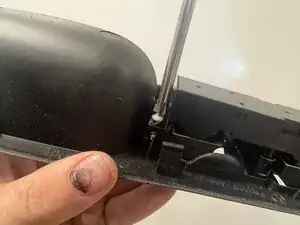
Use a Phillips #2 screwdriver to remove the three 4x10 mm screws on the bottom of the bezel that hold the power window module in place.
-
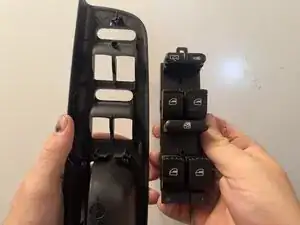
Remove the power window module from the bezel.
-
-
-
Use the Phillips #2 screwdriver to replace the three 4x10 mm screws in the bezel to secure the power window module.
-
-
-
Reconnect the bright orange connector to the adapter on the bottom of the power window module.
-
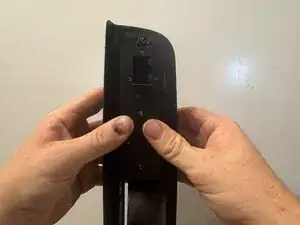
Align the bottom edge of the bezel with the door slots and press it into place.
-
-
-
Insert the small plastic piece from the handle of the bezel.
-
Align the clips on the small plastic piece with the holes on the inside of the handle and gently press toward the inside of the car.
-


After completing this guide, the user will have a working driver-side power window module. If installed correctly, there should be no extra plastic pieces from the vehicle, and the bezel should be firmly reinserted with no moving or rattling. To avoid hazardous e-waste, discard the old power window module by taking it to a local e-waste recycler or a sponsored e-waste recycler nearby.