
Introdução
The car speaker's primary job is to take the music sent from your radio or amplifier and convert it back into vibrations, which you hear as sound. Due to thermal or physical damage, over time, speakers can typically become blown or distorted. This guide will teach you how to replace the speakers in a '03 Toyota Camry. For info regarding reasons for speaker distortion, see this website Rockford blog.
Word of caution, the factory speakers are discontinued, making finding new ones very difficult. I recommended you replace them with aftermarket speakers instead. To find aftermarket speakers that fit your car correctly, I recommend this website, Crutchfield.
Lastly, when prying on the plastic screw covers in this guide, be sure not to overexert, as the plastic is cheap and easily breakable.
Before you begin the repair, turn off the car and place it in Park.
Ferramentas
Peças
-
-
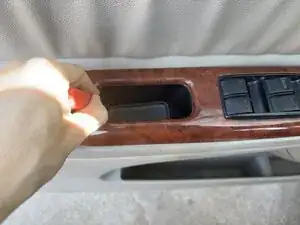
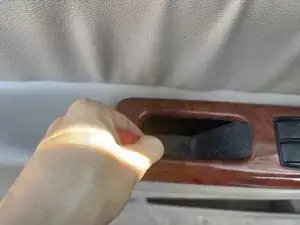
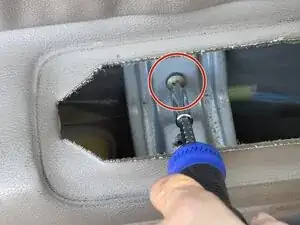
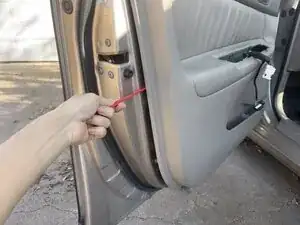
On the door control panel, use a trim removal tool to remove the screw cover.
-
Use a Phillips #2 screwdriver to remove the 22.2 mm screw beneath.
-
-
-
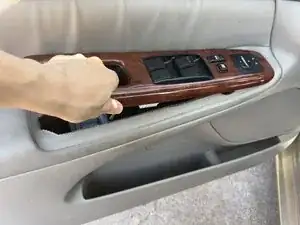
Remove the window control panel.
-
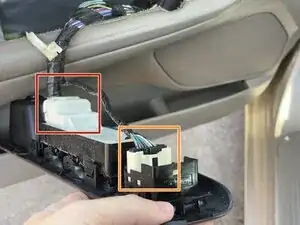
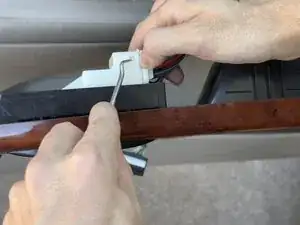
Use a spudger or opening tool to disconnect the side mirror control wiring harness.
-
Disconnect the window control connector.
-
-
-
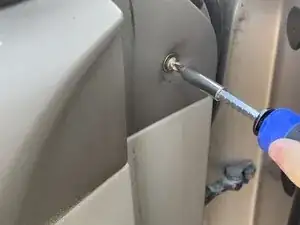
Use the trim removal tool to remove the screw cover on the top edge of the door.
-
Use a Phillips #2 screwdriver to remove the 22.2 mm screw beneath the cover.
-
-
-
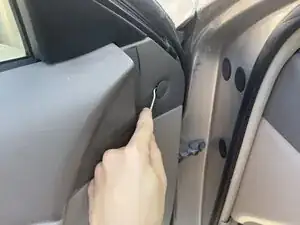
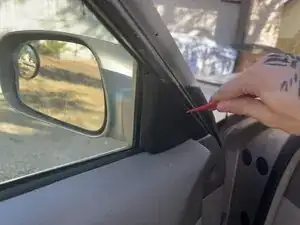
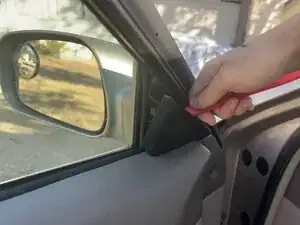
Remove the plastic interior cover at the front corner of the window, above the door frame, to reveal the inside mounting area of the side mirror.
-
-
-
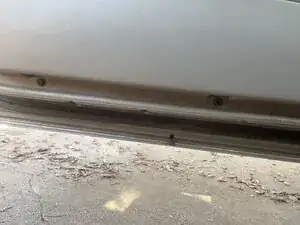
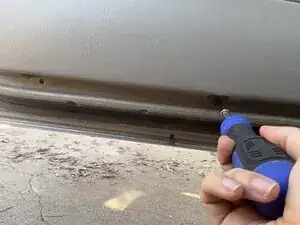
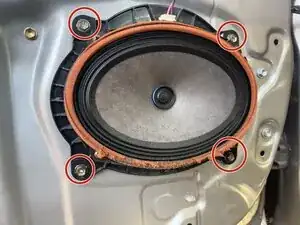
Use a Phillips #2 screwdriver to remove the two 22.2 mm screws at the bottom of the door frame.
-
-
-
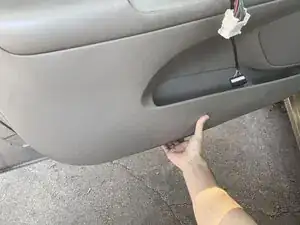
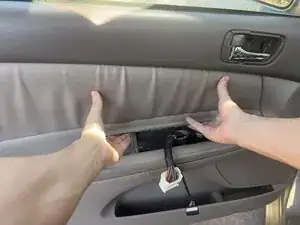
Gently pull on the bottom edge of the door frame.
-
Use a prying tool along the sides of the door panel to release the plastic clips securing it in place.
-
-
-
Pull upward to remove the door panel from the frame.
-
Hold the door panel in your hand as you proceed to the next step.
-
-
-
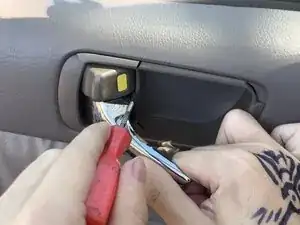
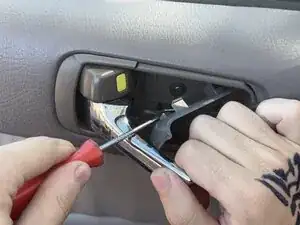
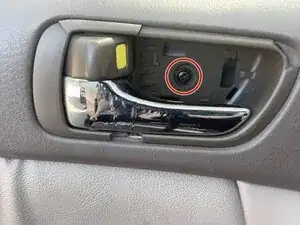
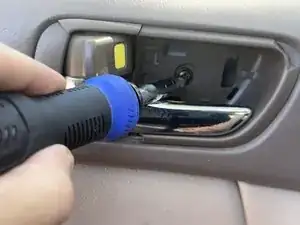
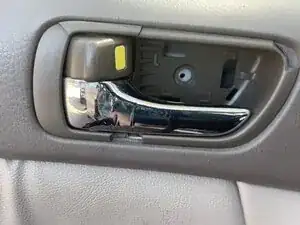
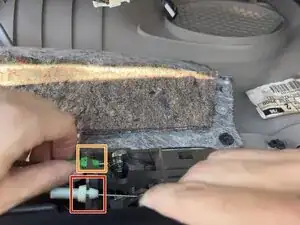
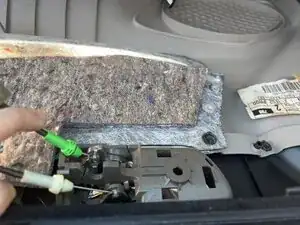
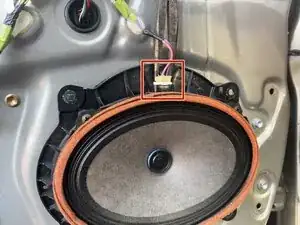
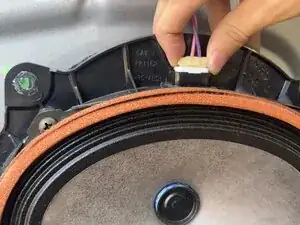
On the back of the door handle, remove the top white lock linkage rod.
-
Remove the green door latch rod below.
-


To reassemble your device, follow these instructions in reverse order. Take your e-waste to an R2 or e-Stewards certified recycler.