Introdução

The camshaft position sensor is essential because it monitors the camshaft, which controls the opening and closing of the engine’s intake and exhaust valves.

If the sensor is faulty, the camshaft may not operate correctly, causing the valves to open and close at the wrong times. This can make the engine hard to start and, in severe cases, cause piston damage.

If your 2000 Ford Explorer V8 Limited is having trouble starting, this guide shows how to replace the camshaft position sensor. The sensor used in this guide is the MPI 2-96169 Cam Sensor (MasterPro Ignition 2 Terminal Camshaft Position Sensor – 2-96169). It costs around $33 and comes with its own mounting screws.

No special skills are required for this repair. Work in a safe, well-lit, and dry area, such as a garage or driveway.

Although the repair is simple, exercise caution when working on a vehicle. Always disconnect the battery before starting, and consider having another person assist if you’re unsure about handling the battery alone. Completing this repair yourself can save a trip to the mechanic.

  1. fAtZwRSkPqp1ZAA4
    fAtZwRSkPqp1ZAA4
    5G2YpbsJWyFmkQiC
    • Ensure the car is turned off, in park, and the ignition key is removed.

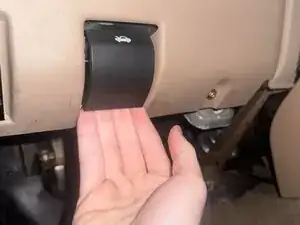
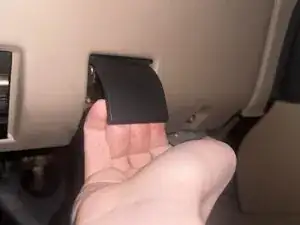
    • Pull the latch under the steering wheel to pop the hood of the car.

    • Push the separate latch under the front of the hood upward and back, toward the engine, to open it.

    • Open the hood all the way and secure it with the hood strut or metal rod.

  2. RZY5naZlxorvOcFK
    RZY5naZlxorvOcFK
    nr5vubH2dbSlVKMP
    gusNGgdUEFvlaM2w
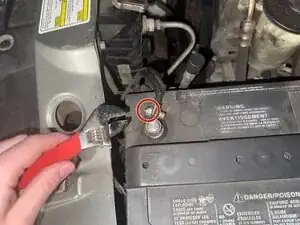
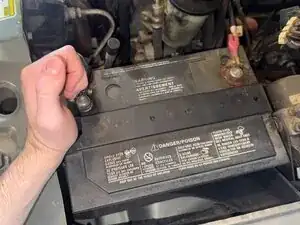
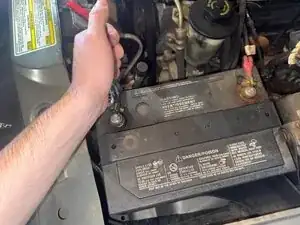
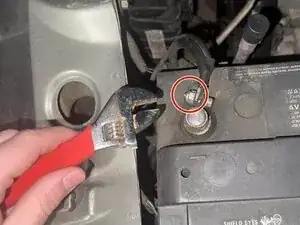
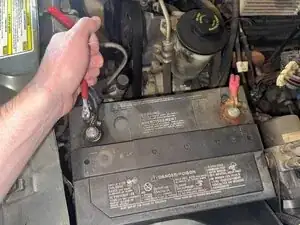
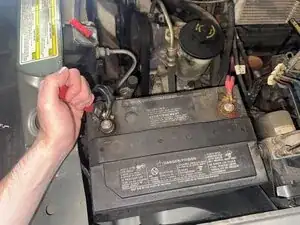
    • Disconnect the negative battery terminal. This is the terminal marked with the black cable on the battery. Partially unscrew the bolt to loosen the connection and remove the cable. Ensure the cable and wrench DON"T contact the other battery terminal, or other metal parts of the car.

    • If the negative battery cable comes into contact with the positive cable, it will cause a short circuit, resulting in electrical sparks and fire. The same will happen if the wrench comes into contact with both cables at once. Use caution and awareness when completing this step.

    • Use a ratcheting wrench to loosen the bolt securing the negative battery terminal, but leave it attached to the cable. Do not remove the bolt.

  3. o6nkjrDJ2XgOwtVL
    o6nkjrDJ2XgOwtVL
    AdEoAlRLaQ1T4fZF
    3OcJFbqOmPQ32eKW
    • The camshaft sensor is located between the engine and the drive belt, underneath the wires.

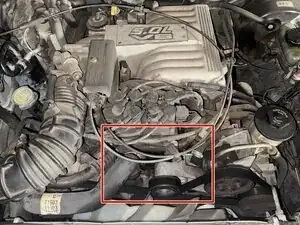
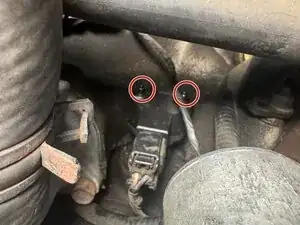
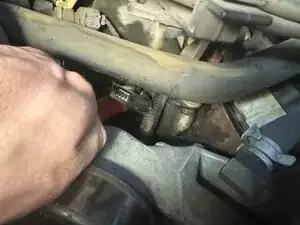
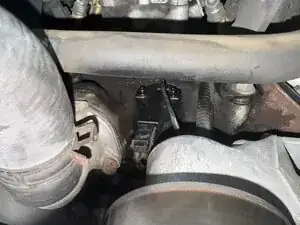
    • The general position of the sensor.

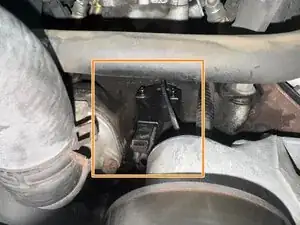
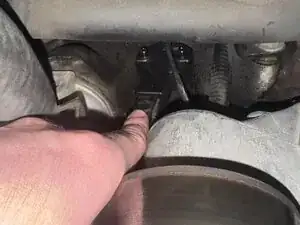
    • The camshaft sensor.

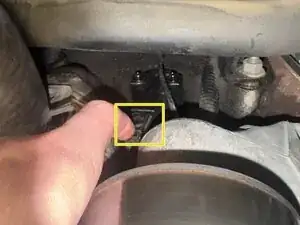
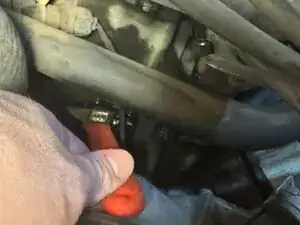
    • Press down on the latch and carefully pull out the connector to the power cable to remove it from the sensor.

  4. H661HY6EZgWbpB1E
    H661HY6EZgWbpB1E
    3L4QrUrblqjUTxA3
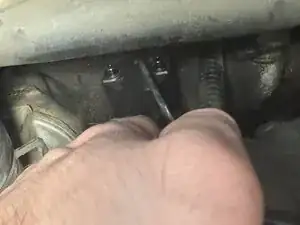
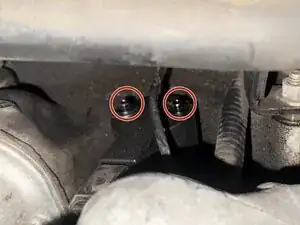
    • Use a ratcheting wrench to unscrew the two 5.5 mm hexagonal head screws securing the sensor.

    • A ratcheting wrench works best, but a regular wrench will also work.

    • If your new sensor did not come with screws, store these screws for attaching the new sensor.

    • As shown in the second image, the sensor is in a cramped space. You may have to maneuver your hand or use an extender to access it.

    • The cramped space may prevent a clear line of sight. Your view of the sensor and screws while performing this step may be obstructed.

  5. WICtb3tSNaniGwb2
    • Pull slowly and firmly to remove the old sensor.

    • The cramped space may prevent you fully grasping the sensor. It may be necessary to use only your fingers in that scenario.

    • Be careful not to damage the socket or other components. There are several other wires surrounding the component.

  6. EulYoJYMYTuLNQdY
    EulYoJYMYTuLNQdY
    mtjXZwvDhxcYZwhh
    • Attach the new sensor and screw in the component using a ratcheting wrench and two 5.5 mm hexagonal head screws.

    • This particular sensor comes with its own screws, so no others are needed. If yours did not come with screws, use the screws you stored in step 4.

    • The cramped space may prevent a clear line of sight. Your view of the sensor and screws while performing this step may be obstructed.

  7. F3AlGw14yKV3GOed
    • Plug in the power cable and push until it is completely attached.

    • The wiring may be old, so handle the cable with care. Do not use excessive force.

  8. hJaSJvXXdYPQpwjL
    hJaSJvXXdYPQpwjL
    aJqLMqylBwSqhi4e
    WTtKckUbQKuRF5Xu
    • Ensure the car is still OFF when this is done and DON'T let the cable OR wrench come into contact with the other battery cable or other metal parts of the car. Do not turn on the car until this cable is firmly secured in its correct position.

    • If the negative battery cable touches the positive cable, it can cause a short circuit, producing sparks and potentially starting a fire.

    • Reattach the black negative battery terminal.

    • Use a wrench to tighten the screw.

Nick

Membro desde: 25/09/25

157 Reputação

0 comentários