Introdução
Door panel clips play a vital role in securing the interior panels to the door frames, ensuring that both the aesthetic and functional aspects are maintained. Over time, however, these clips can be worn down or damaged, causing the panel to come loose or rattle during a drive. If these instances are happening to you, use this guide to replace the clips in your 1993-1998 Jeep Grand Cherokee.
The panels offer an aesthetic appeal to a car, often harboring the lock and window buttons for inside usage. When the panels are not secure, they can decrease the appeal and cause issues when trying to enter or leave the car.
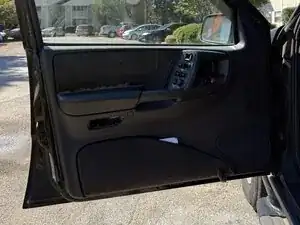
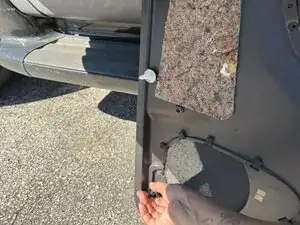
Before using this guide, inspect the door and panel for any big chunks of debris that can easily be removed. Also, check for loose screws, as they can cause the panel to be loose from the frame.
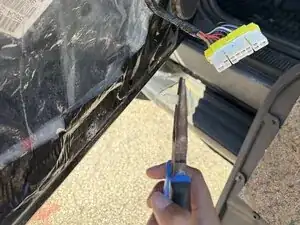
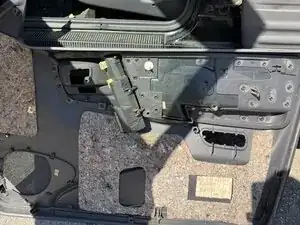
Step 4 requires you to use pliers to remove any leftover clips stuck within the frame. From there, proceed with caution as pliers can cause minor cuts if not held properly.
Before beginning, make sure that you are not parked within major traffic areas or in the rain, as the connectors may shock you if wet. Also, be sure to part somewhere with good lighting, as some parts need a close, well-lit look.
Ferramentas
-
-
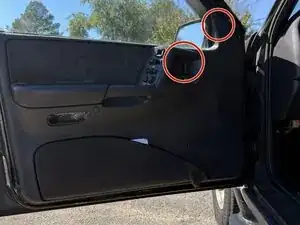
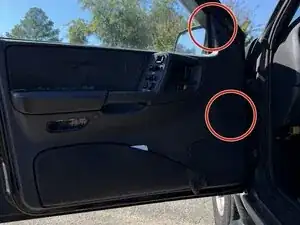
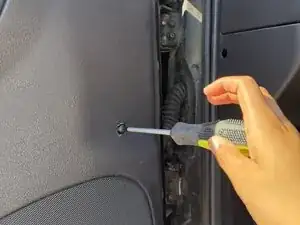
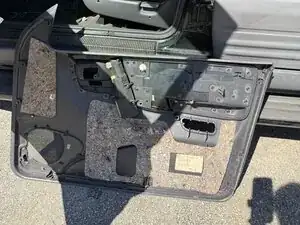
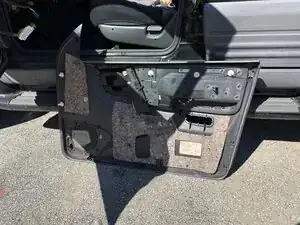
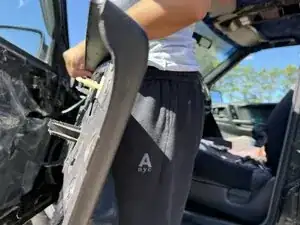
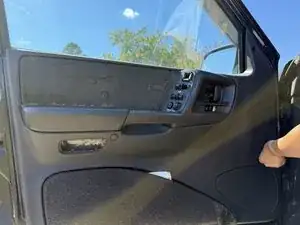
Carefully remove the panel from the door frame.
-
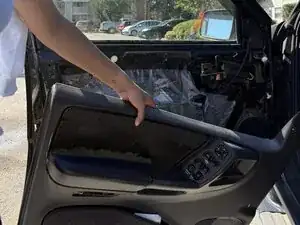
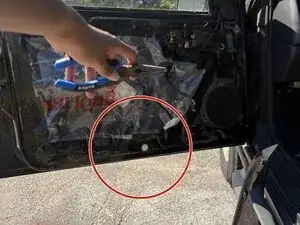
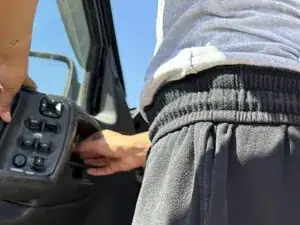
Disconnect the power connectors and set the panel aside.
-
-
-
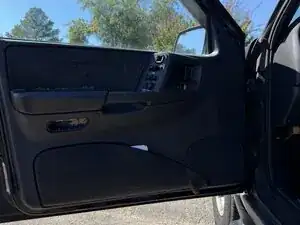
Clean the panel you removed in Step 3 of dust and debris.
-
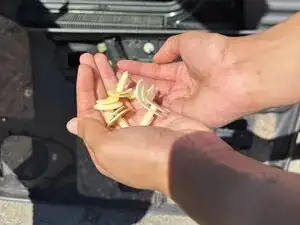
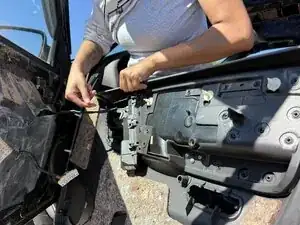
Take the clips and place them along the door panels, replacing any that do not fit snugly.
-
-
-
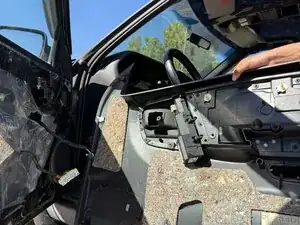
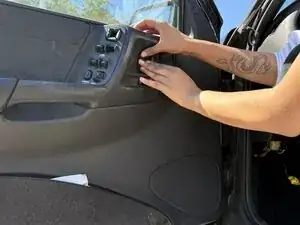
Take the panel and prop it up to prepare for reconnecting the connectors.
-
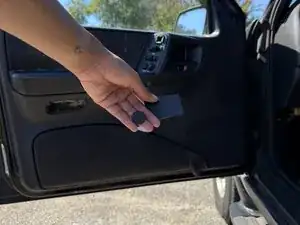
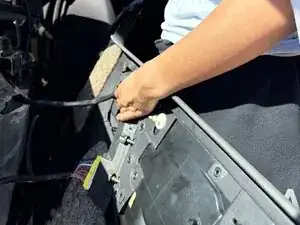
While holding the panel securely, reconnect the connectors, being careful to avoid being shocked.
-
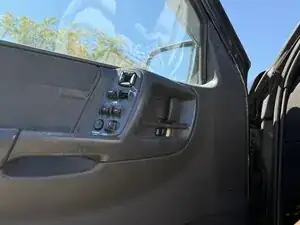
Once the connectors are reattached, prepare to angle and line up the panel.
-
-
-
Angle the panel against the frame to ensure the inside door handle does not get trapped behind the panel.
-
After making sure the handle is through the panel, start positioning the panel against the frame.
-
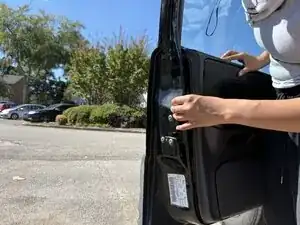
Line up the clips with the openings for each one and slowly apply pressure to the panel.
-
-
-
Place the screw covers back on top of the screws.
-
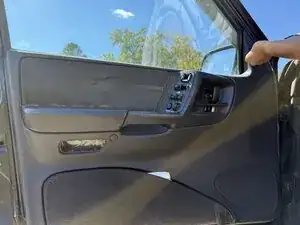
Once the screw covers are back in place, you are done and have a functioning car door.
-